
Crocheting a graph can be easy as well as fun! Adding a graph to your work can make them personalized and unique!
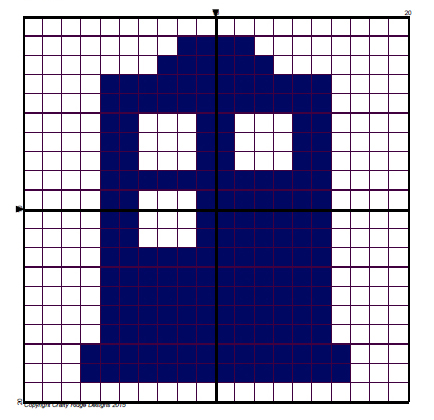
First thing you need is a graph! Check out this fun little Police Box graph by yours truly. This is a fun simple graph to learn with. You can get the pdf here Little Tardis Graph Pattern
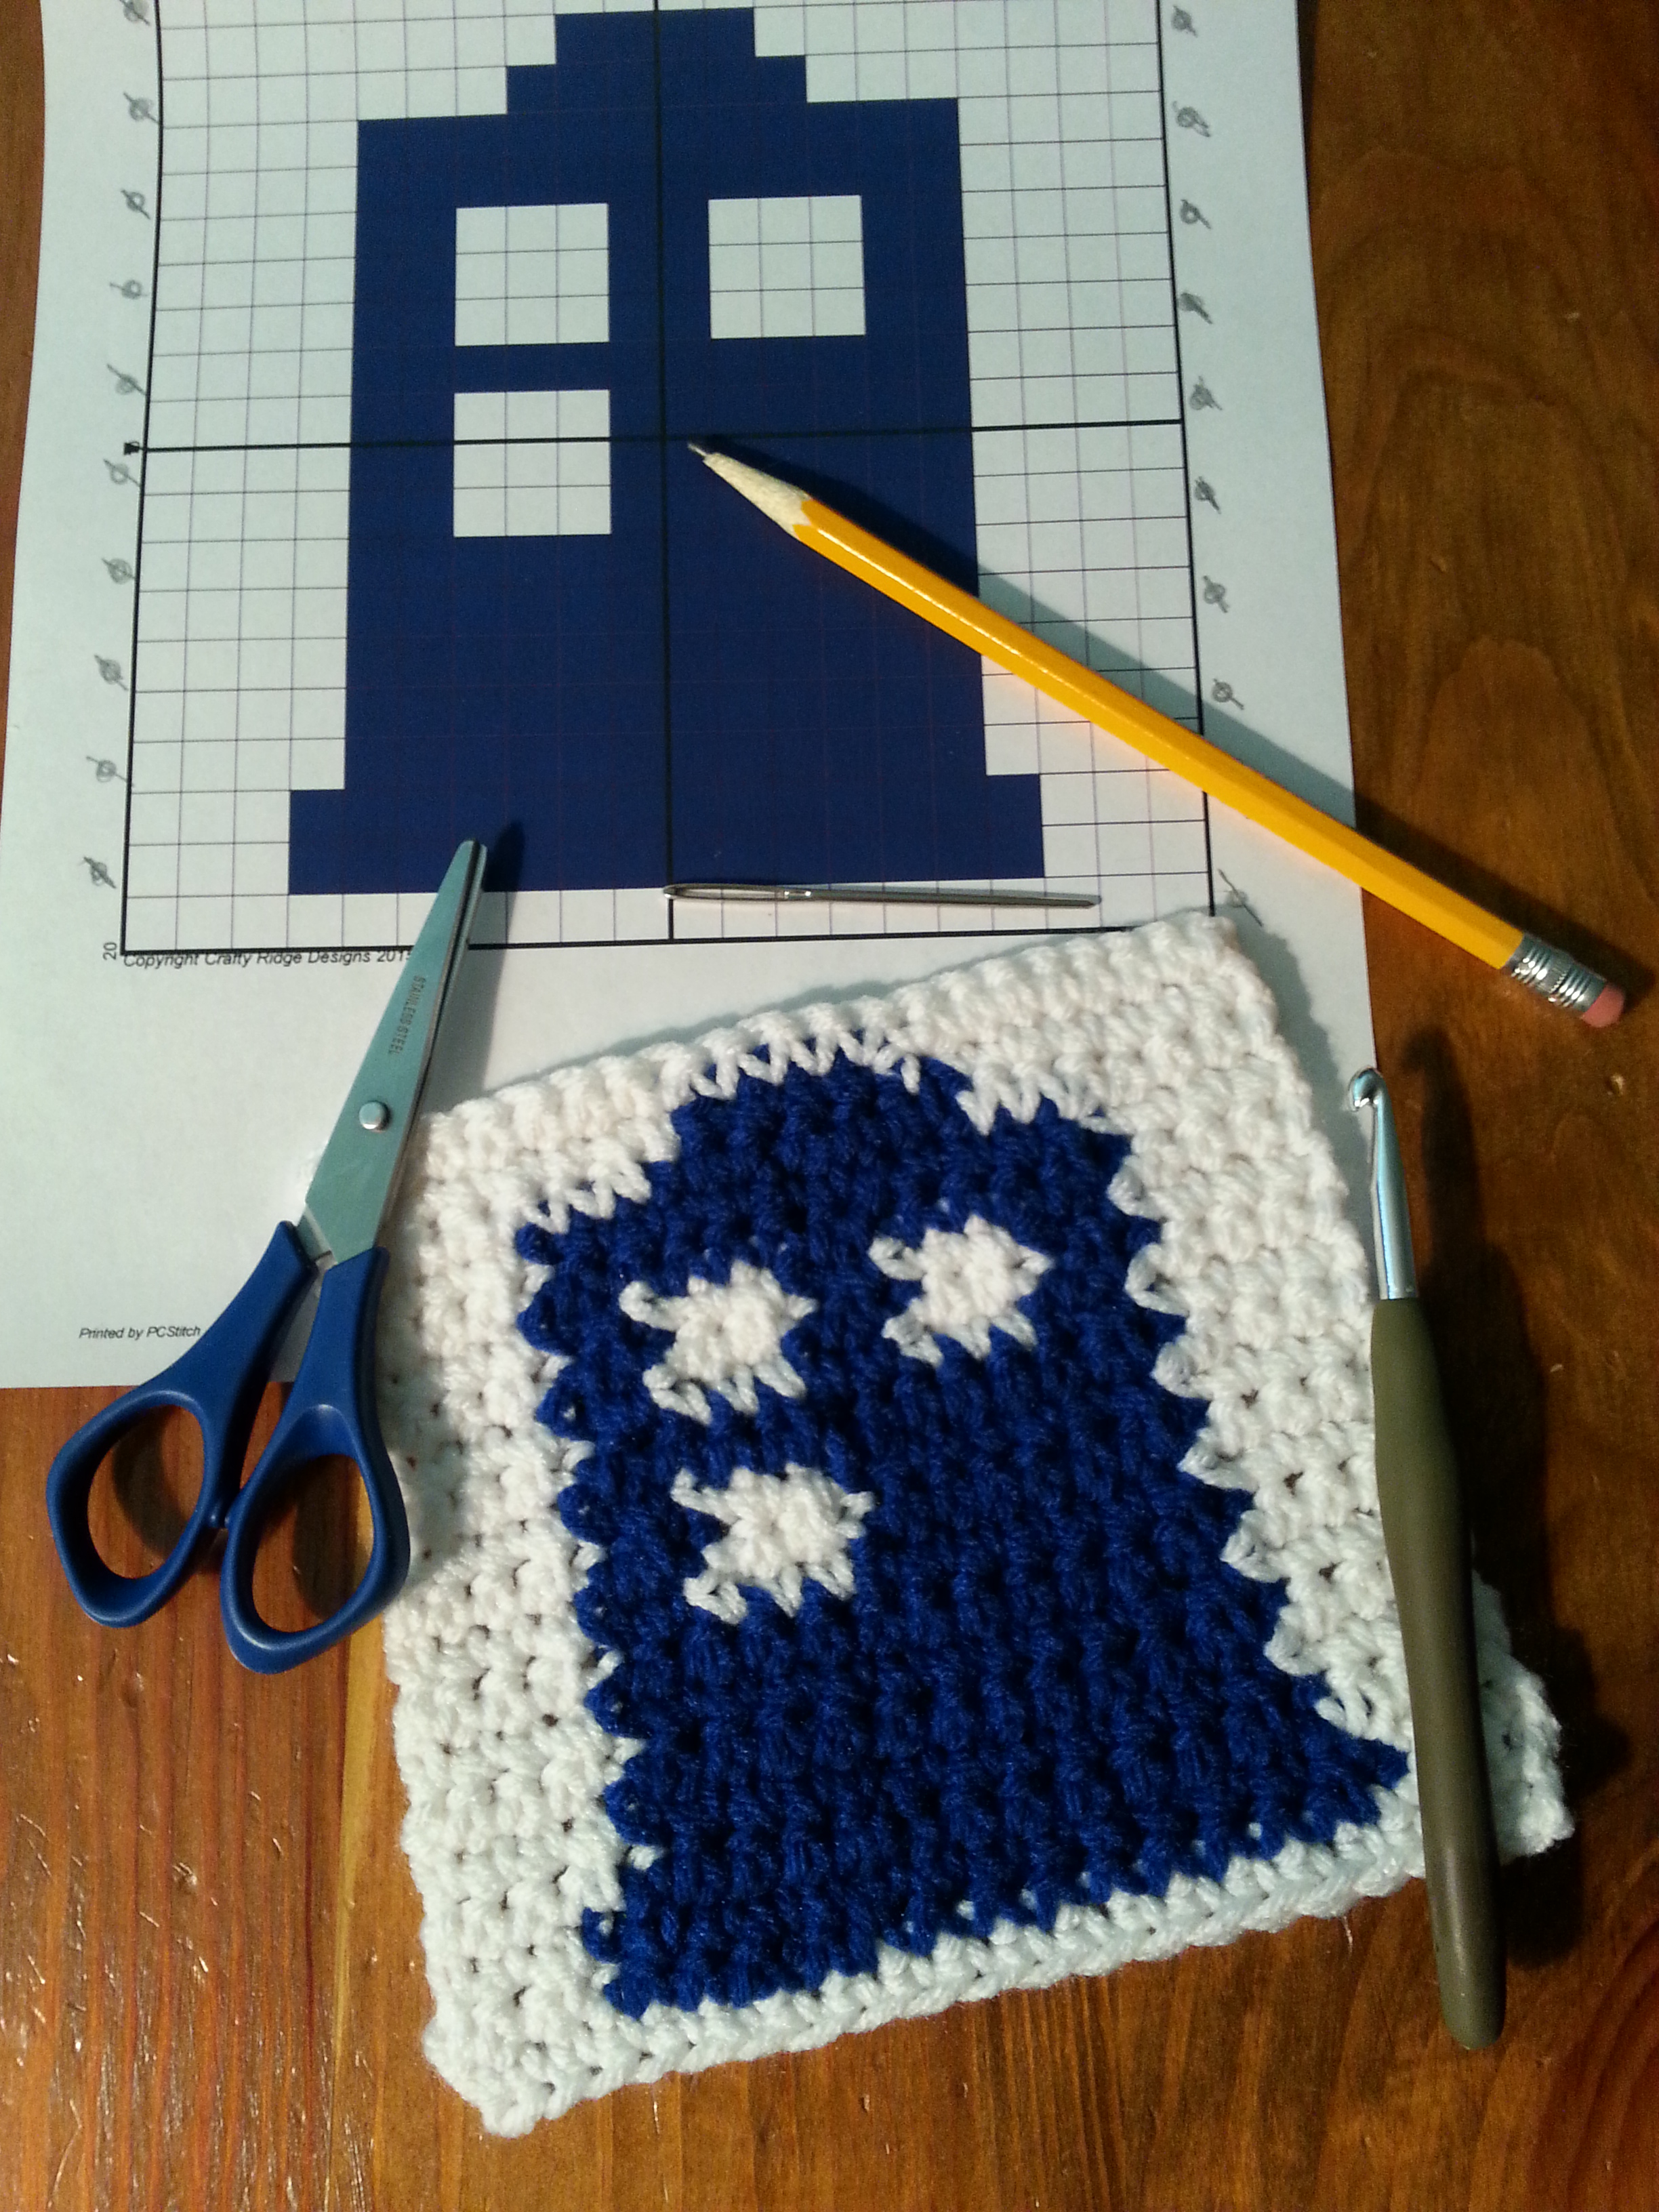
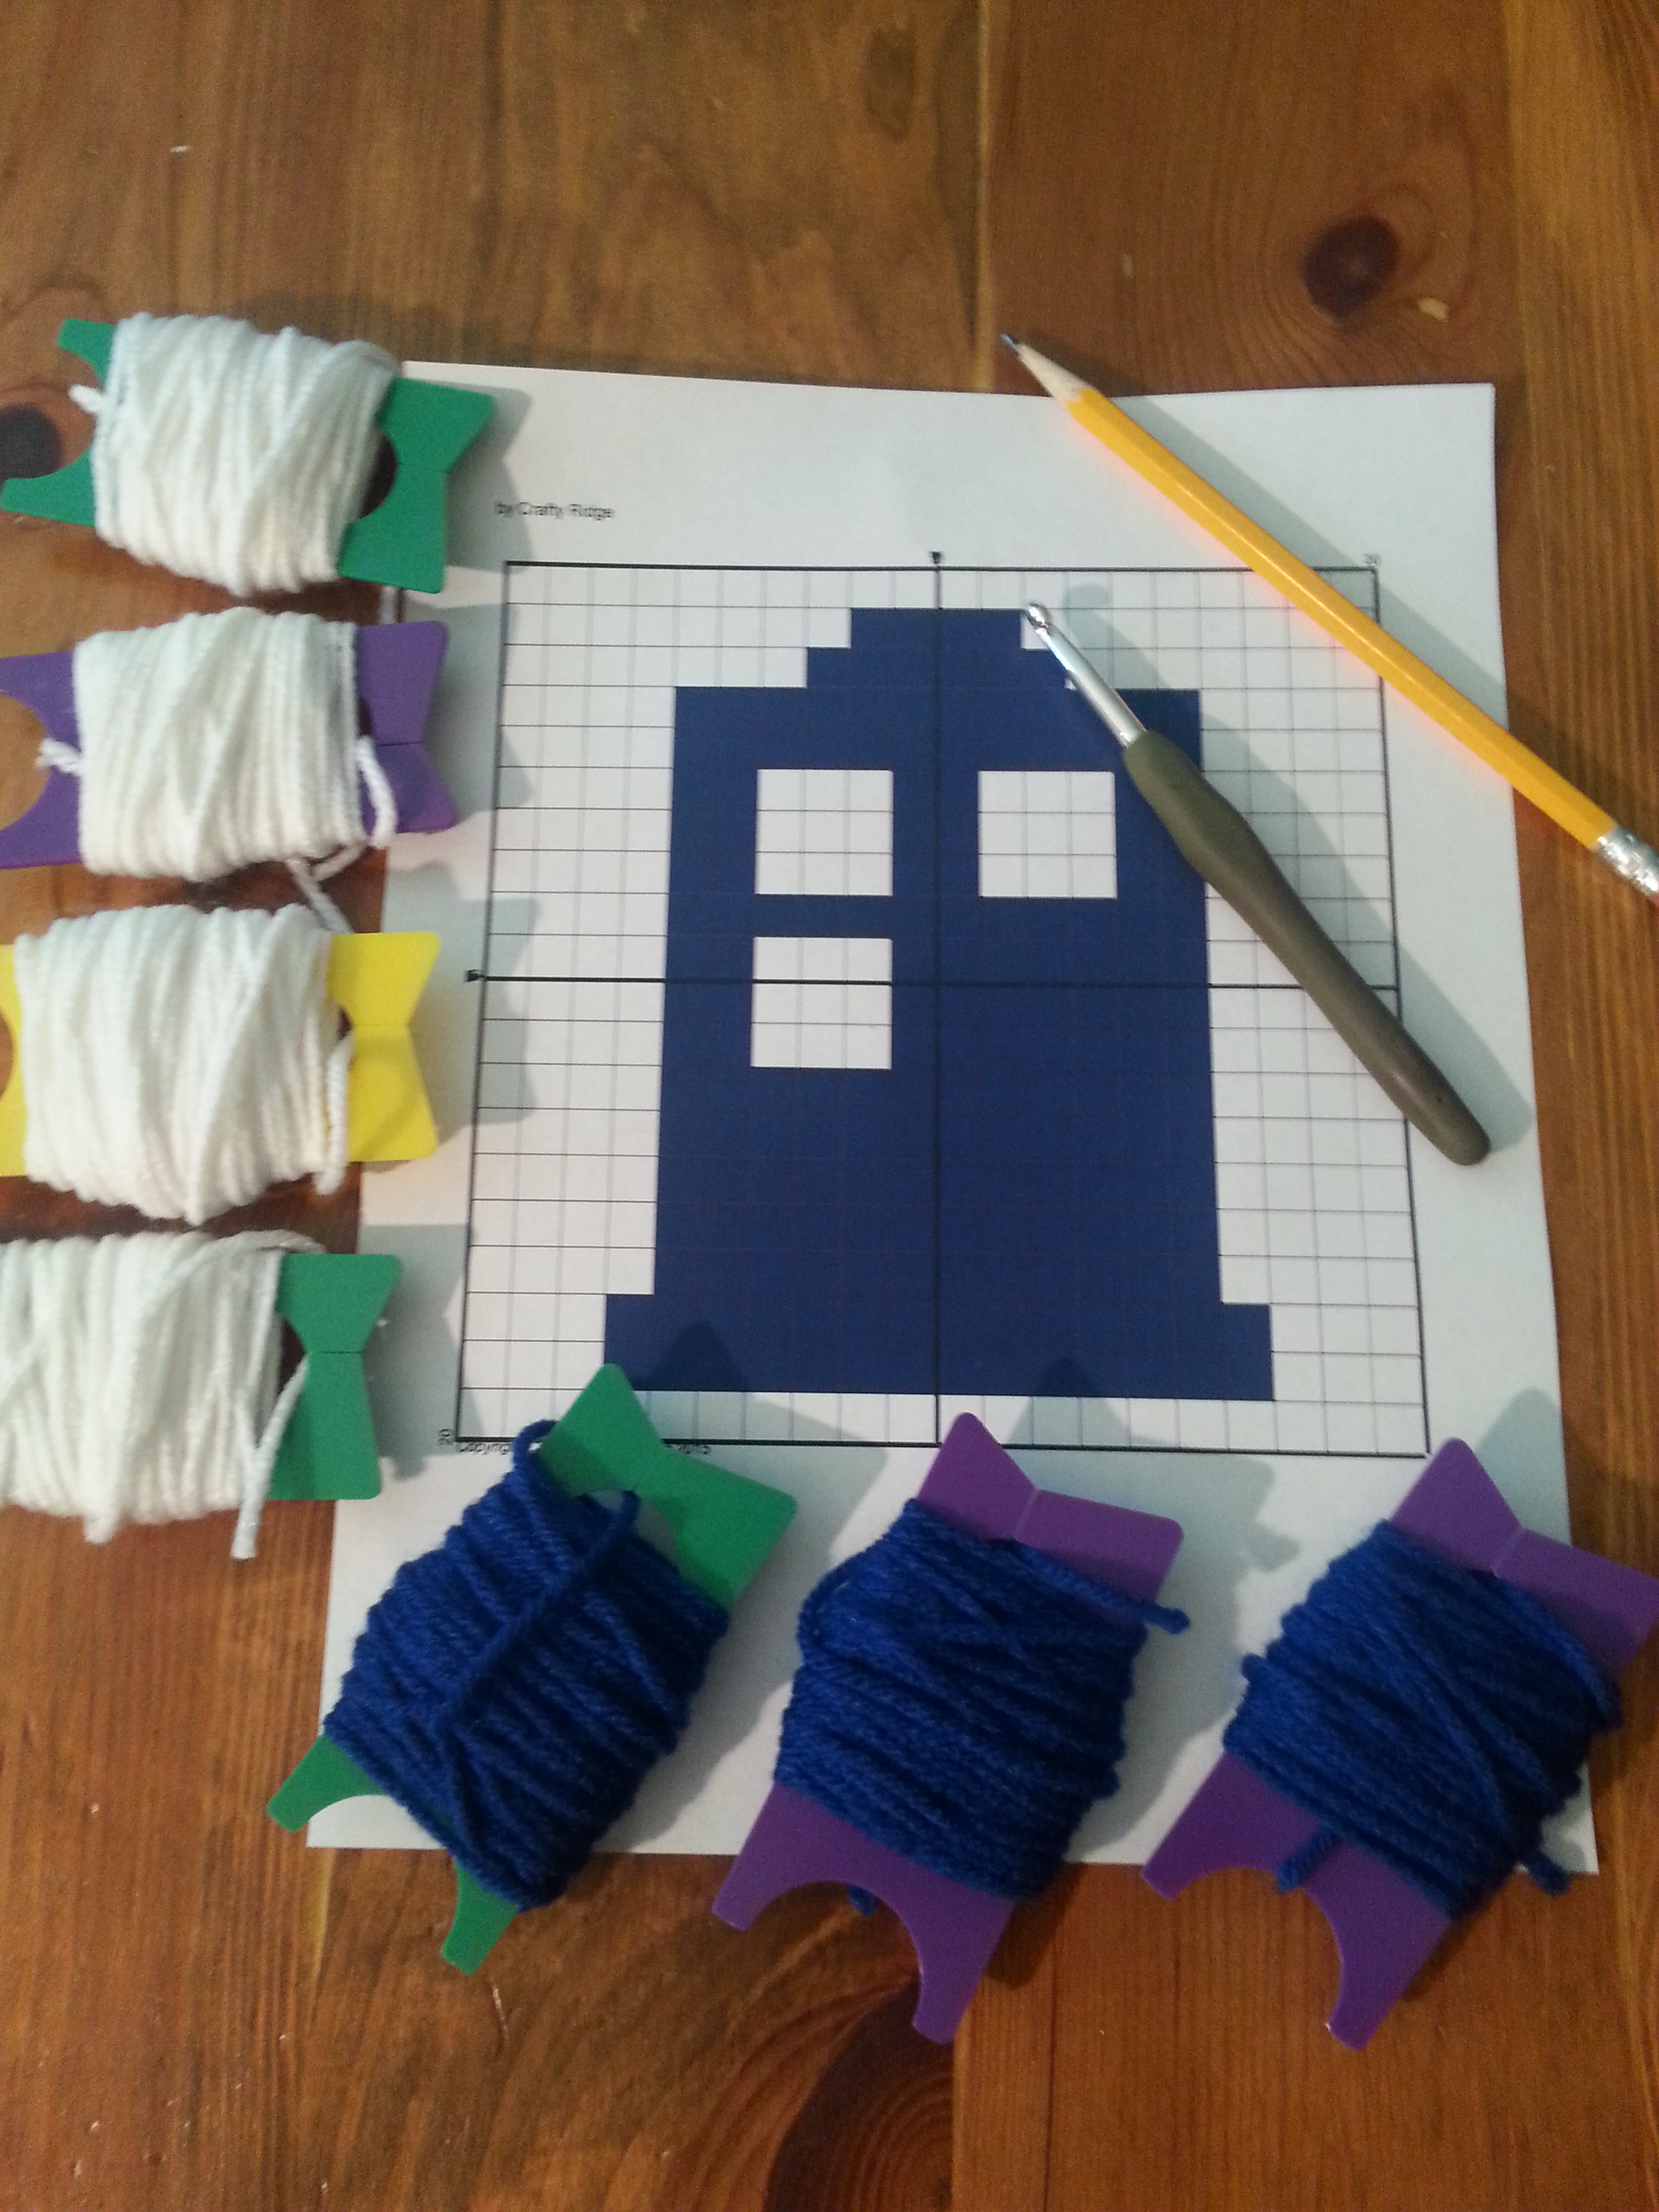
After you have your graph gather your other necessities. You will need some yarn in the colors of the graph, some bobbins (you can make these out of cardboard if you like), your crochet hook (I used an I Hook), scissors, a pencil and a yarn needle.
Once you have your graph you need to figure out how you will read it. I lay my graph out and then mark the odd rows on the left side and the even rows on the right with a pencil or pen.
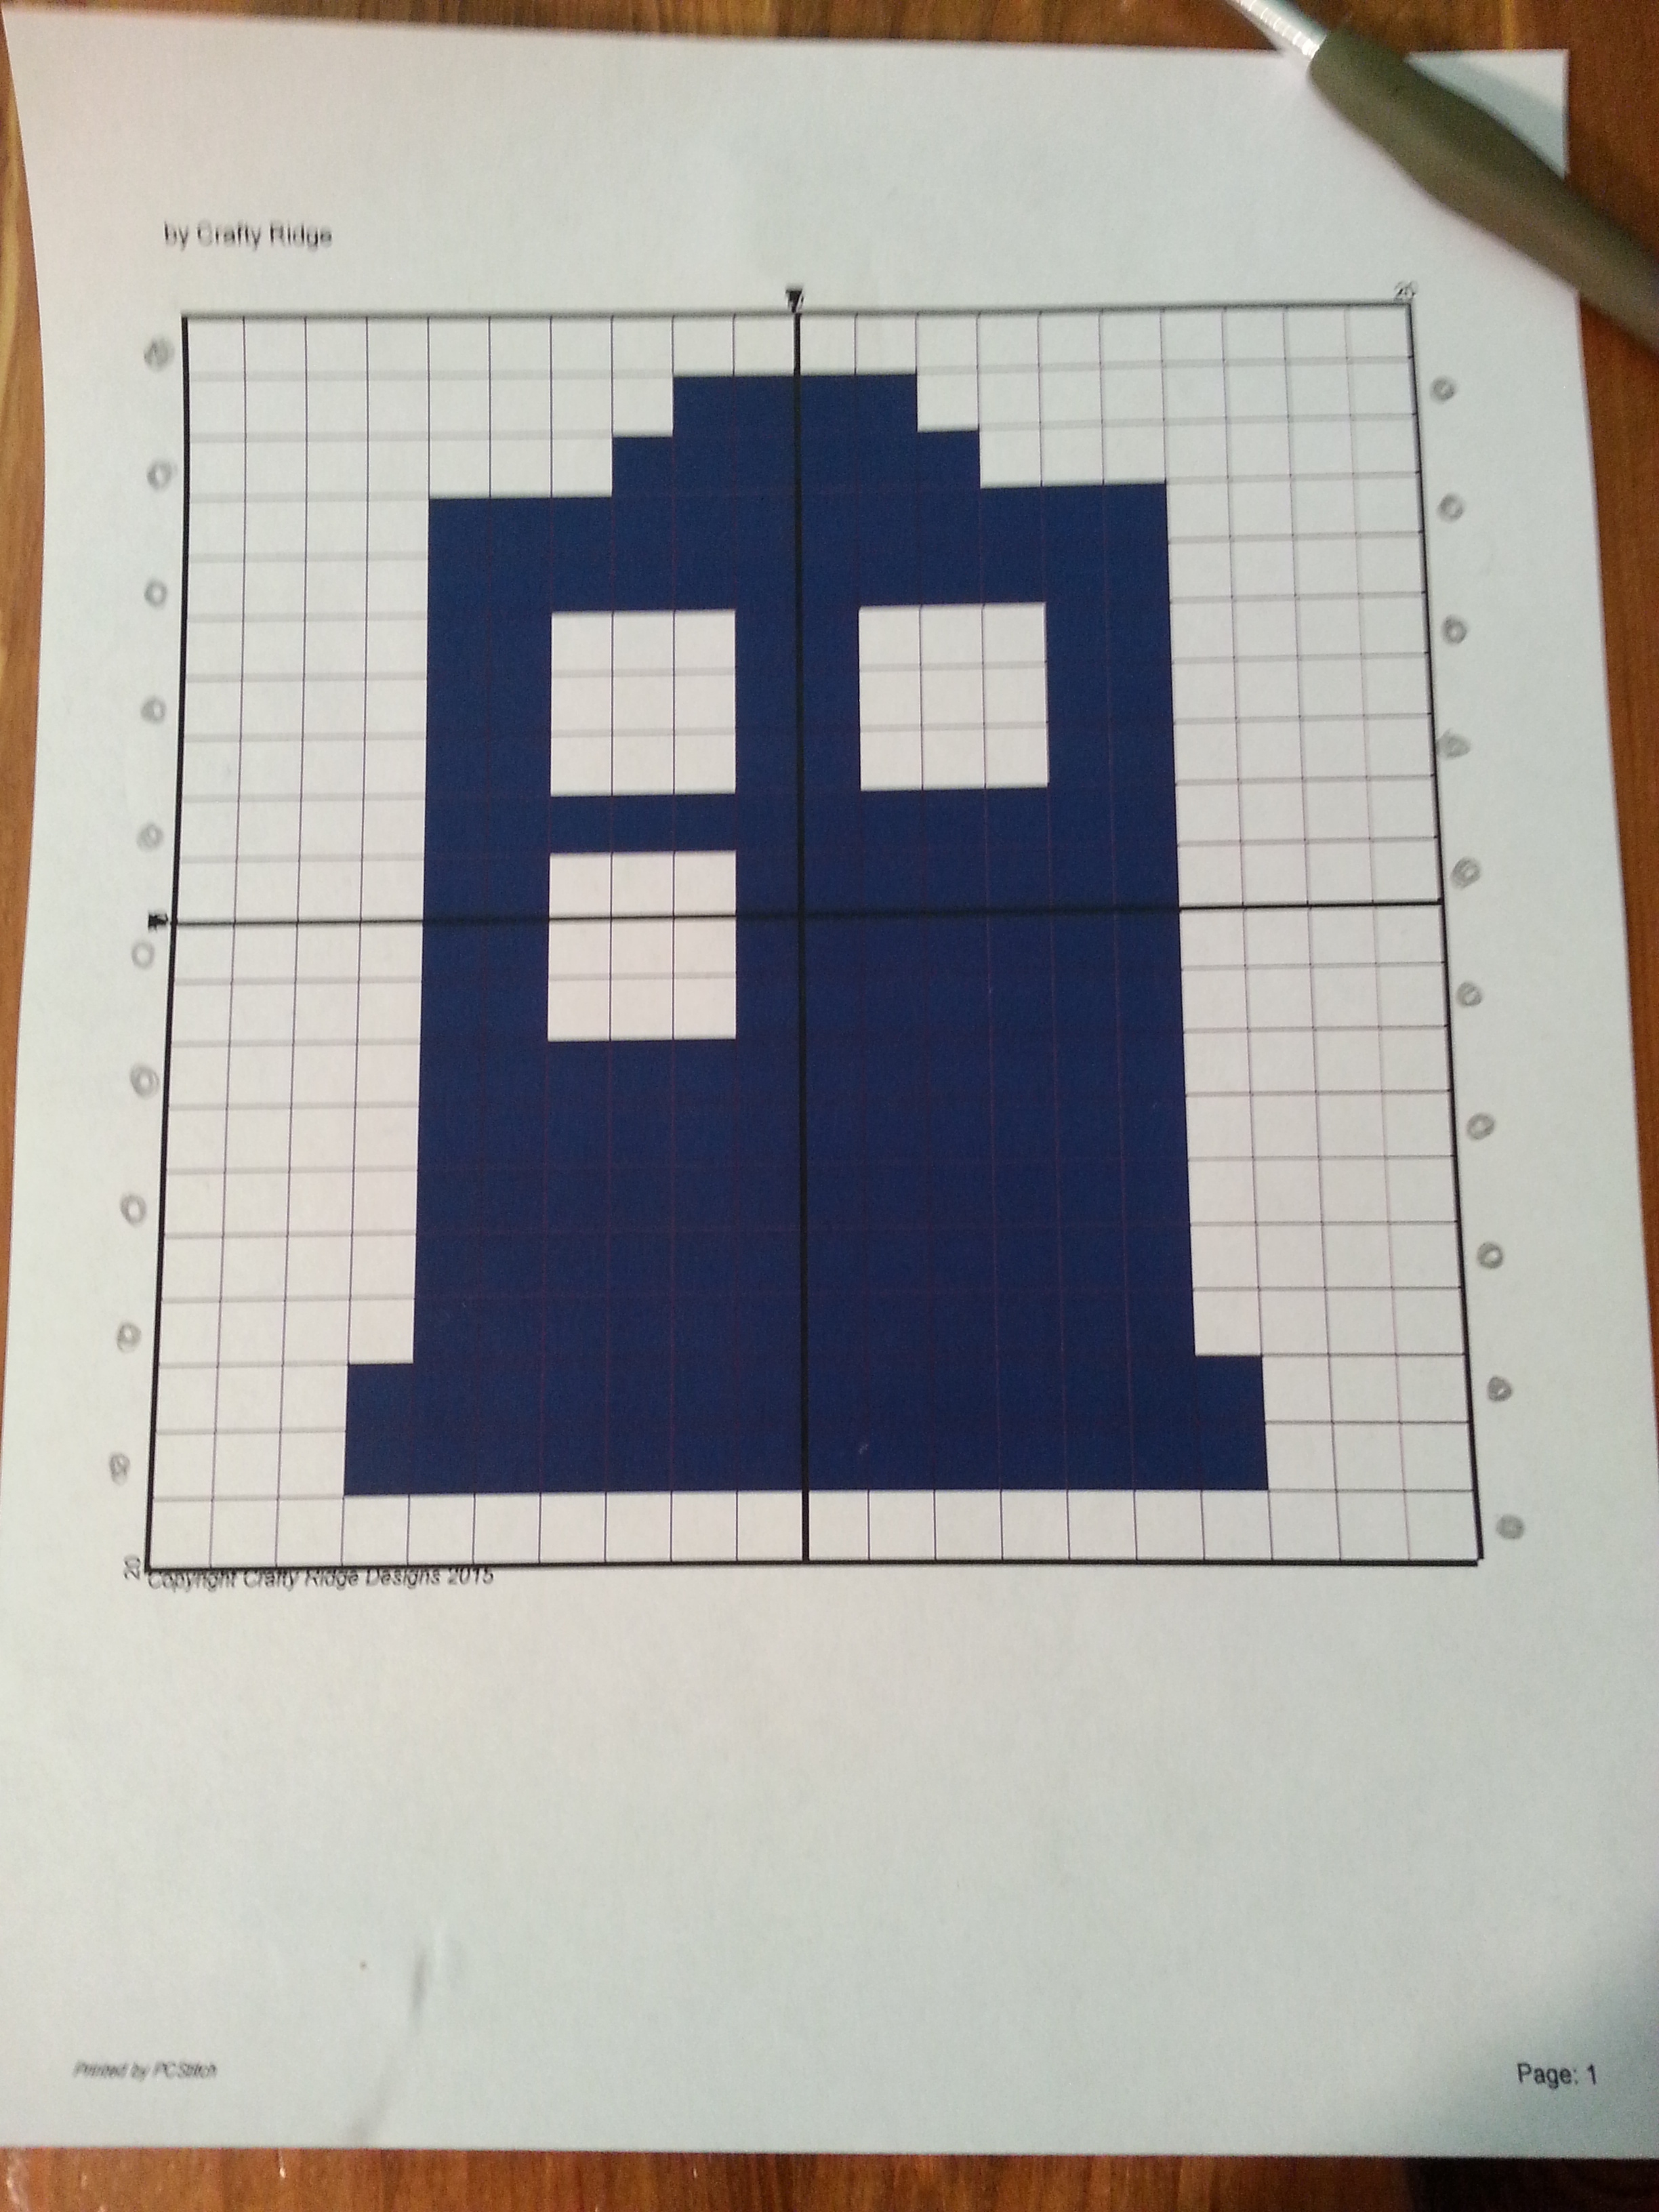
These marks will help you when reading your pattern. I always begin reading the pattern from the bottom right and work my way left. Each row you will work from the opposite side. This is where those little marks come in handy. You read the graph row by row starting at the mark on the end and working the opposite direction. Right to left and then left to right.
To begin a graph count the number of squares you have across. Each square is equal to one stitch. This graph has 20 so you will start with a chain of 20 + 1 and there will be 20 stitches in each row.

You will not count the chain as the first row. This is just the base in which you will start your graph. Begin by crocheting your first row (from the bottom of the graph from right to left) of single crochet in the back bar, third loop or back of chain. This keeps the first row flexible and neat so it is easier to add a trim or border at the end.
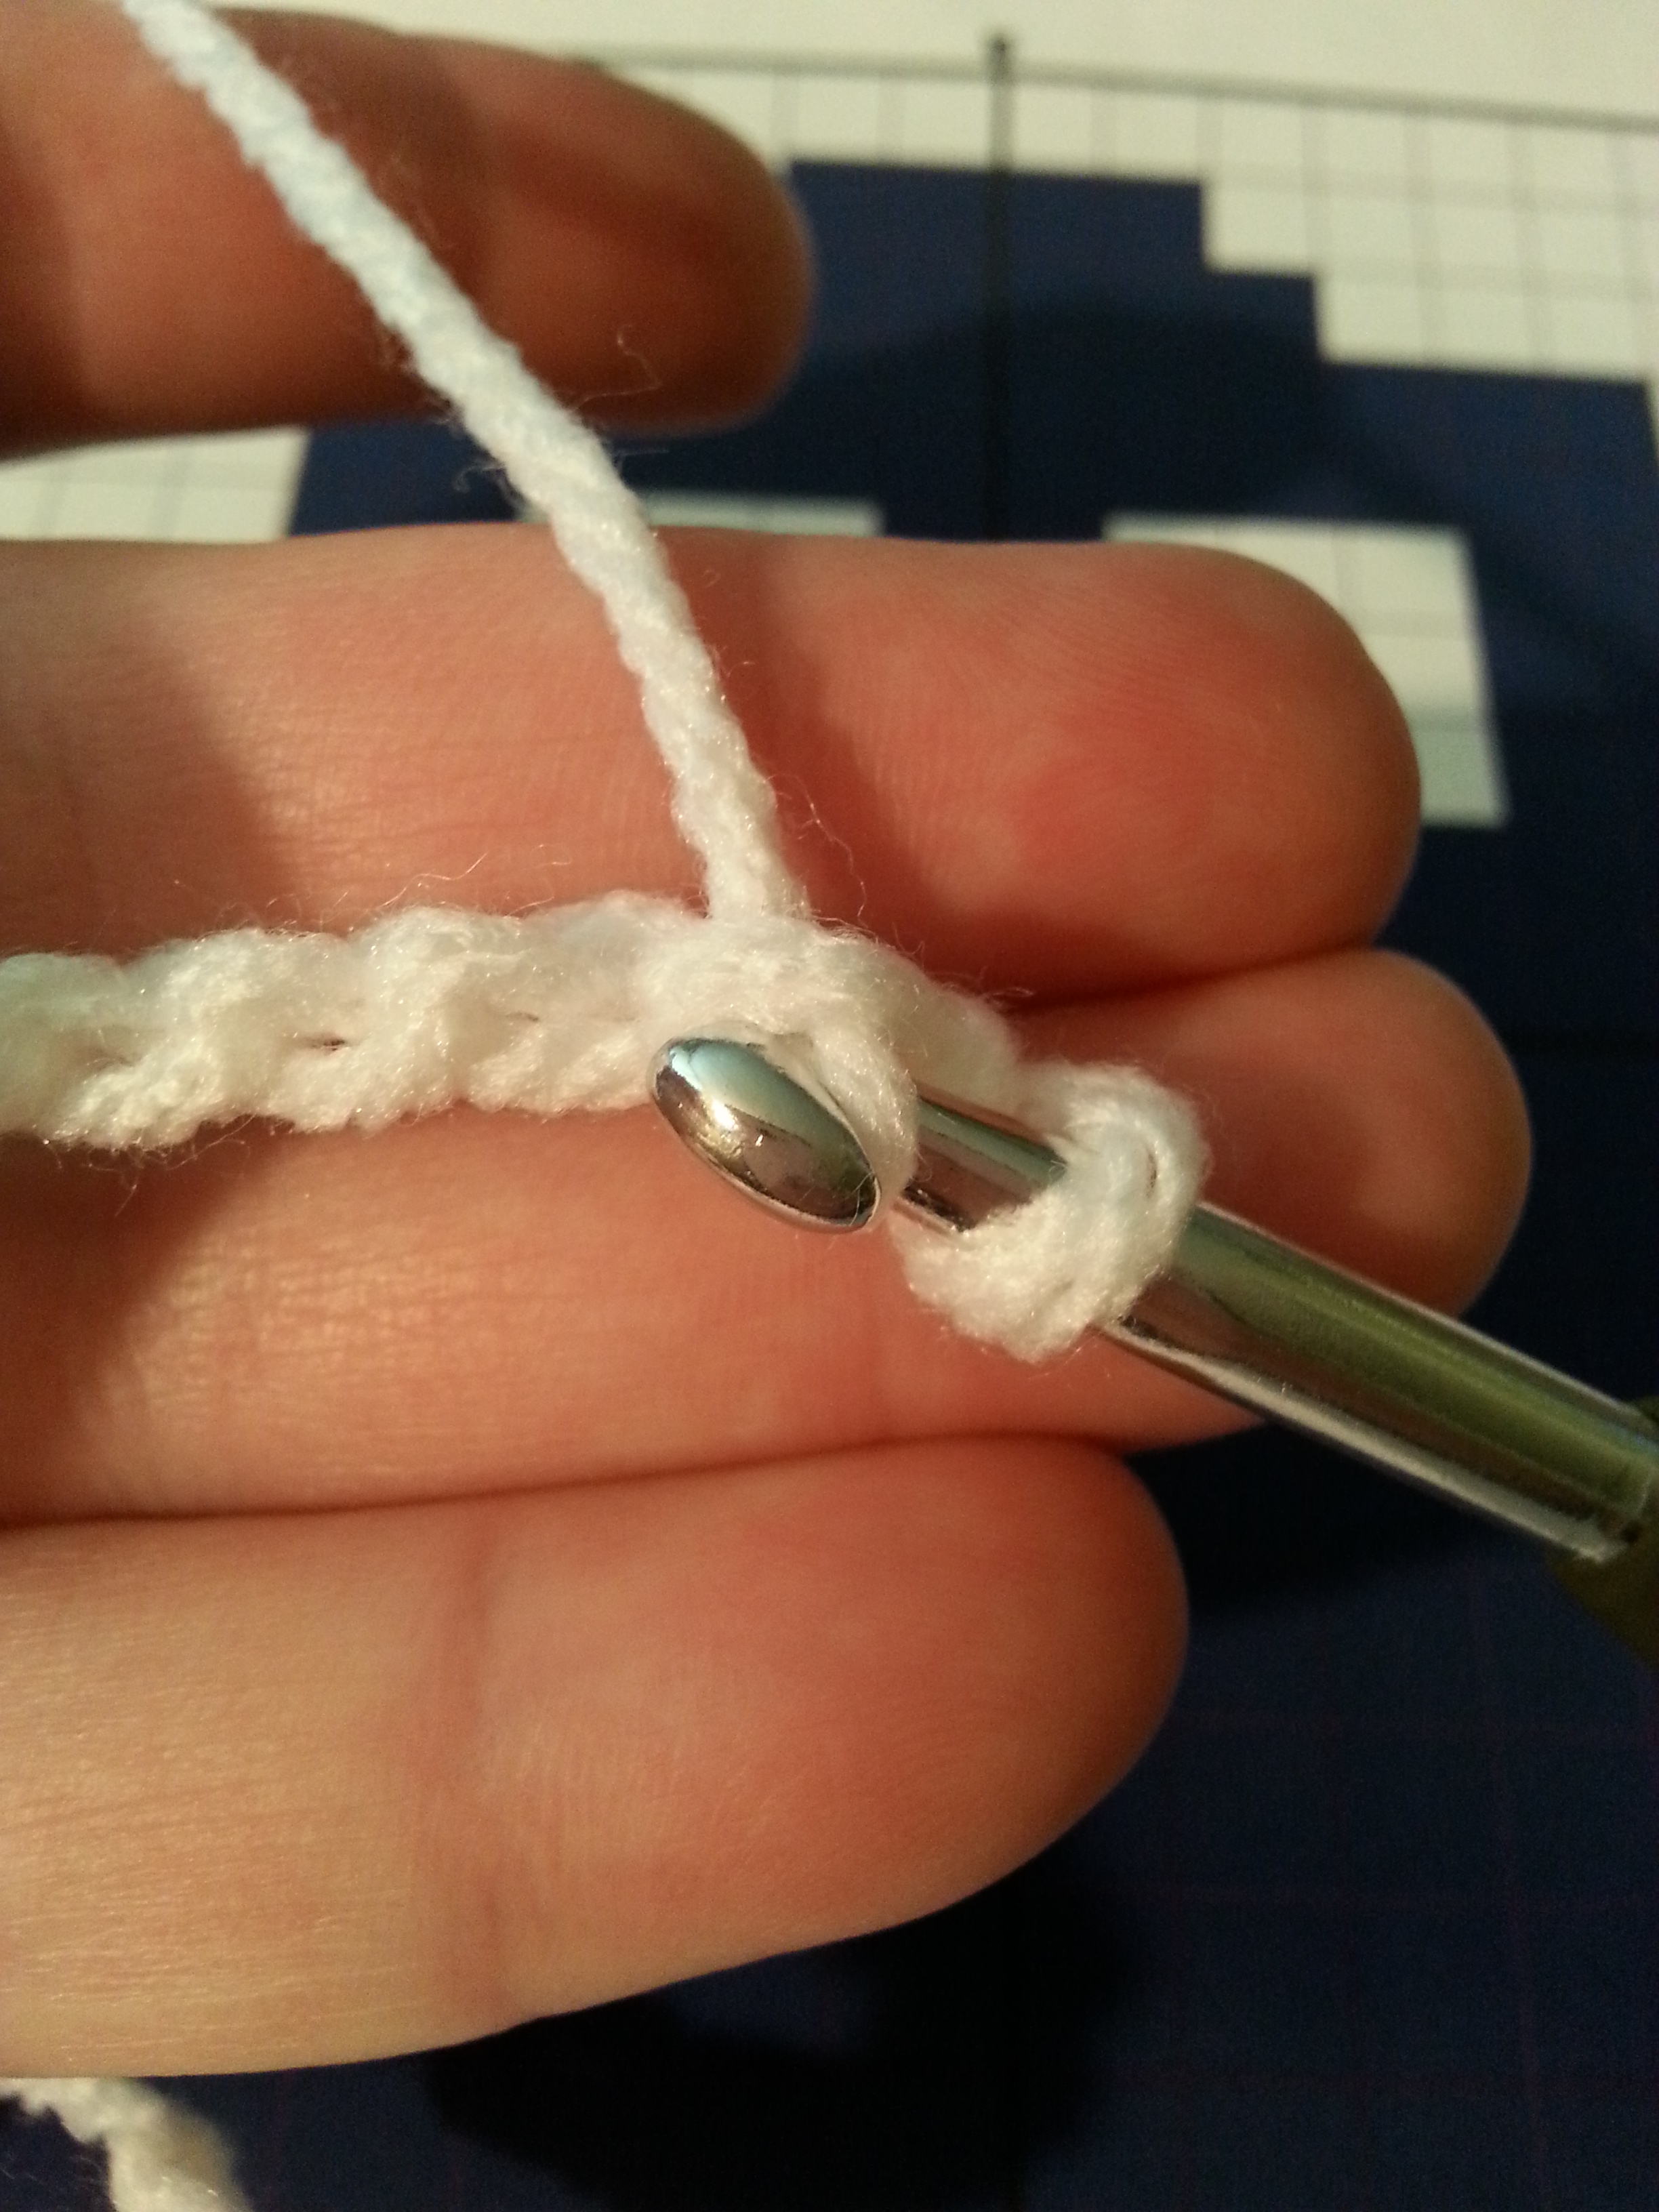
For this graph you will do your first row of sc in white. At the end of the row you will then chain 1 and start row 2 reading from the left side of the graph. Changing colors as needed.
Tip: use bobbins instead of carrying your yarn. It makes for a much cleaner piece and you don’t have so many pieces of yarn twisted after each turn.
Tip: You will use the bobbins from the front of your work and when you are done with the color and pick up the next you will drop it towards the back of your work.
Changing color is simple. On the last stitch of the color you are working with you will start the stitch like normal. With loop on hook you will go into the loop of the next stitch yarn over and then pull through, drop the yarn at the back of your work and then pick up your next color with a yarn over and pull that through both loops on the hook. This will be the beginning of your next stitch and new color.

Continue back and forth working each stitch in the color shown in the graph

I tend to work my stitches over yarn ends as much as possible. Working 5-6 stitches one way and then picking it up on the next pass and doing another 5-6 stitches over it until there is just a small bit of yarn left to trim off.
Tip: Only crochet over the yarn ends with the same color. If you weave one color in another color you won’t come out with a a crisp clean image.
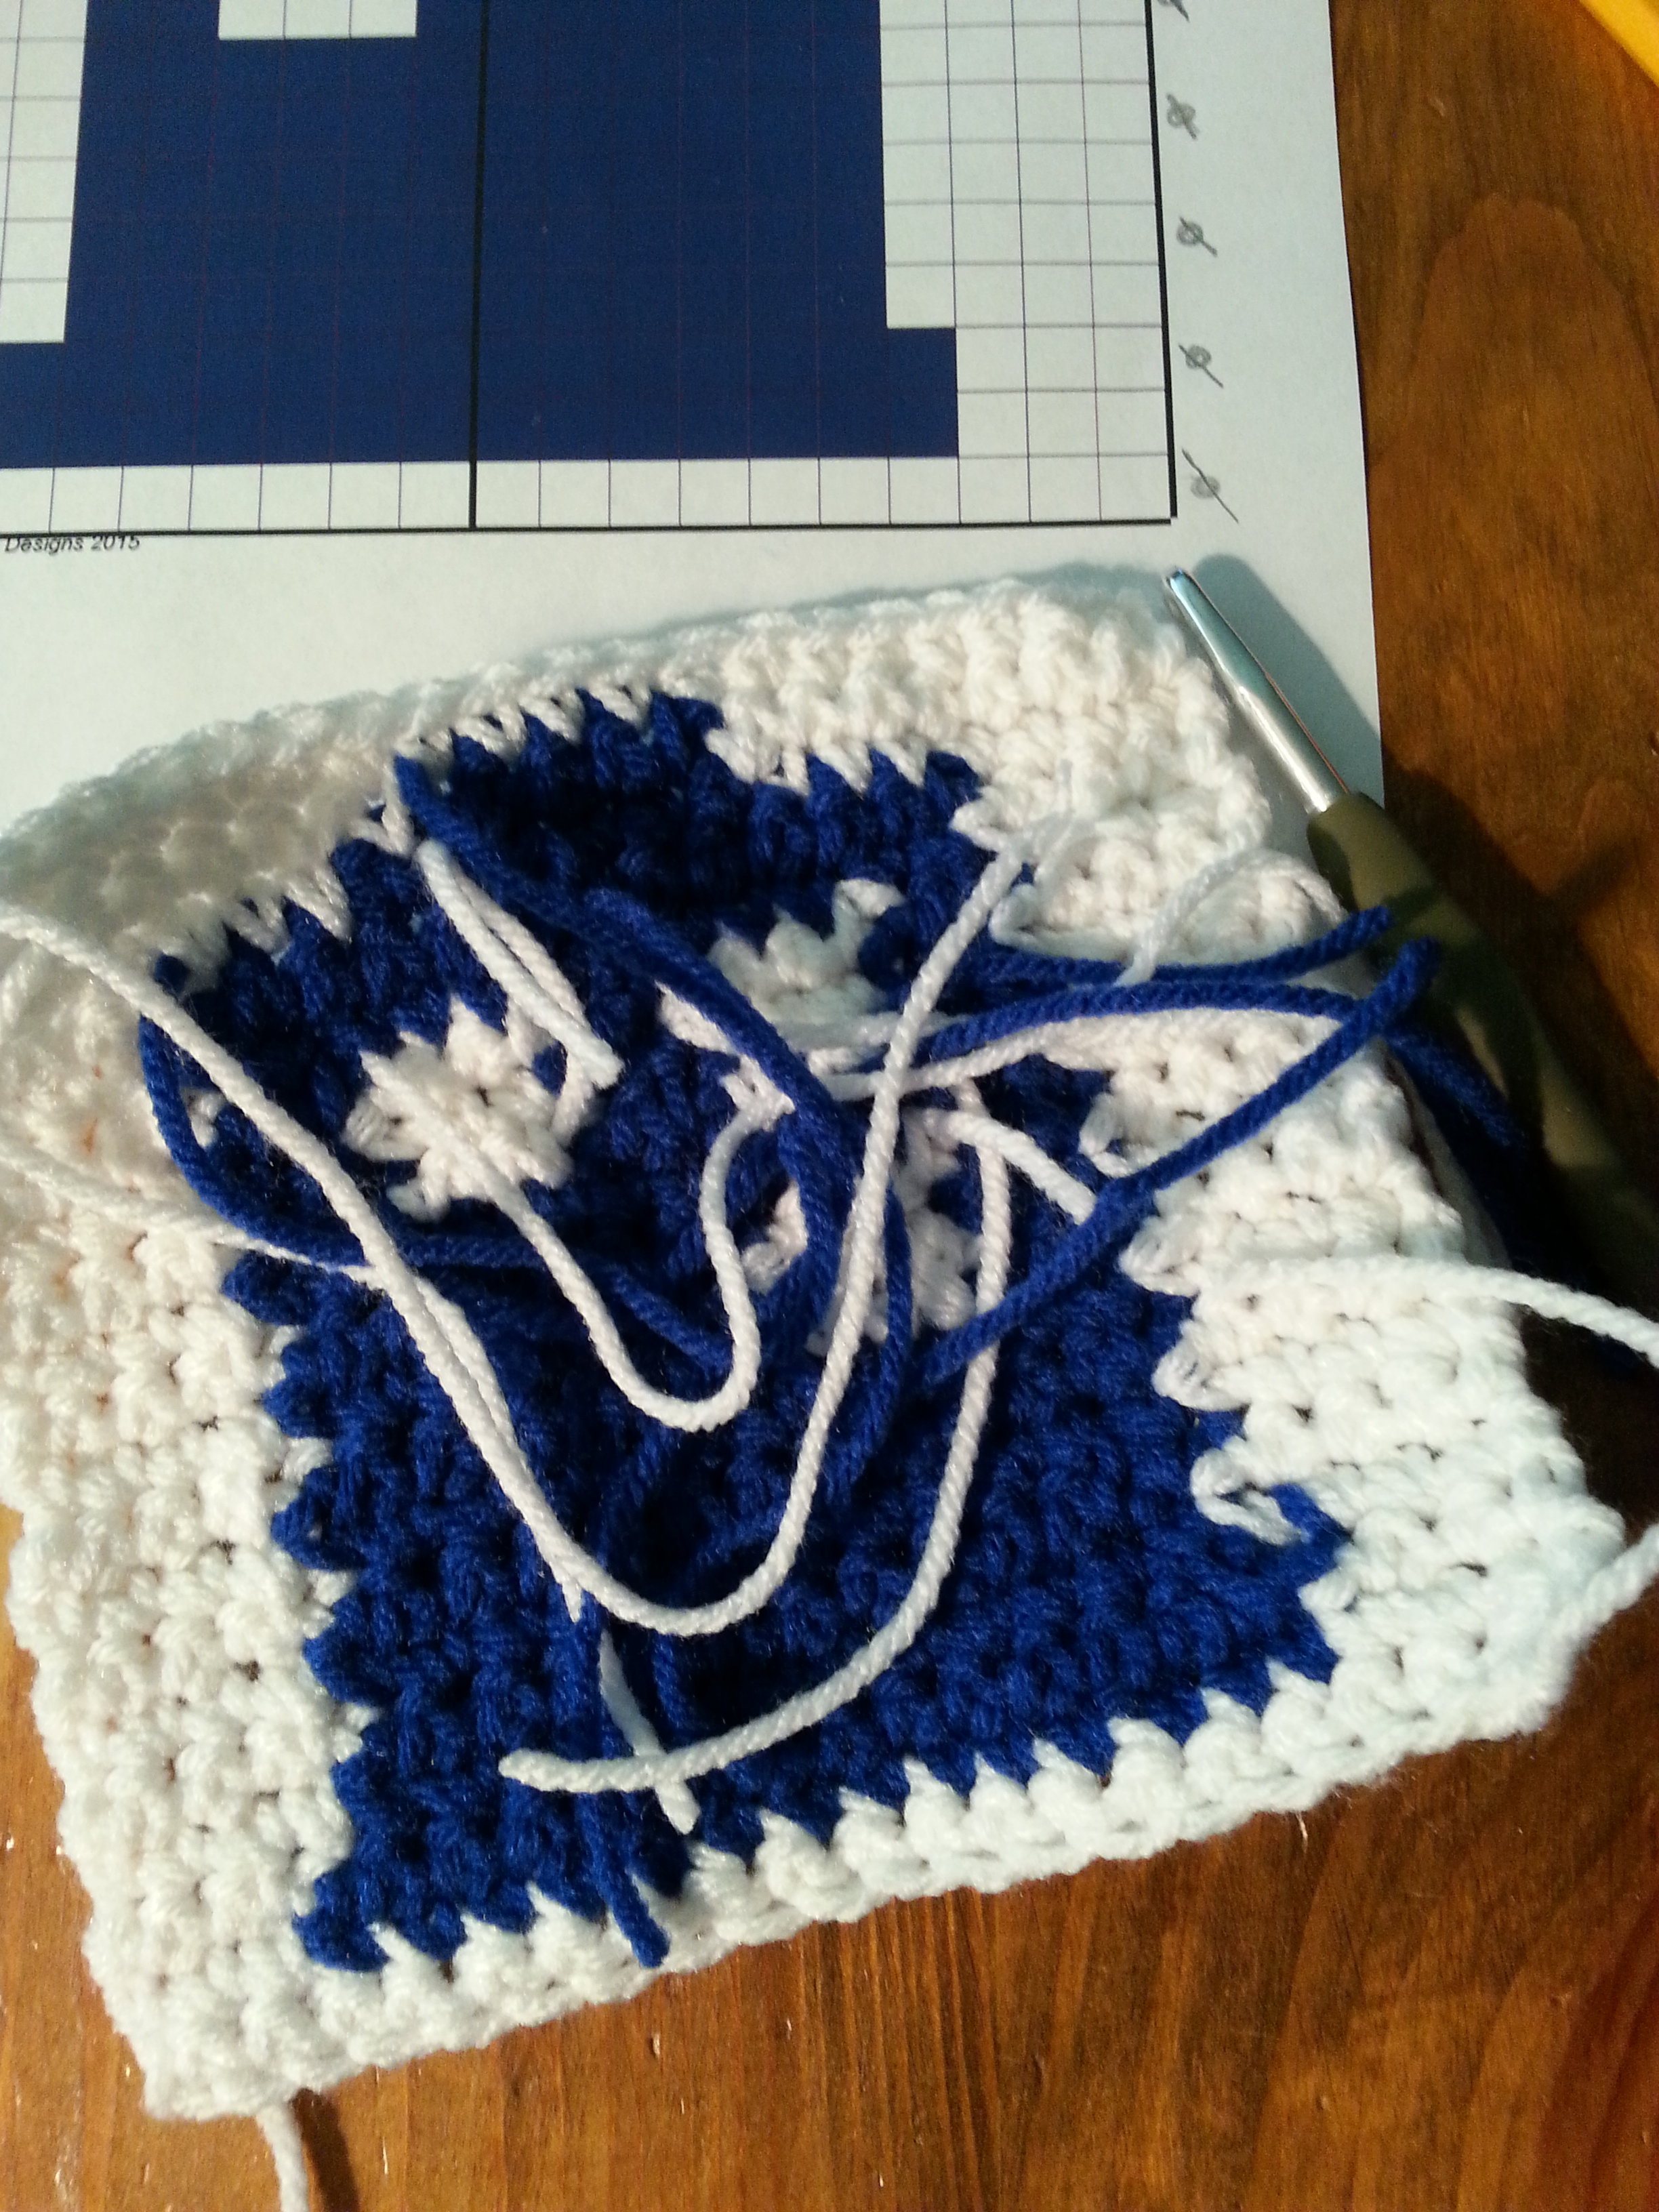
Even when you crochet over your loose ends you have some extras…..like this! Yikes!!
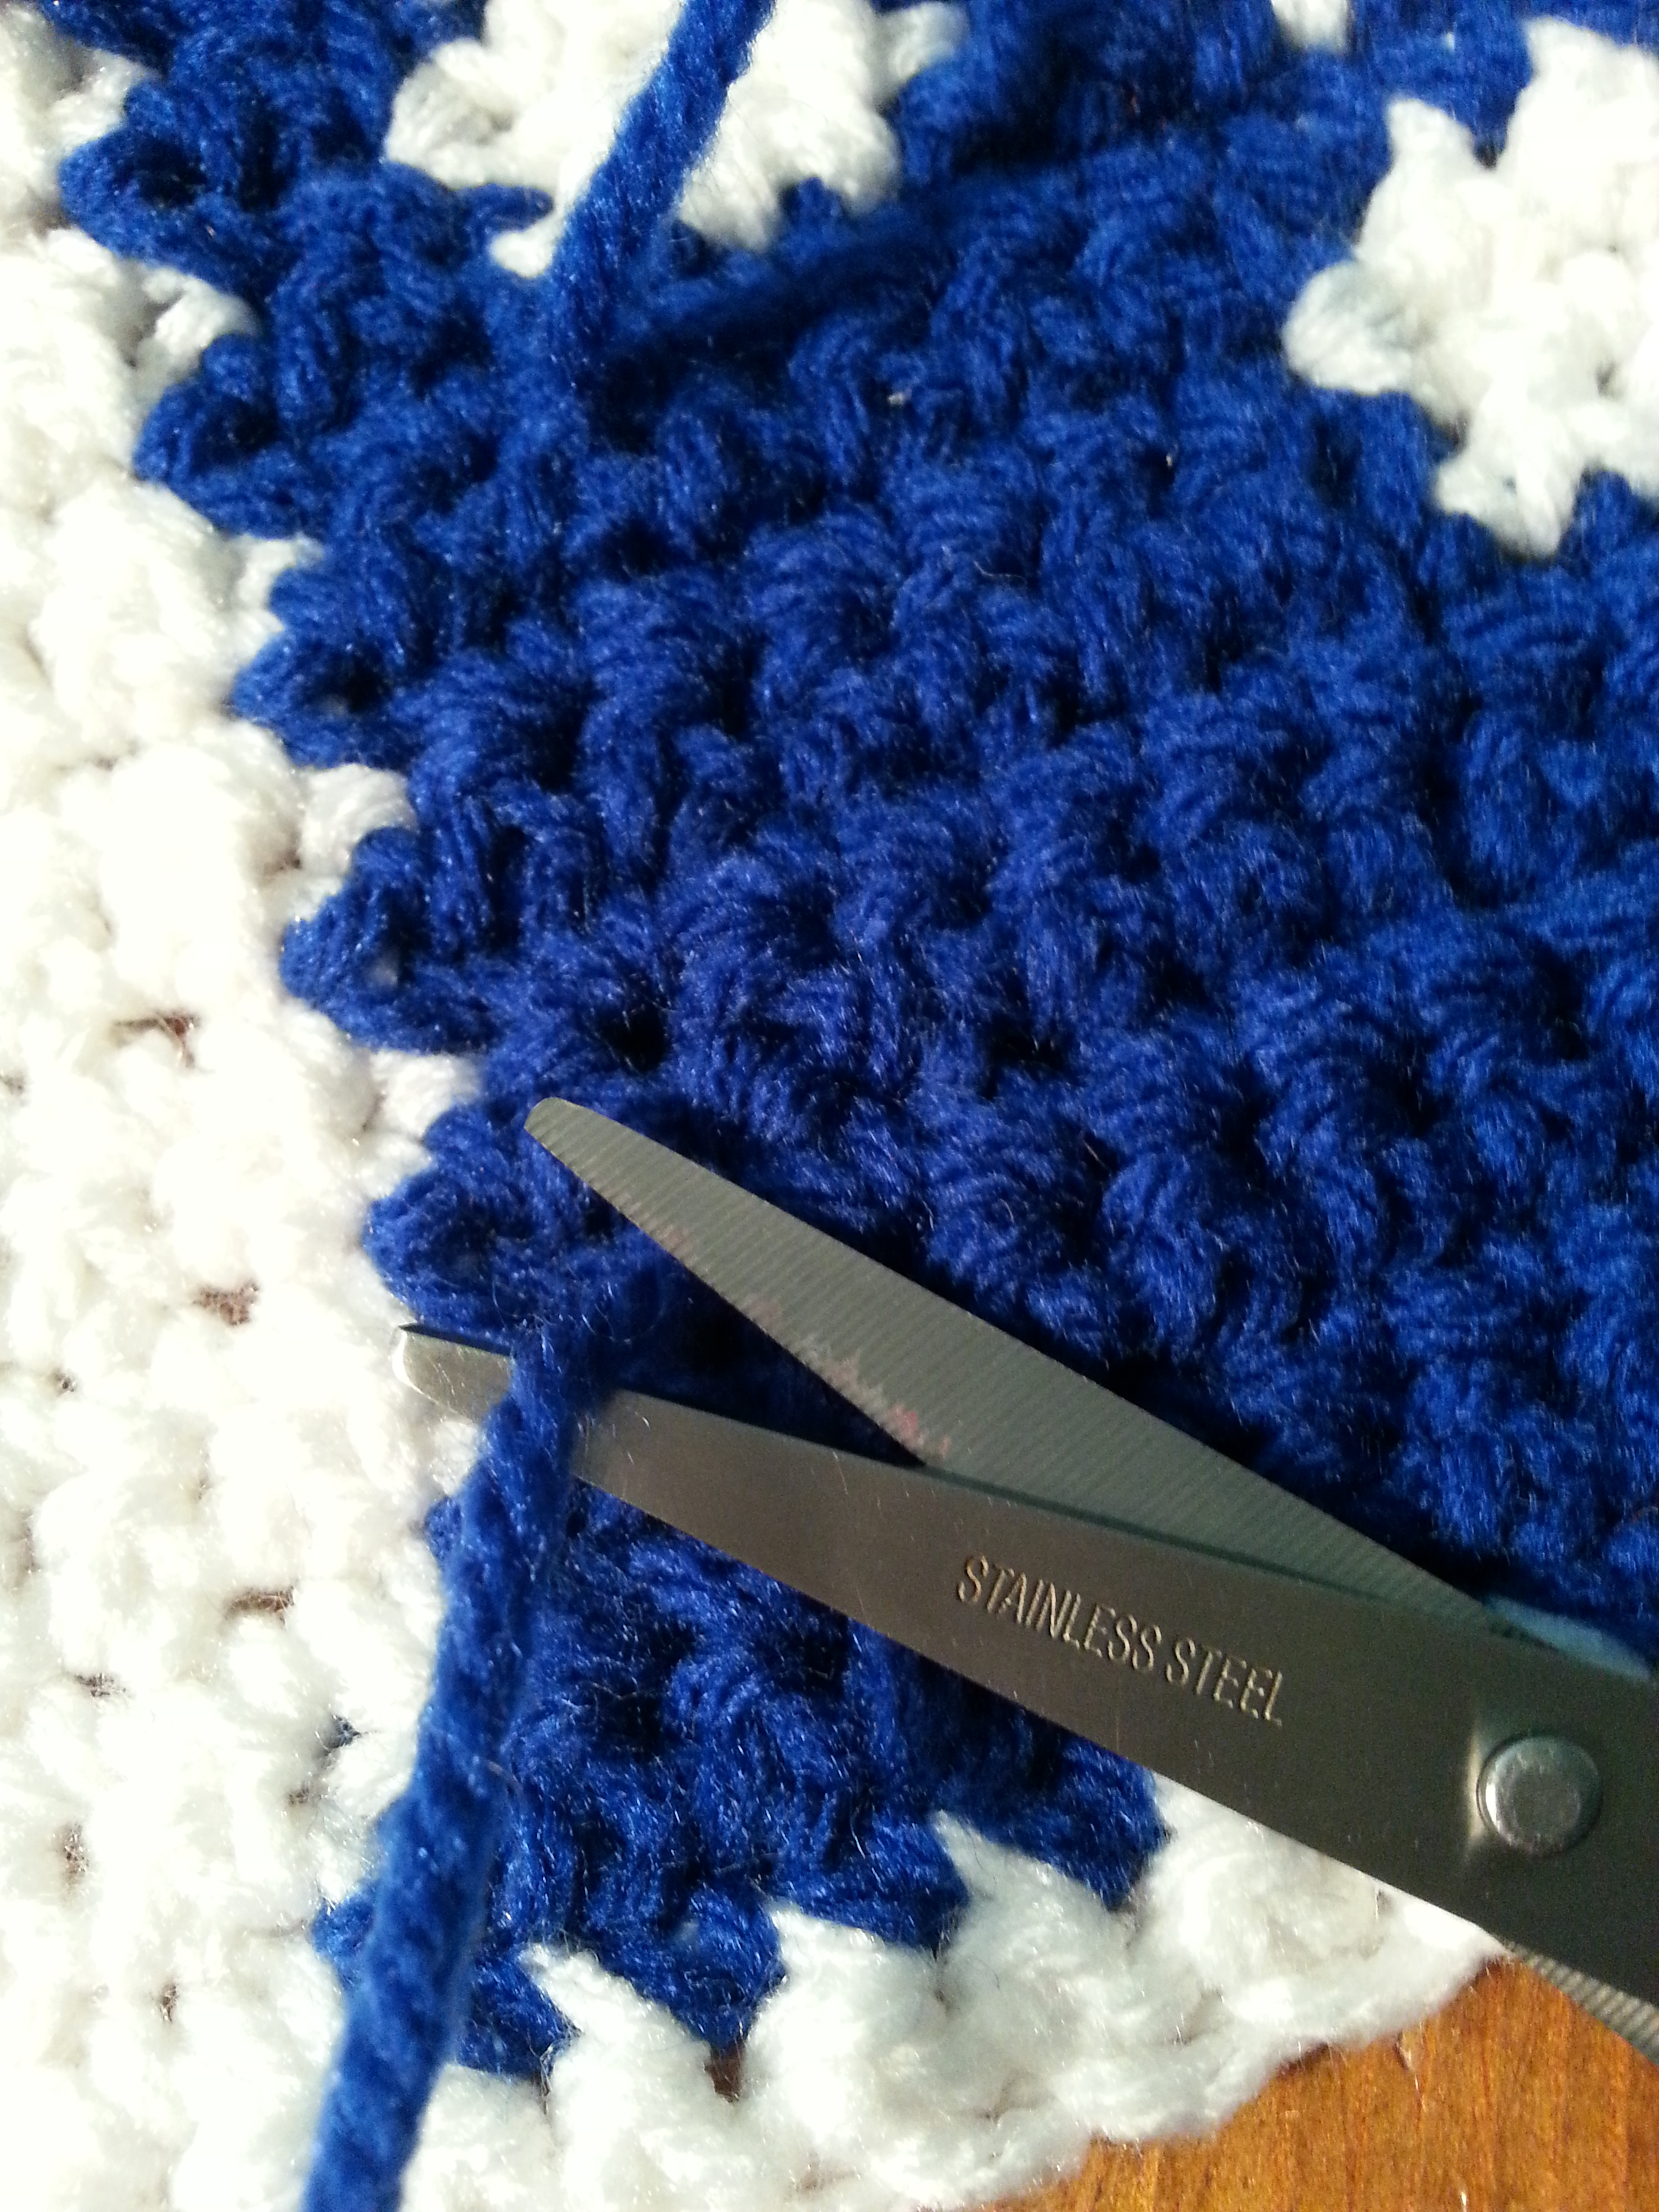
To get those ends woven in nice and tight so they won’t come undone I use a yarn needle and sew my ends in weaving back and forth a few times.
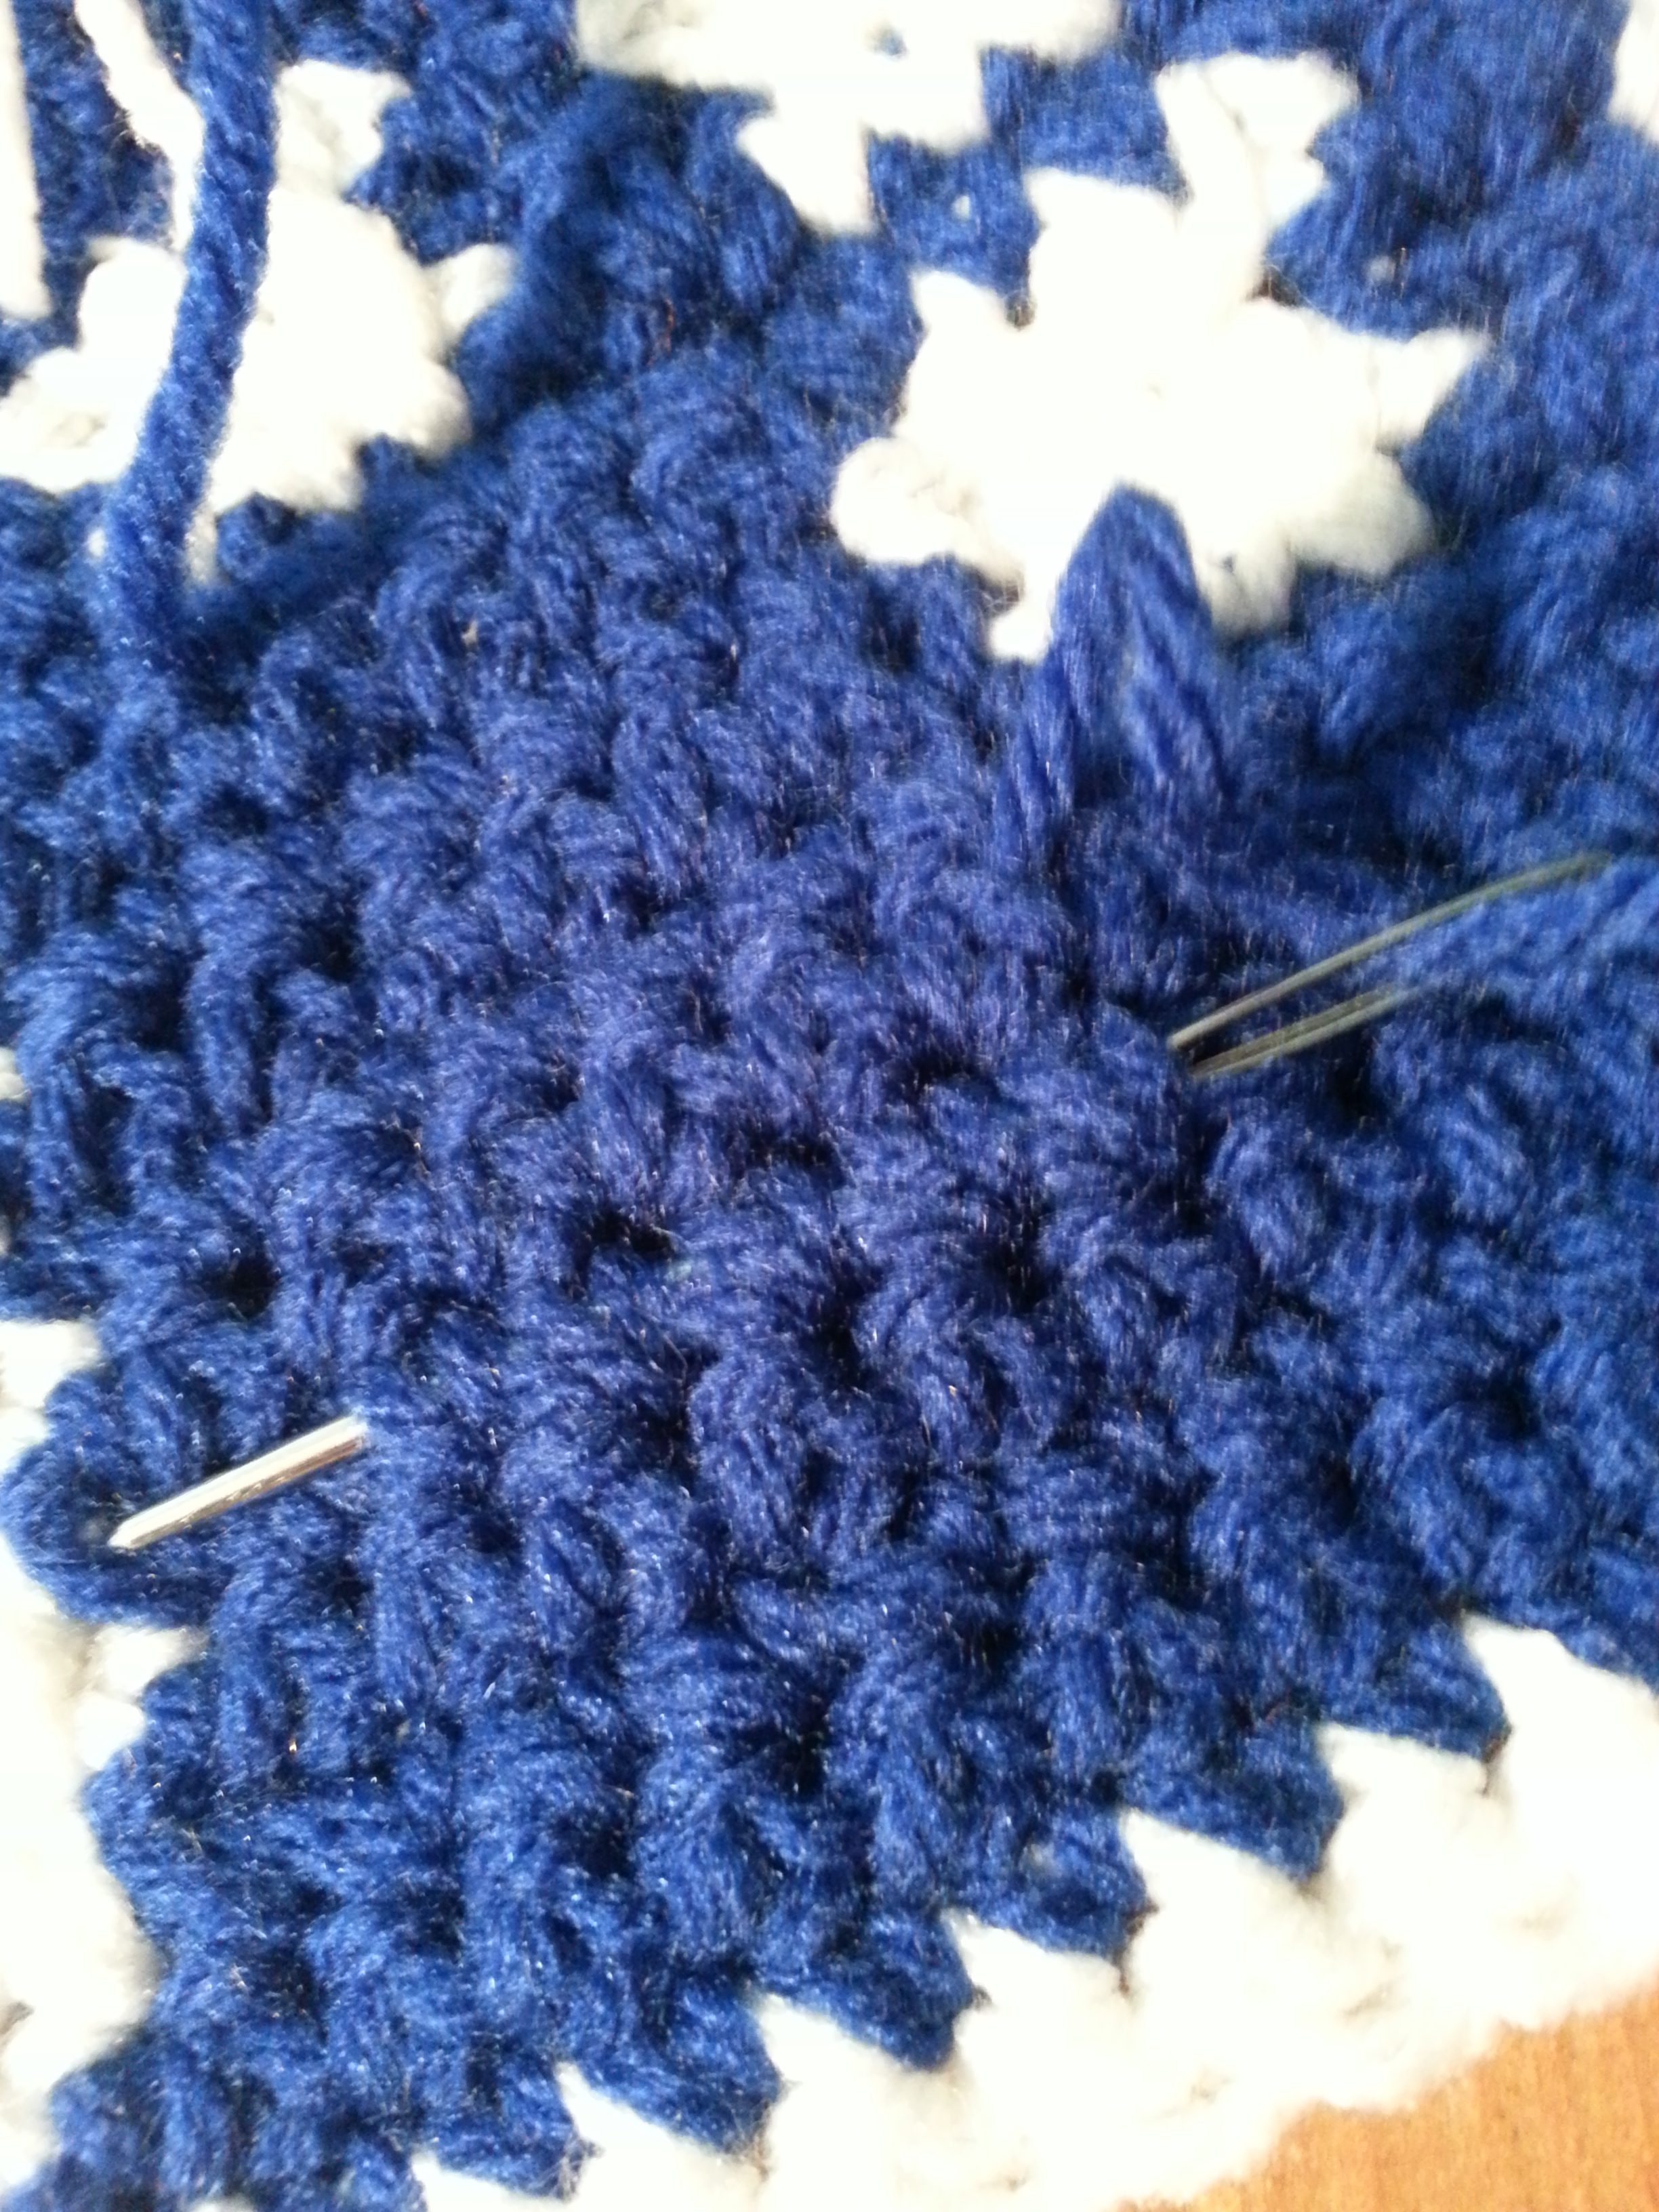
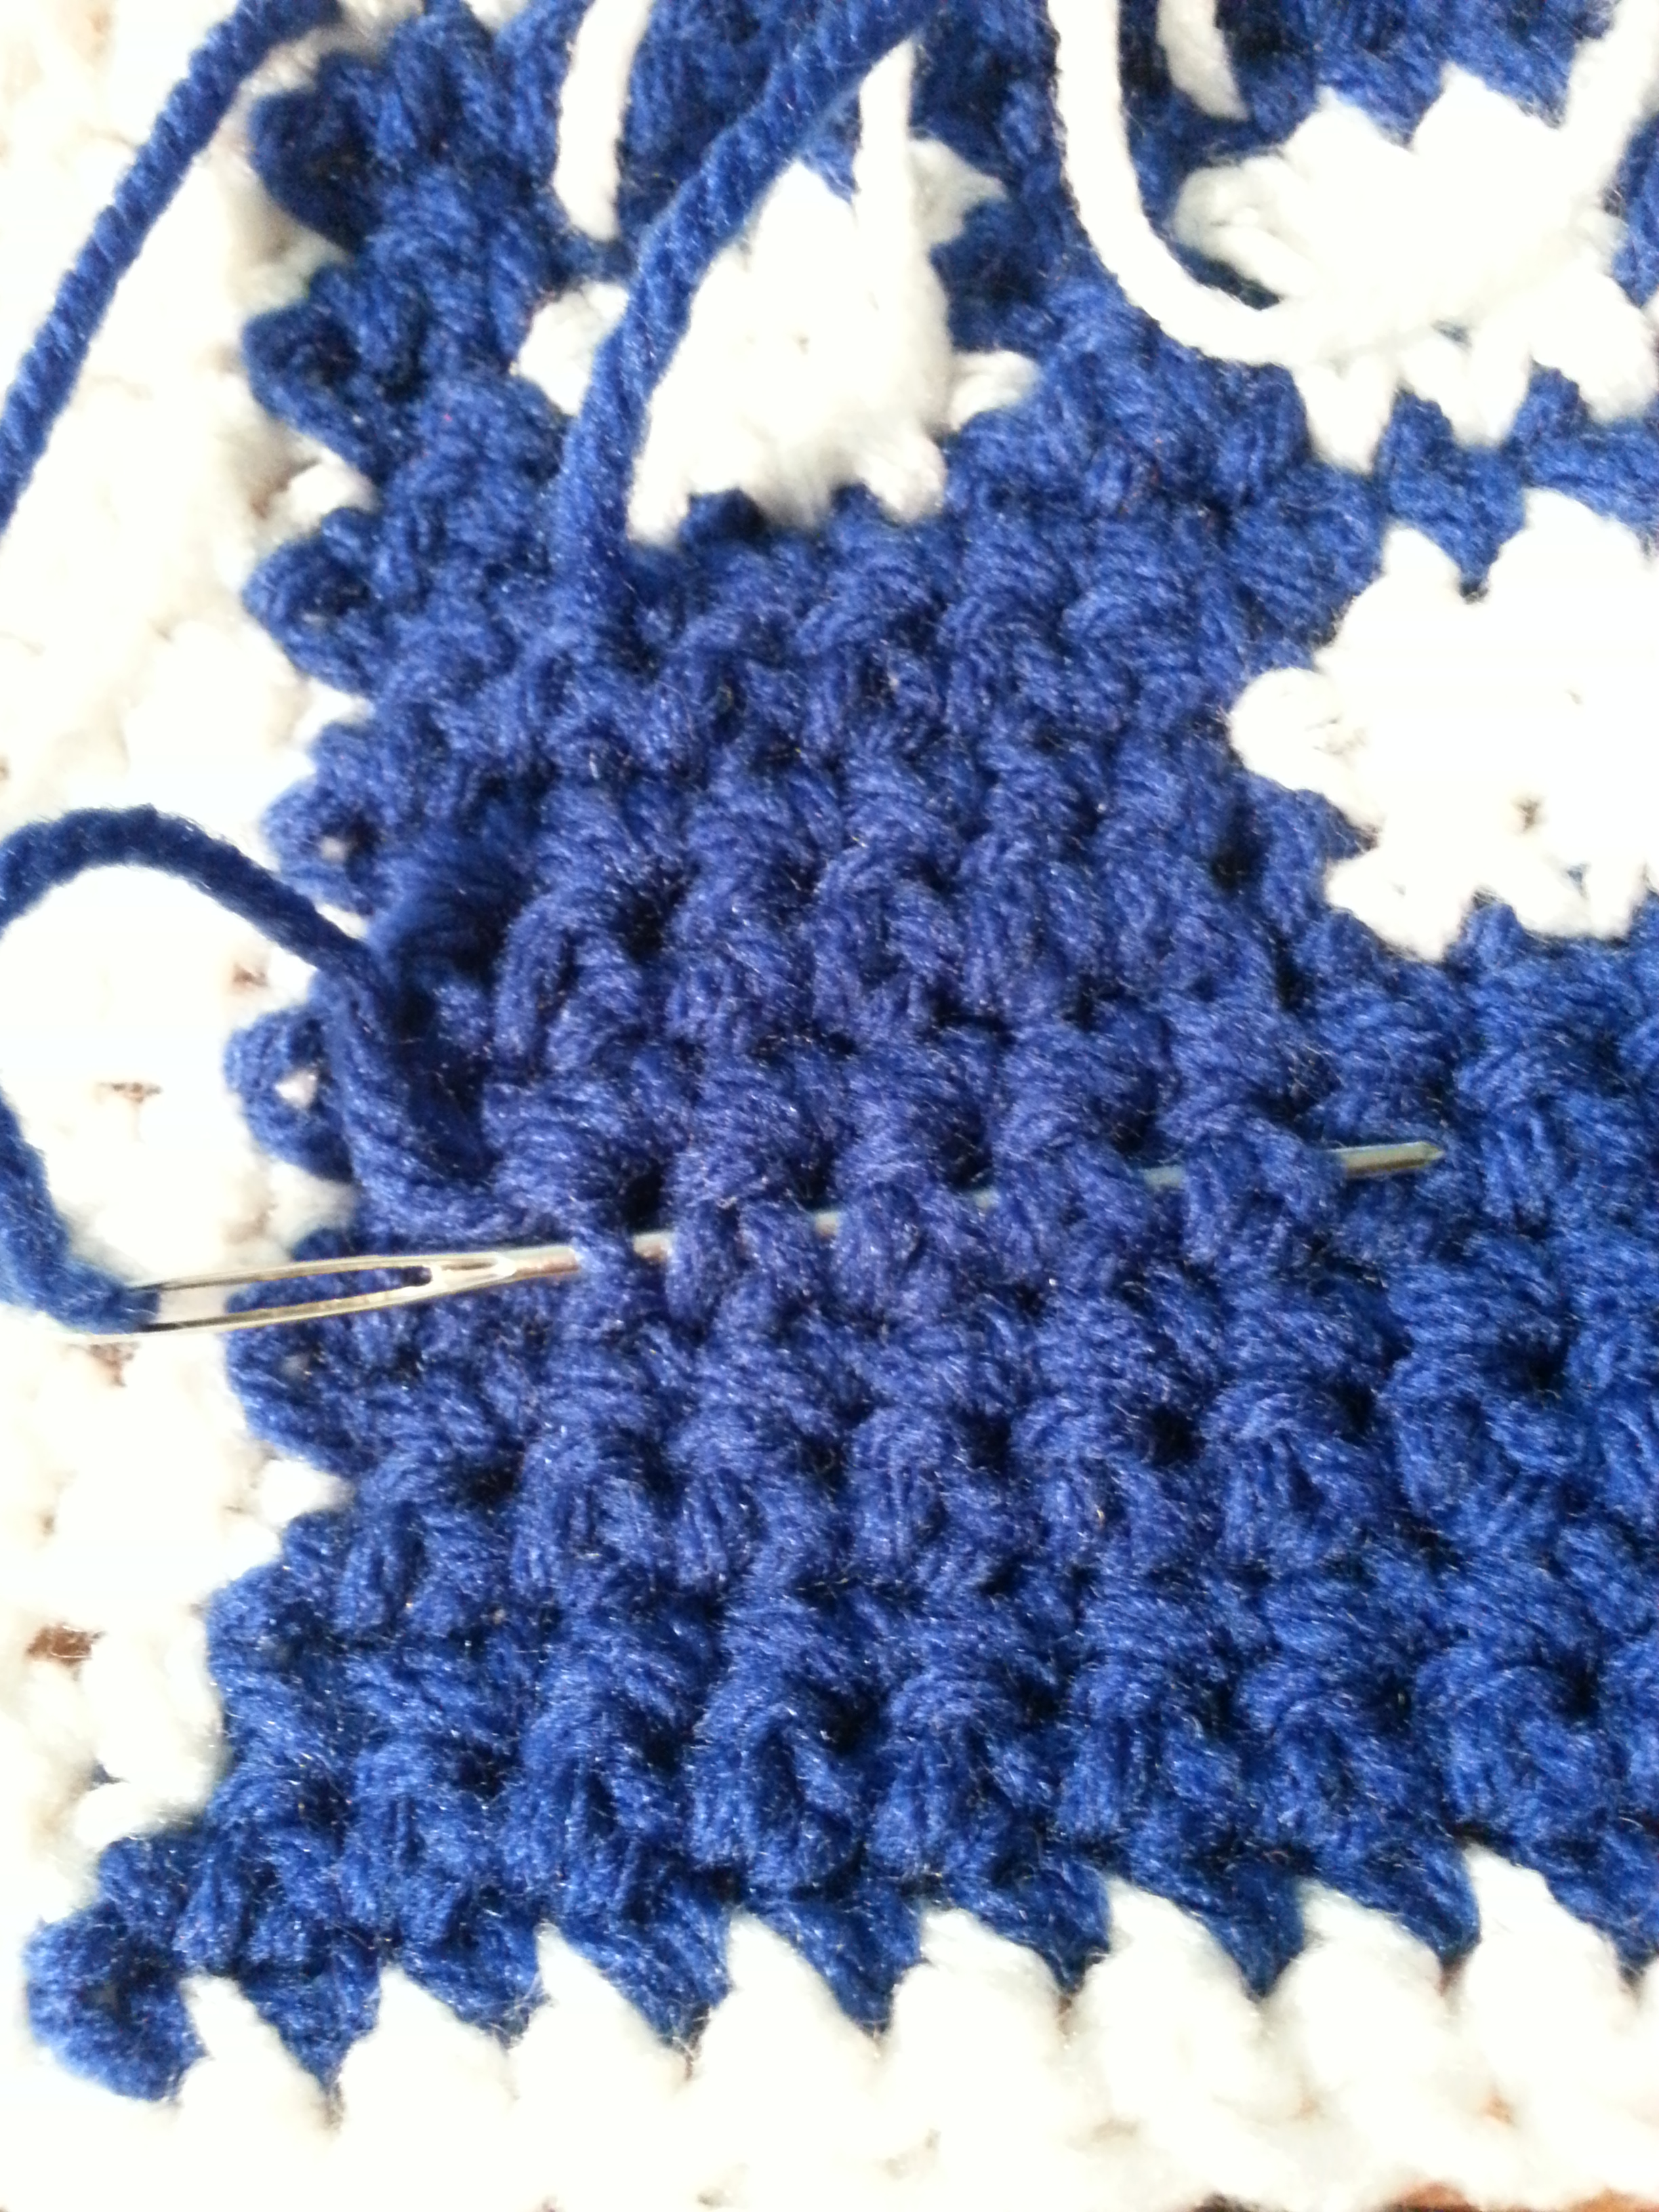
Then I snip them nice and close so there are no loose ends.
Before you know it you have a perfect square with an awesome image in it…..well almost perfect.
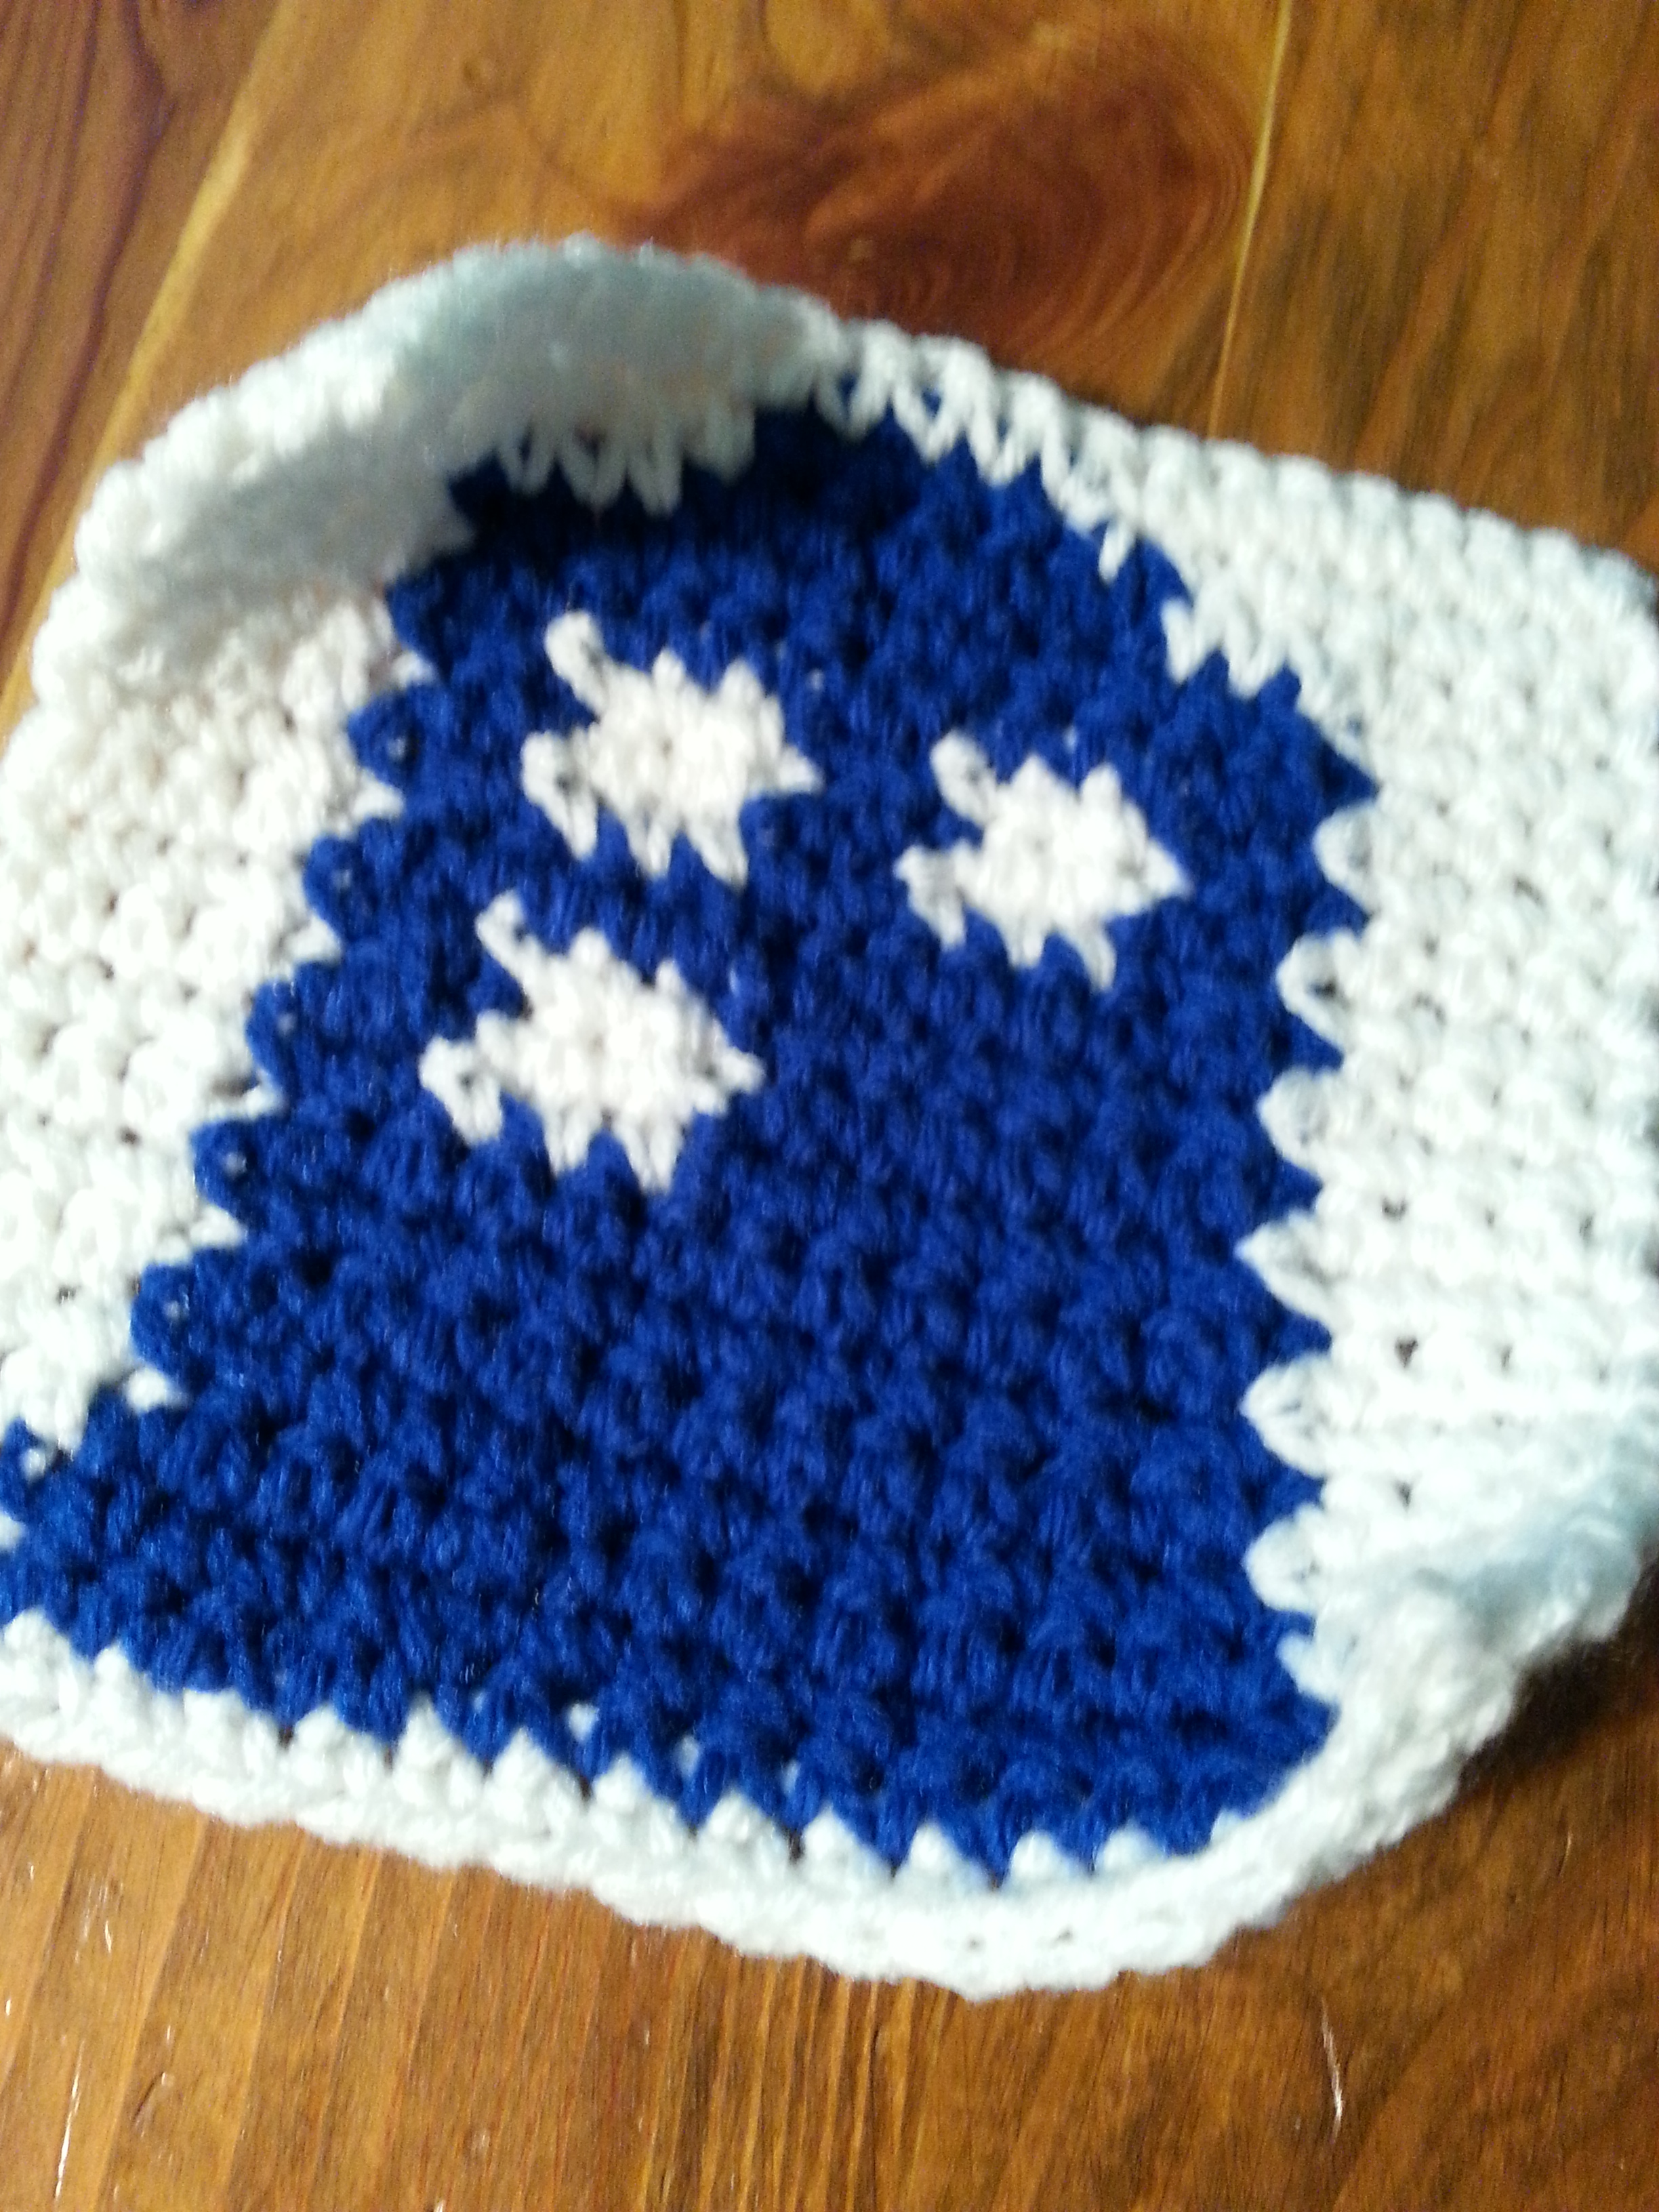
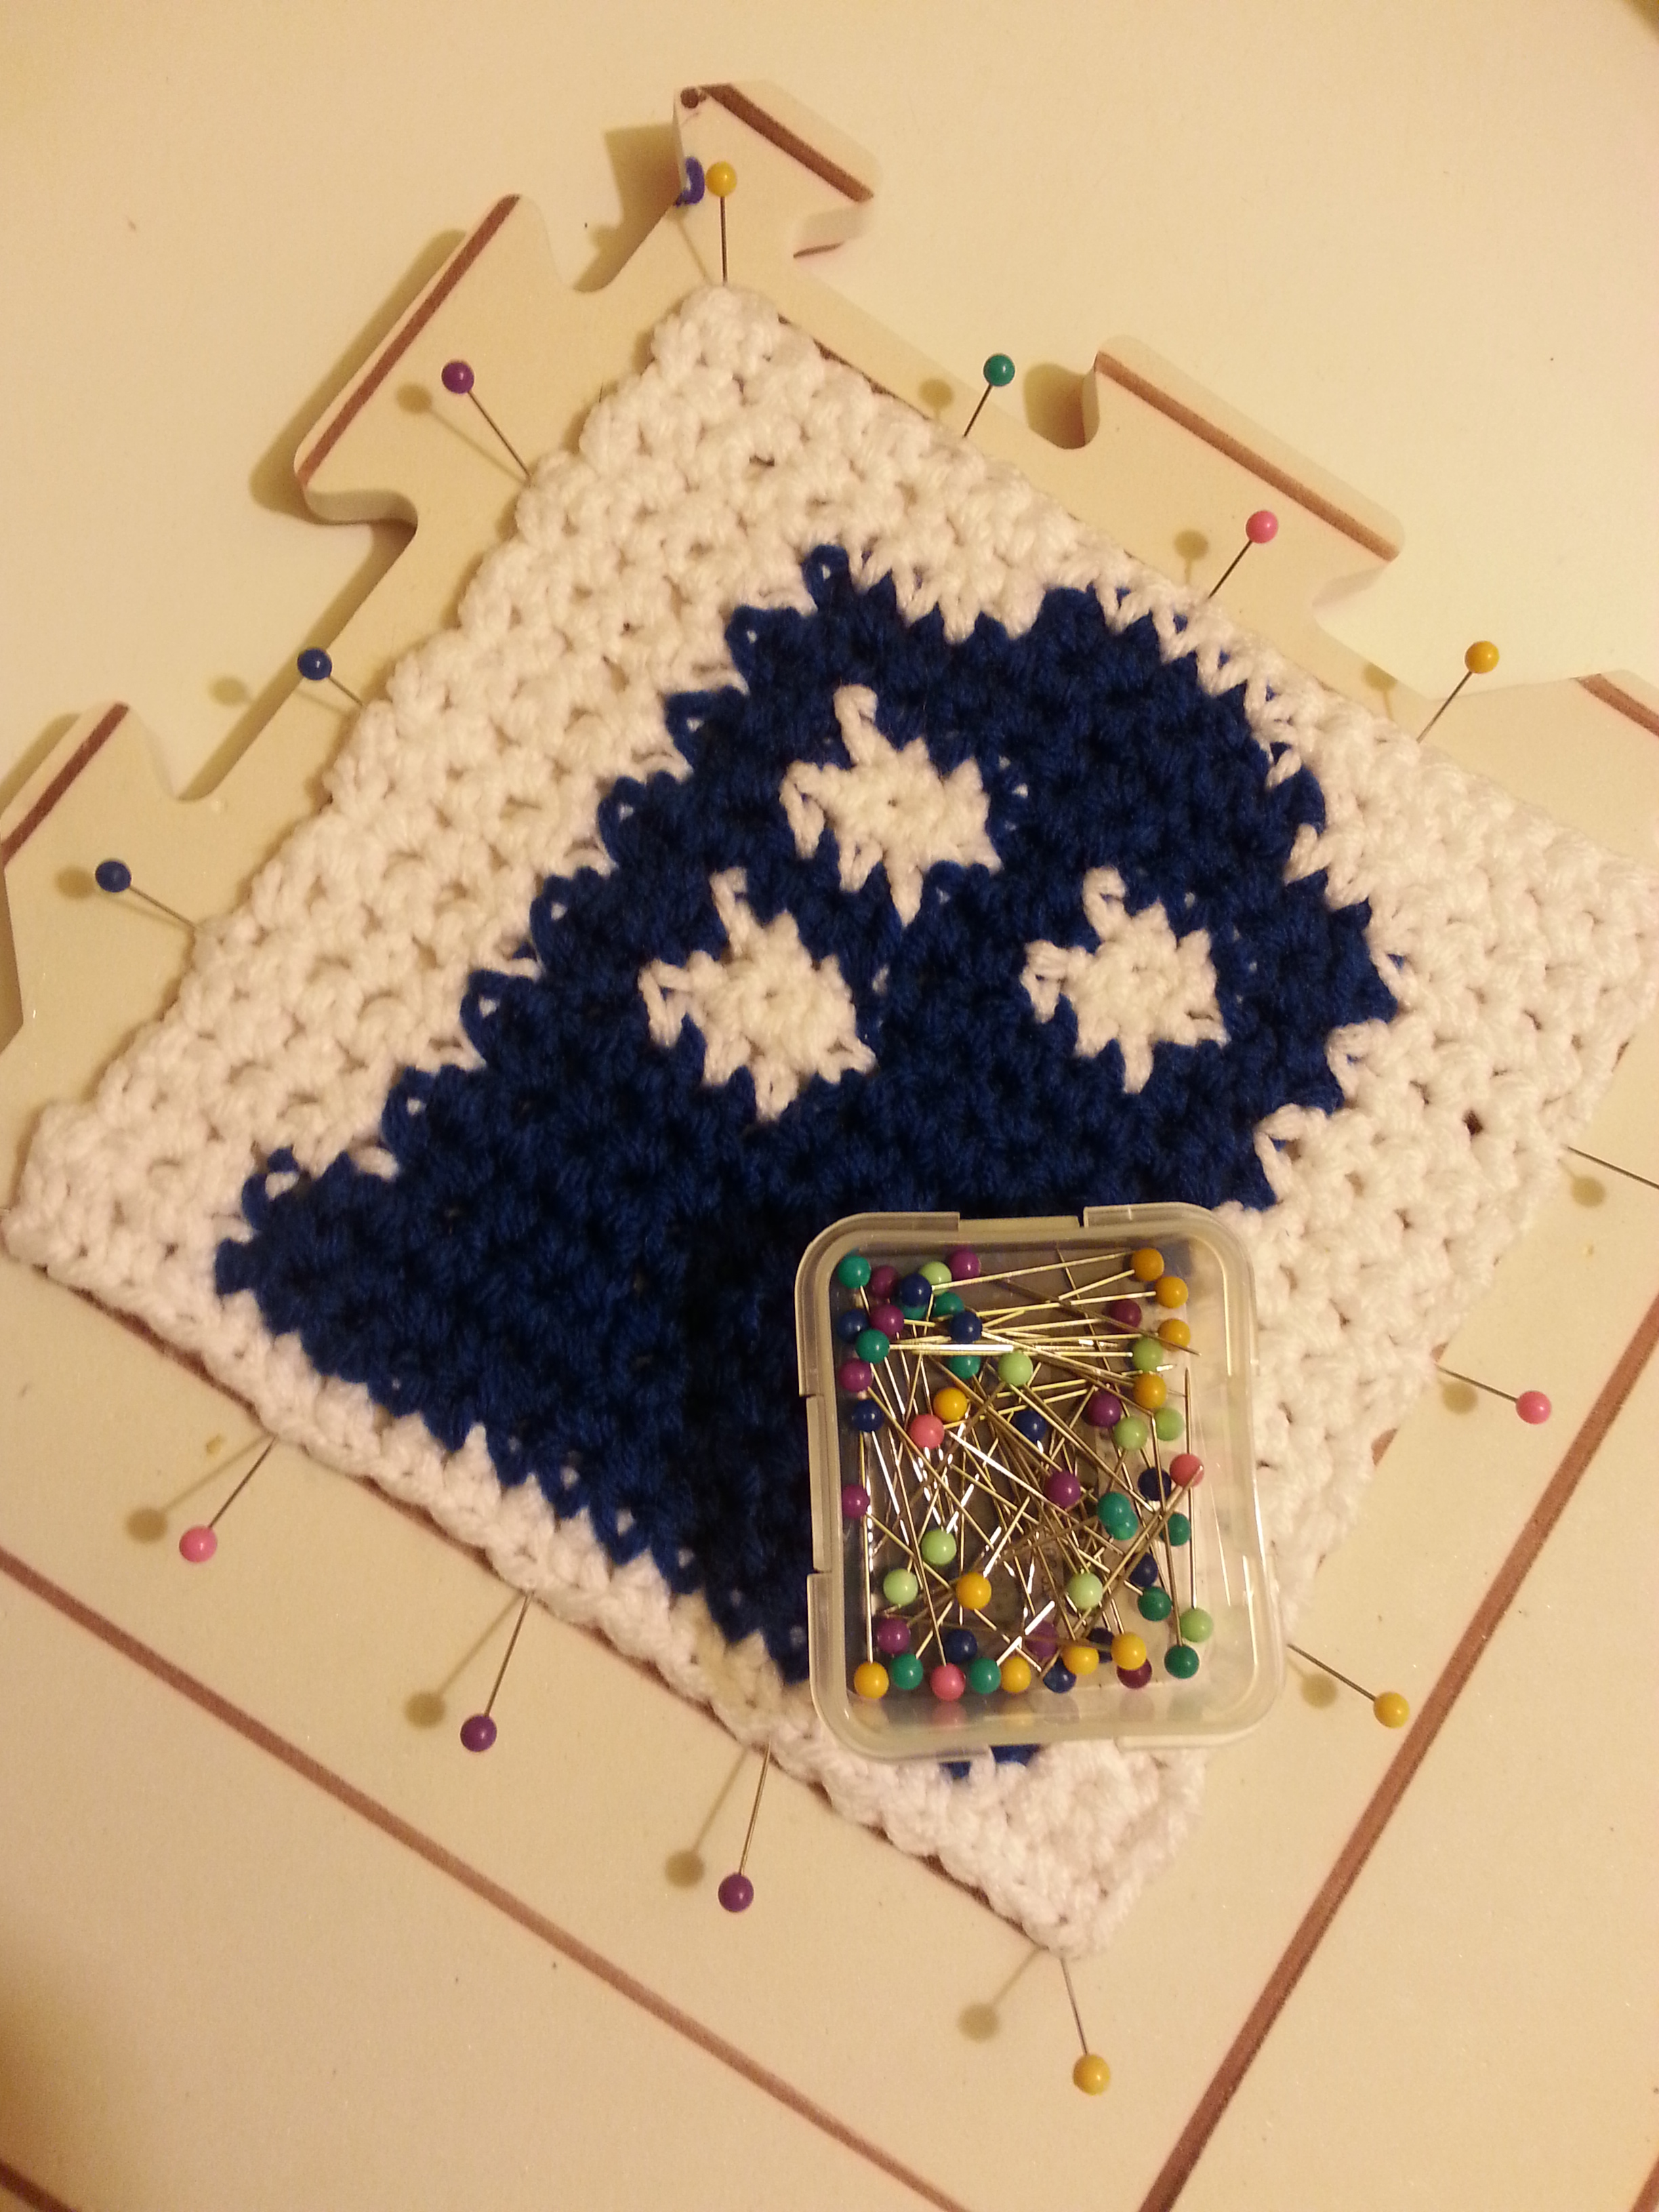
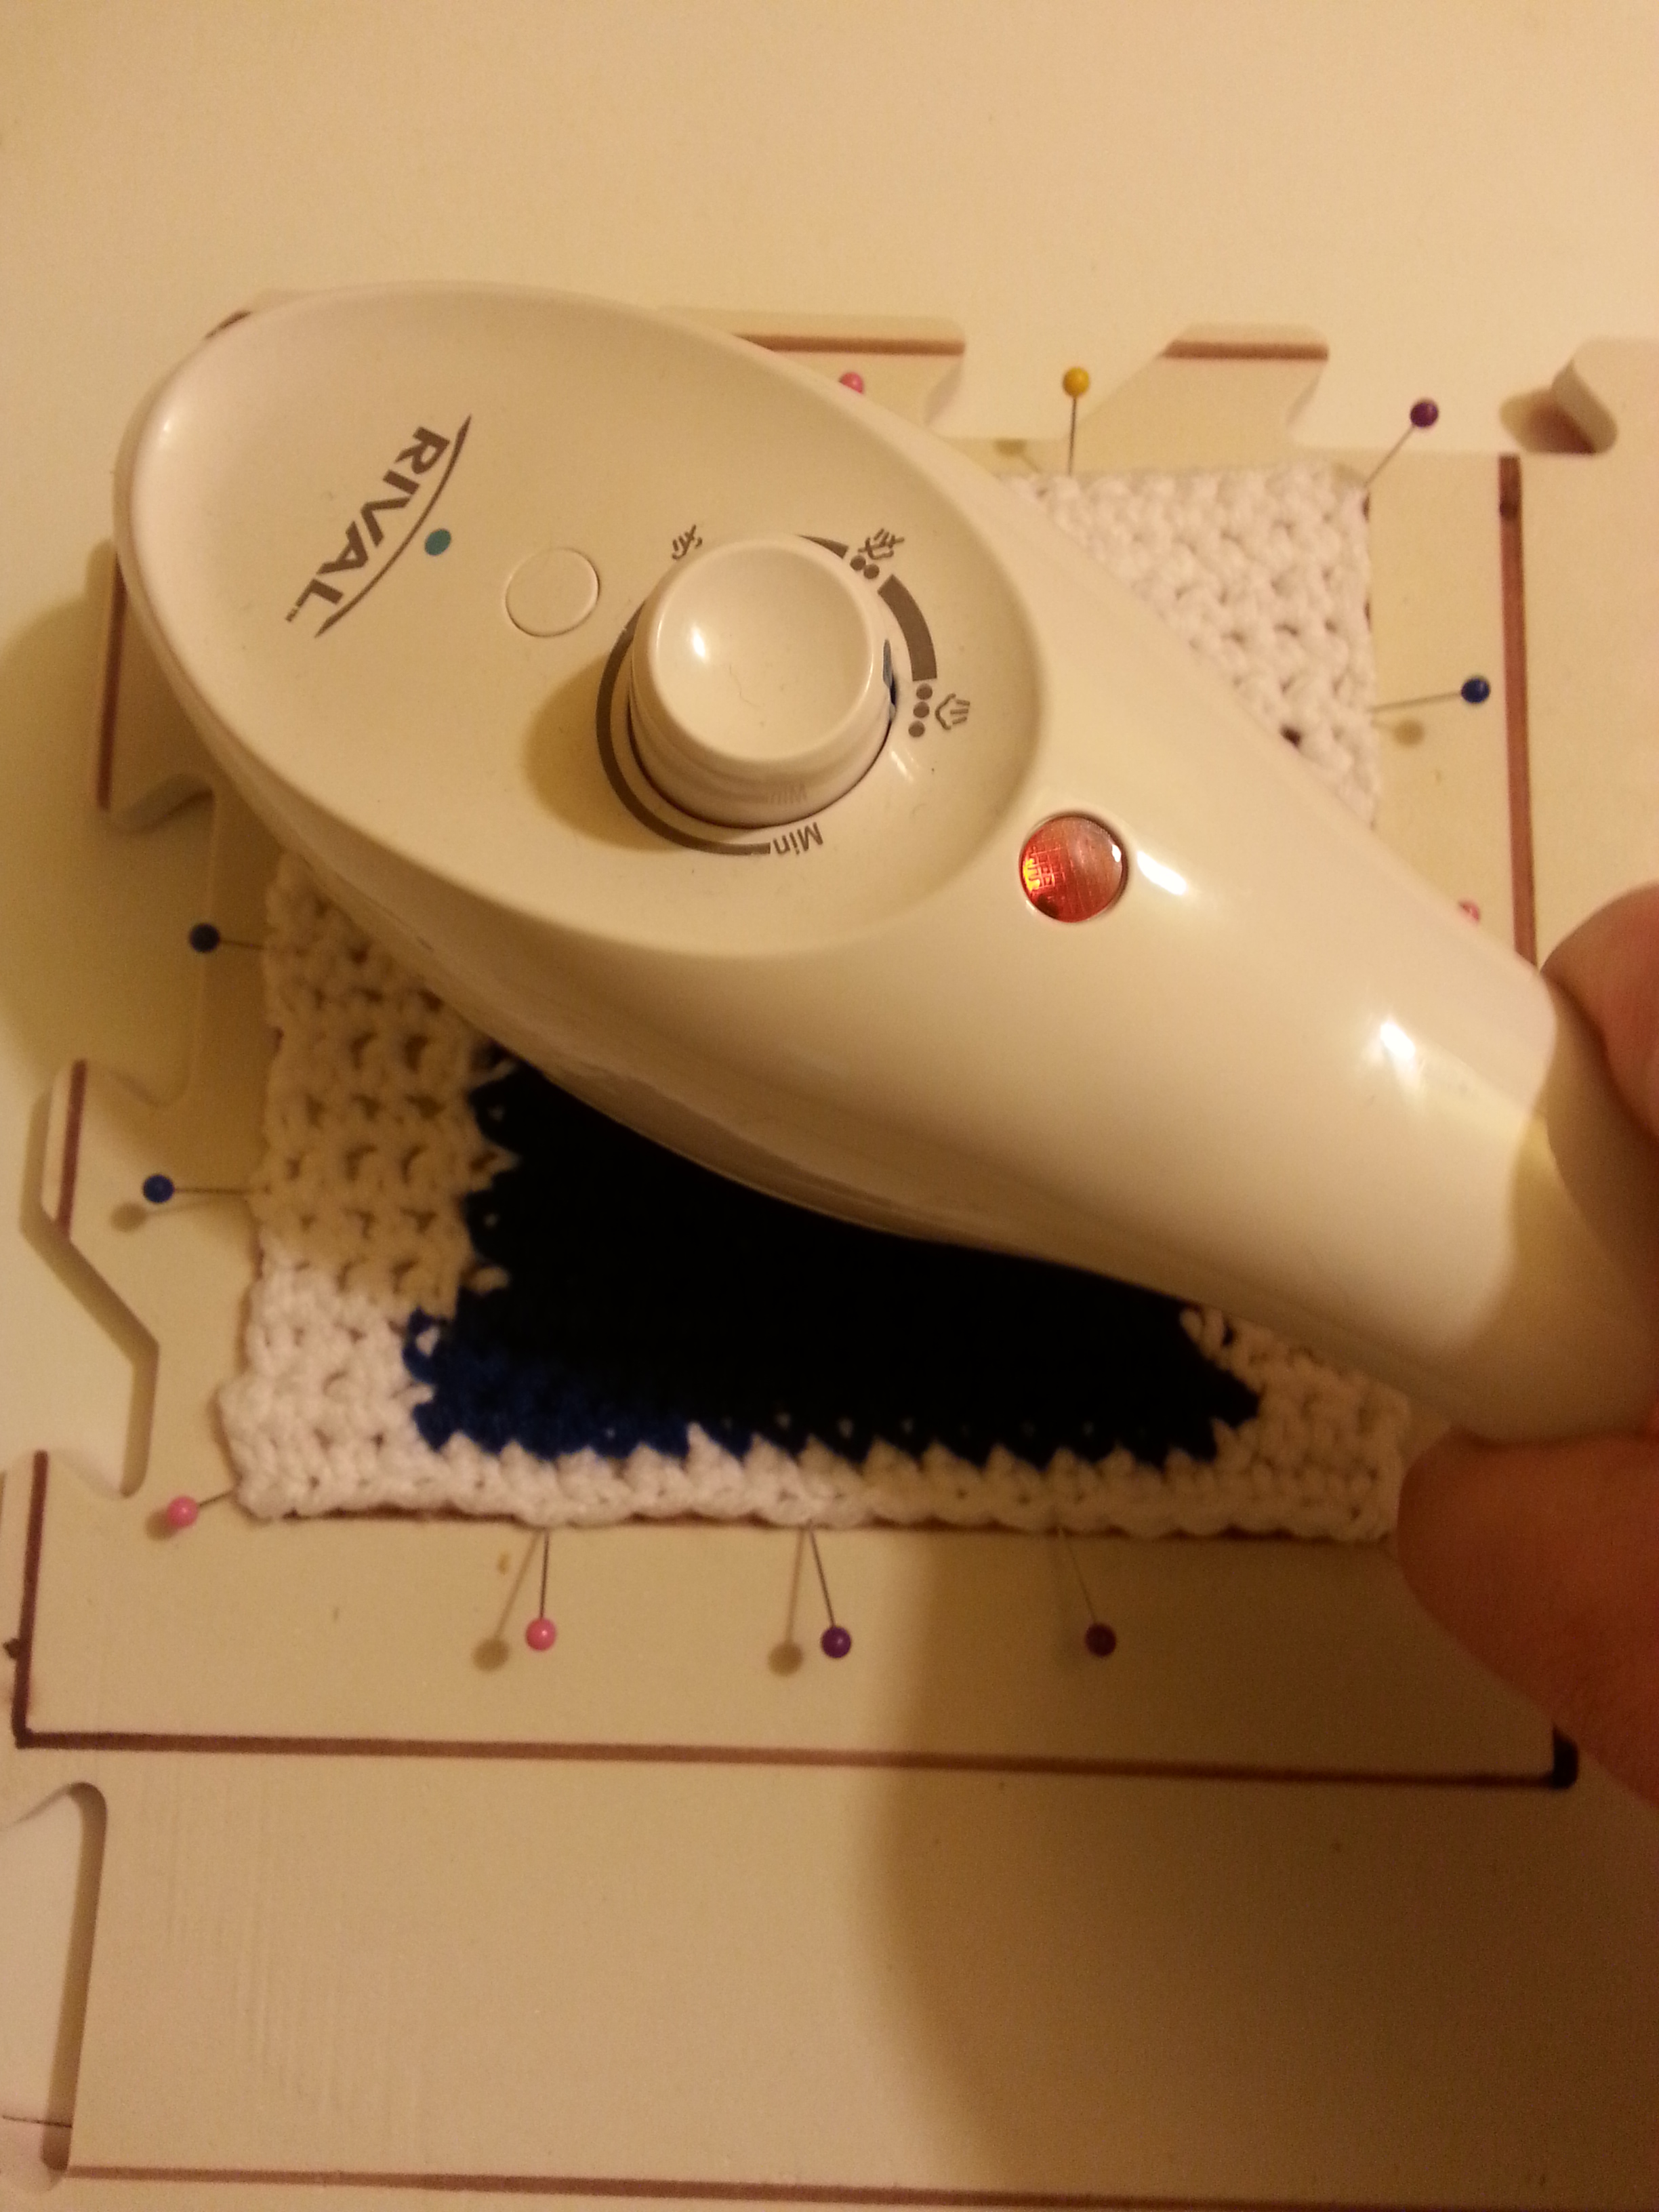
See how those ends are rolling in? That is because the square needs to be blocked. That is easy peasy. You just need some pins, a soft surface to pin your square into a nice flat square such as foam boards or an ironing board (I use foam playmats), and something with steam. I use a steamer, some use an iron with a steam setting. You can see my post on Blocking here
Tip: If using an iron do not let it touch your yarn, acrylic yarn will melt if an iron touches it.
Tip: Steaming not only helps you to get the perfect shape to your work, it also keeps your squares, if doing more than one, all the same size which is great when attaching them in a afghan. Also hot steam will melt acrylic just enough to lock in those ends. We don’t want those things coming loose.
After all of your hard work your piece is ready to share with the world! I hope this post helps everyone. If you have any questions please feel free to ask in the comments or over on Facebook and I will do my best to find the right answers for you.
Happy Hooking,
Angela
Disclosure: This post may contain affiliate links. Meaning I get a commission if you decide to purchase through my links, through no cost to you.


Thanks for the help. Is every stitch on the chart a single crochet? or do you start with the chain and then use a double?
LikeLike
You’re very welcome! In this post it is sc. Hdc can be used in graphs as well as c2c and bobble but dc seems to distort the image to much.
LikeLike
Hello! I keep following the link on pinterest for the Hermoine square, and keep getting this pattern. Do you have a link? I would greatly appreciate it 🙂
LikeLike
The Witch graph is only available here on the blog. Check out the Crochet A Longs tab at the top of the page. You will find all of my FREE HP squares there.
LikeLike
Do you have a graph pattern for a skeleton and wither skeleton
LikeLike
I do not. However I do custom graphs. If you are interested please feel free to contact me on facebook or at craftyridge@gmail.com
LikeLike
I will get back to you.
LikeLike
I have a whole list of other minecraft figures. Ho much do you charge for each and how would I get you the pictures I want.
LikeLike
You can see my pricing on the post below. You can contact me via email at craftyridge@gmail.com or via Crafty Ridge on Facebook or Crafty Ridge on Etsy.
LikeLike
I don’t see a post below
LikeLike
Sorry about that! https://craftyridge.com/2016/03/30/custom-graphs-made-just-for-you/
LikeLike
Do you turn your workbettysleeter
LikeLike
Yes!
LikeLike
I am working on the Harry Potter blanket, and after much trial and error I decided that the best look is achieved if I use Tunisian crochet. This is especially good for the writing part, I.e “the spells”.
LikeLike