

After coming across a great post on Bobble Stitch Graphghans by the amazing Repeat Crafter Me I had to try my hand at it and I have to say that I fell in love with all of that texture. However I didn’t fall in love with the back of the piece so I decided to make my square into a pillow. A Harry Potter Pillow to be exact!


To make this pillow I just needed a few things.
- a 16″ pillow form (I got a twin pack at JoAnn’s for 40% off)
- worsted weight yarn in all of my graph colors (brown, black, red, gold and aran for the front and some red, gold, black, green, blue and white for the back)
- a 5.00 mm/H crochet hook for the Bobble block and a 3.5 mm/E hook
- a yarn needle for all of those ends
- scissors
- gauge for this square is 7 sc and 8 rows is 2″ square
O and don’t forget the patterns!

You can download the HP graph PDF here! HP Pillow Pattern Graph
For the bobble stitch you will count the number of squares across the bottom of your graph. Multiply that number by 2 and add 1. So for this graph you have 25 squares multiplied by 2 is 50 plus 1 is 51 so you will chain 51.
In a bobble graphghan each square is equal to two stitches wide and two stitches tall. What that means is for row one you will sc across doing 2 sc for each square on the graph, changing color as needed. At the end of row one you will then ch 3 and do a bobble in the first st and a sc in the 2nd, You will repeat the pattern of one bobble then one sc, changing color exactly like you do in the row of sc below it. These two rows of crochet will be equal to one row of your graph.
When you come to the third row of crochet on your afghan you will then do a row of sc, changing colors as it appears in the 2nd row of the graph. You will then do the next row using bobbles and sc just like before, changing colors just like the row of sc.
Your graph will be worked up in alternating rows. The color changes will be made in the rows of sc and then they will become the guideline for the row of bobble and sc. Each square will be represented by 2 sc in one row and the bobble and sc in the 2nd row.
I carried my yarn through out. It doesn’t show at all through the front, however it does peak through the back. If you do this make sure to pull your yarn snug but not to snug before using it again.
I did a border of sc around my Harry Potter Bobble Square with black and left the black attached and sat it aside because you will use it again.
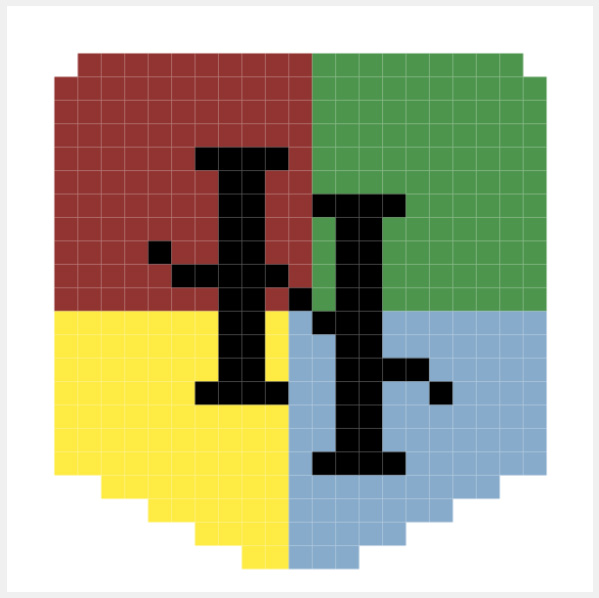
The back of my pillow was a fun and colorful mock up of the Hogwart’s Crest! You can download the HP Crest Pillow Graph PDF here! HP Crest Pillow Pattern
For this pattern I used the c2c method! You can see how to do a c2c graph in one of my previous posts, A New Texture For Your Graphghans. This post and video will give you the basics on crocheting a c2c graph, however I did make some adjustments when doing the pillow so the stitch is tighter.
- Instead of chaining 6 at the beginning of the square, chain 5
- use hdc instead of dc
- ch 2 instead of 3 when starting a new square.
- gauge for this square is 3 c2c clusters by 3 c2c clusters is 2″ square
As usual you will read your graph from c2c instead of across each row. Make a note of marking each row off that you finish. It makes it easier to see what you have done and where you are going. Check out this video for some basics
I also added a border of sc on my Hogwart’s Crest. I did 1 row of sc in each of the 4 school colors, doing a sc, ch 2, sc in each corner.
Then when attaching the front to the back I made sure to put them back to back and also made sure both were right side up. Using the black from the Harry Bobble Square I used a sc to attach them to each other, slipping my hook under each layer. There were times when I had to do a couple sc in one stitch of the Harry Bobble square to make up for it having less stitches around the border than the Hogwart’s Crest. When you are almost done and just have one side to stitch up, slip in your pillow form and get it all straightened out before finishing it off.When all sides are sealed up with the sc then all you have to do is tie off at the end and sew in your ends.
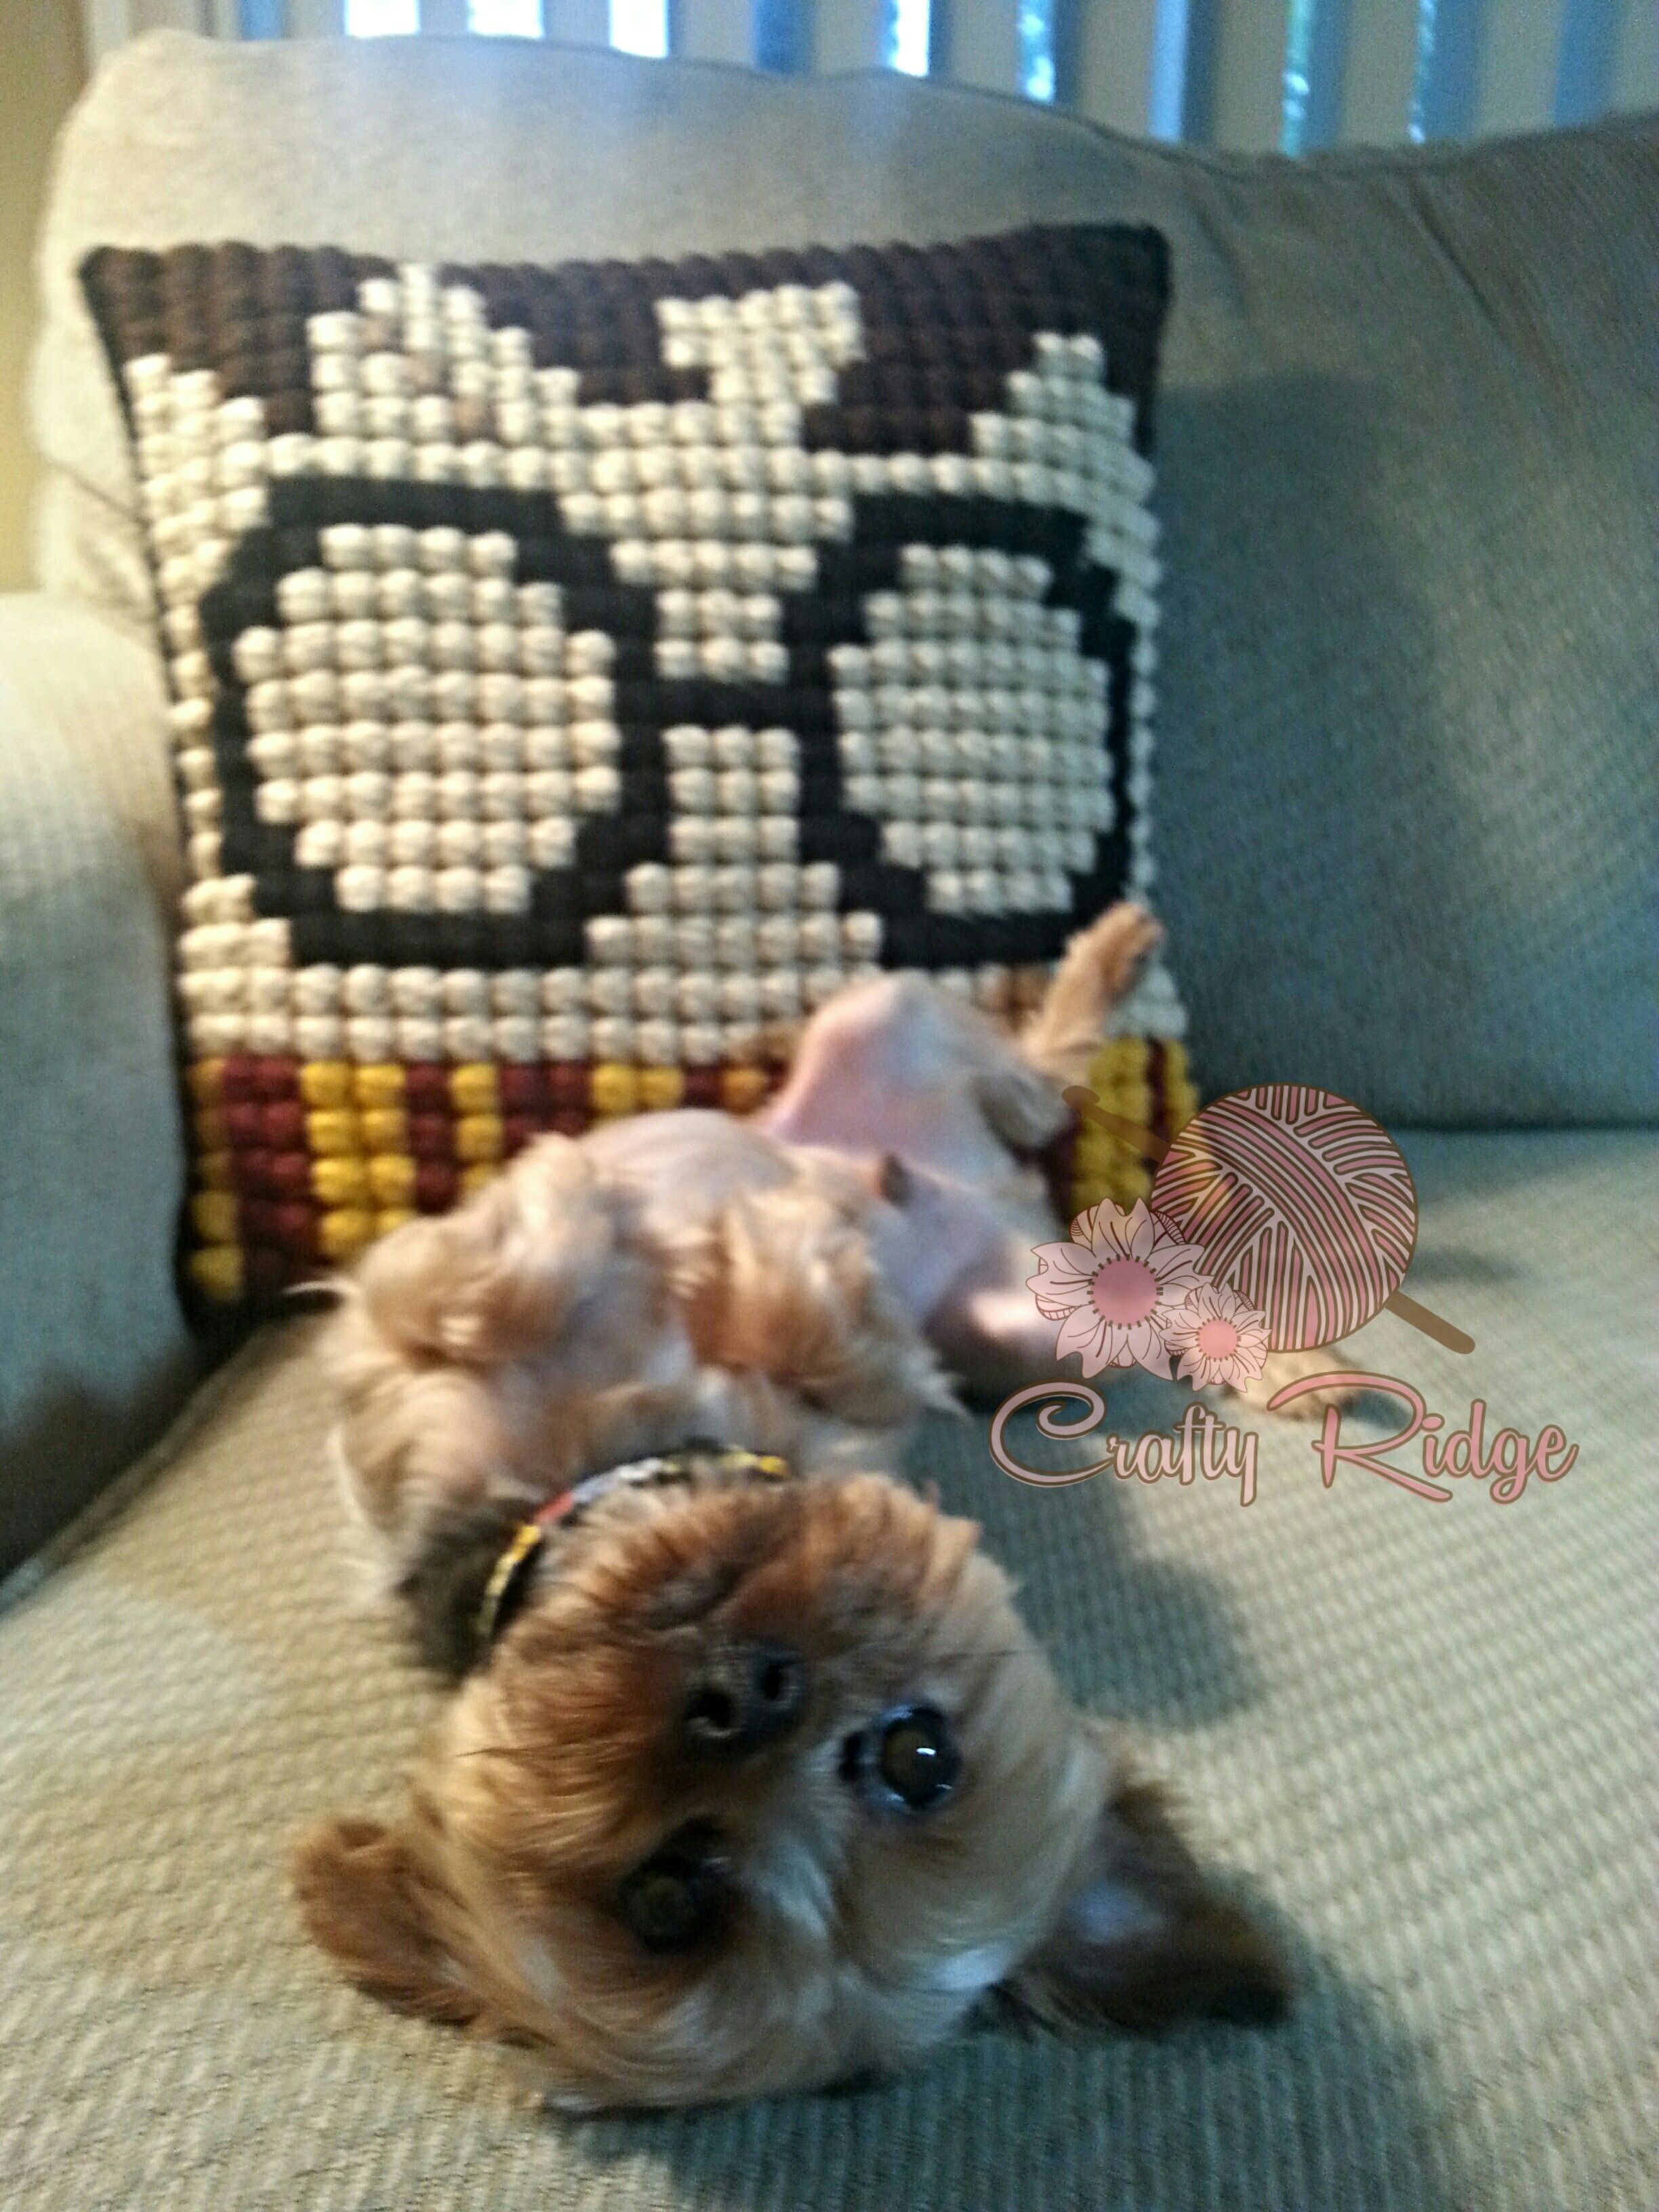
Then you have a fun Potter Pillow of your own to cuddle up with! Maybe it’ll even make you as happy as it did my little Zeus!
Happy Hooking,
Angela


89 thoughts on “My Very Own Potter Pillow!”