
This DIY Dice Catapult Kit is available on Etsy and by clicking on SHOP at the top of this page!
In the world of tabletop gaming, every roll of the dice can change the course of your adventure. But what if rolling the dice itself could become an adventure? Enter the Wooden Dice Catapult Kit – a delightful DIY project that combines craftsmanship and gaming excitement. In this blog post, I’ll take you on a journey through the assembly process of this captivating kit and show you how to catapult your tabletop experience to a whole new level!

Step 1: Gather Your Materials The first step in any project is gathering your materials. Thankfully, the Wooden Dice Catapult Kit comes with everything you need, neatly packaged and ready for assembly. Glue not included but you can use wood glue or even Elmer’s school glue. Check the contents to ensure you have all the pieces, including the wooden components and the rubber band, and follow along for the assembly instructions.
Step 2: Study the Following Instructions Before diving into assembly, take a moment to carefully read through the instructions below. This step-by-step guide will be your trusty companion throughout the process, ensuring a smooth and enjoyable experience. Understanding the layout and order of assembly is key to success.
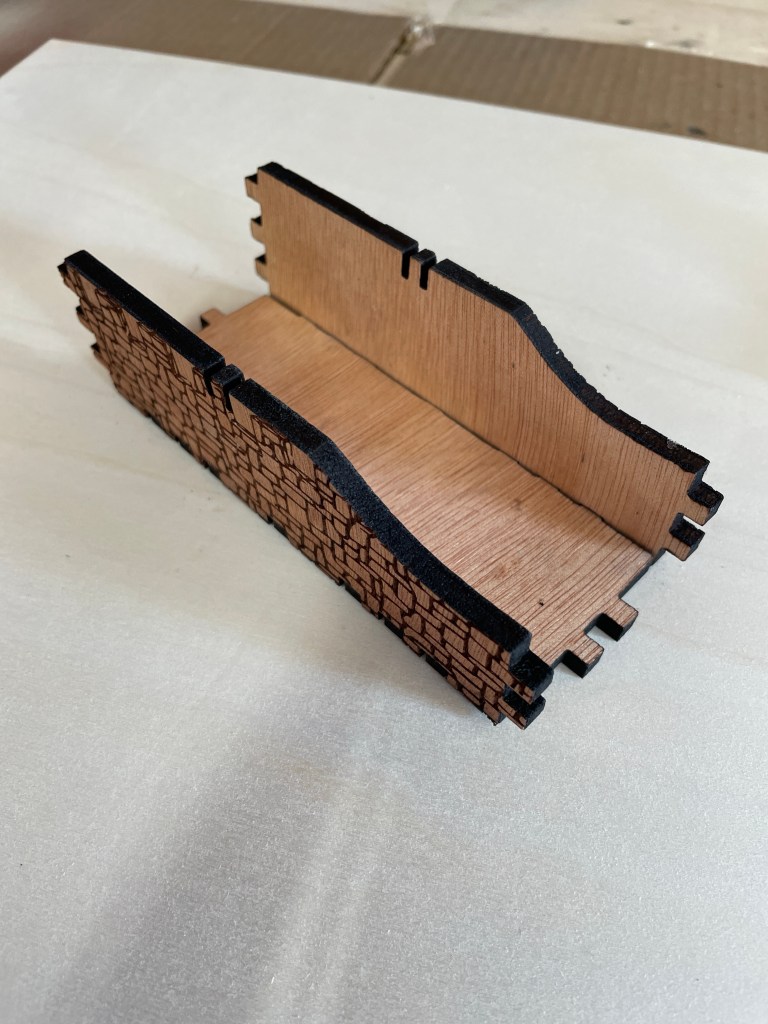
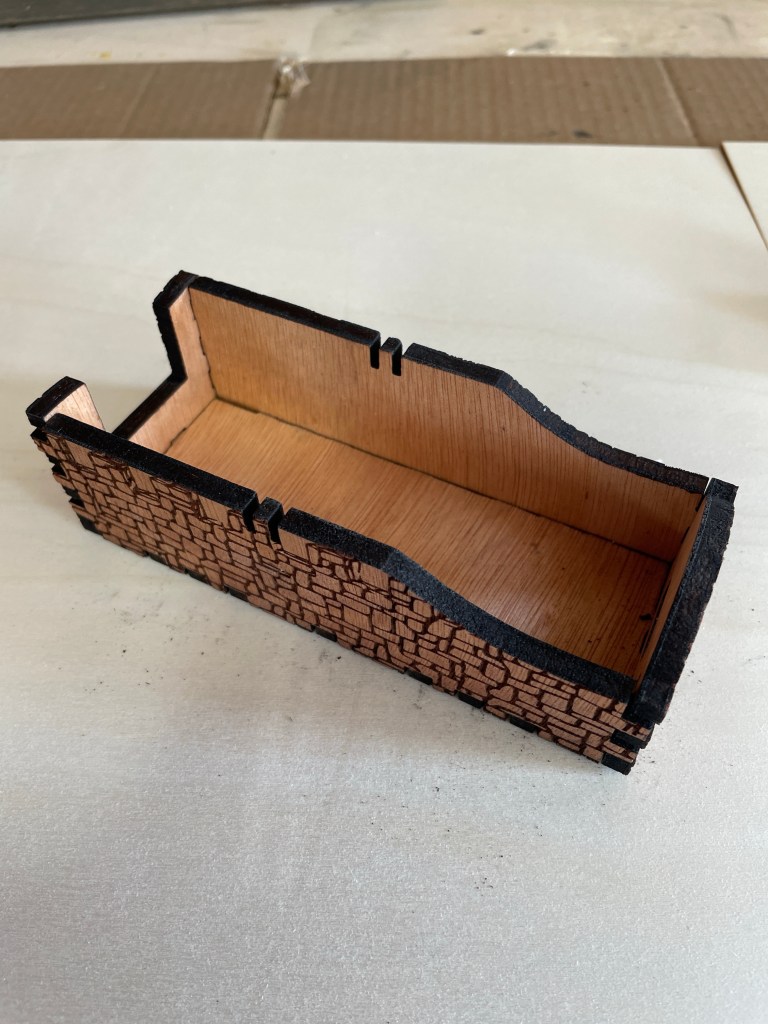
Step 3: Assemble the Base Begin by assembling the base of your wooden dice catapult. Fit the wooden pieces together according to the pictures above and below, making sure they align snugly. This forms the foundation upon which the rest of the catapult will be built.


Step 4: Build the Arm Next, it’s time to construct the arm of your catapult. This pivotal piece is responsible for launching your dice across the table. I have assembled the ring and small catch to the arm before shipping so now all you have to do is attach rubber bands as shown to provide the necessary tension for propelling your dice with precision.
Step 5: Customize Your Catapult Now comes the fun part – personalization! Feel free to paint, stain, or decorate your wooden catapult to match your gaming style or theme. This is where your creativity can truly shine, turning your catapult into a unique work of art.
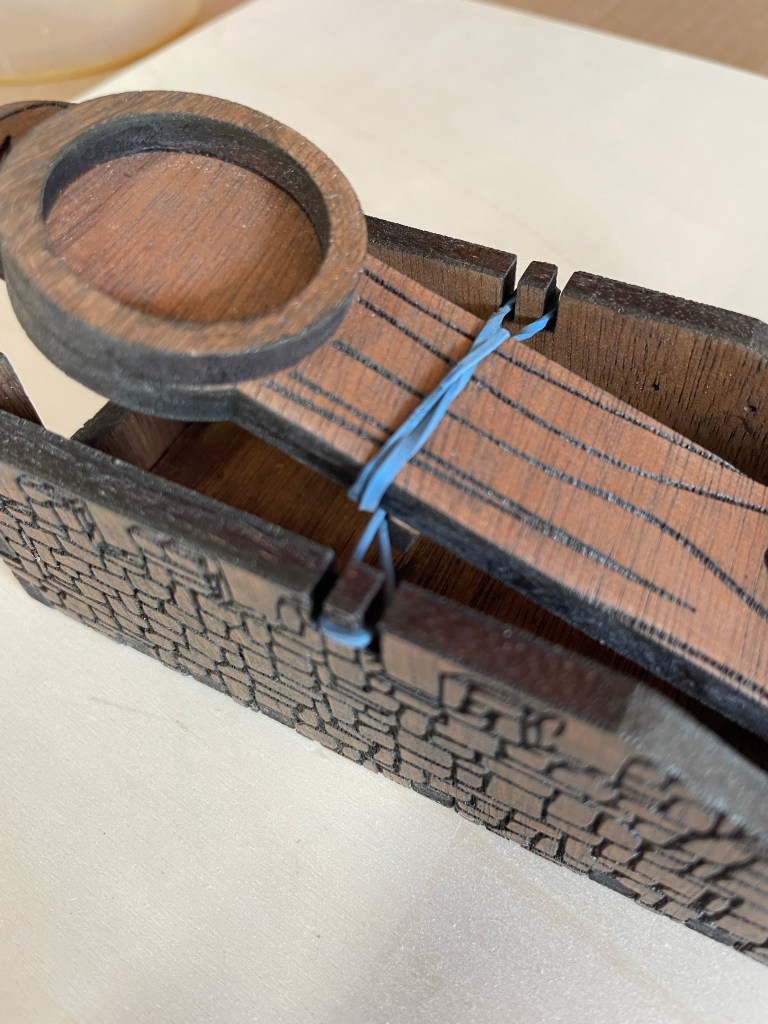
Step 6: Final Assembly With the base and arm prepared, it’s time to complete the assembly. Carefully slip the end of the arm into the hole in the hole in the front of the base, then slip the ends of the rubber band on to the tabs on each side, ensuring all components are securely fastened. Double-check the alignment and tension of the rubber bands for optimal performance. Test out the tension to see how it affects your launch.
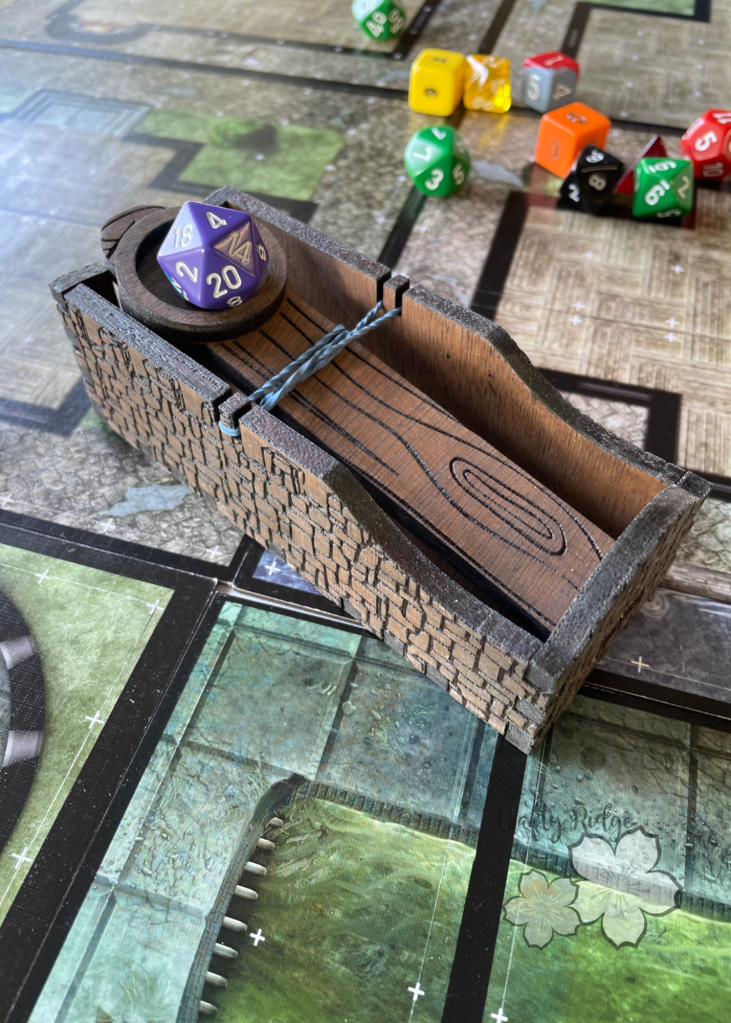
Step 7: Test and Enjoy Your wooden dice catapult is now ready for action! Load your favorite dice, pull back the arm, and release it to watch your dice soar across the table. The satisfying “thwack” sound adds an extra layer of excitement to your gaming sessions.
Roll the Dice in Style! Assembling a Wooden Dice Catapult Kit is not just a DIY project; it’s an adventure in itself. With its engaging construction process and the thrill of catapulting your dice, this kit adds a unique and immersive element to your tabletop gaming experience. Whether you’re storming dungeons, commanding armies, or exploring new worlds, your wooden catapult will make every dice roll a memorable event. So, why settle for ordinary dice rolls when you can catapult your way to victory in style?
Order your Wooden Dice Catapult Kit today and embark on a journey of craftsmanship and gaming excitement. Roll the dice, aim, and catapult your way to unforgettable gaming moments!
This DIY Dice Catapult Kit is available on Etsy and by clicking on SHOP at the top of this page!

