
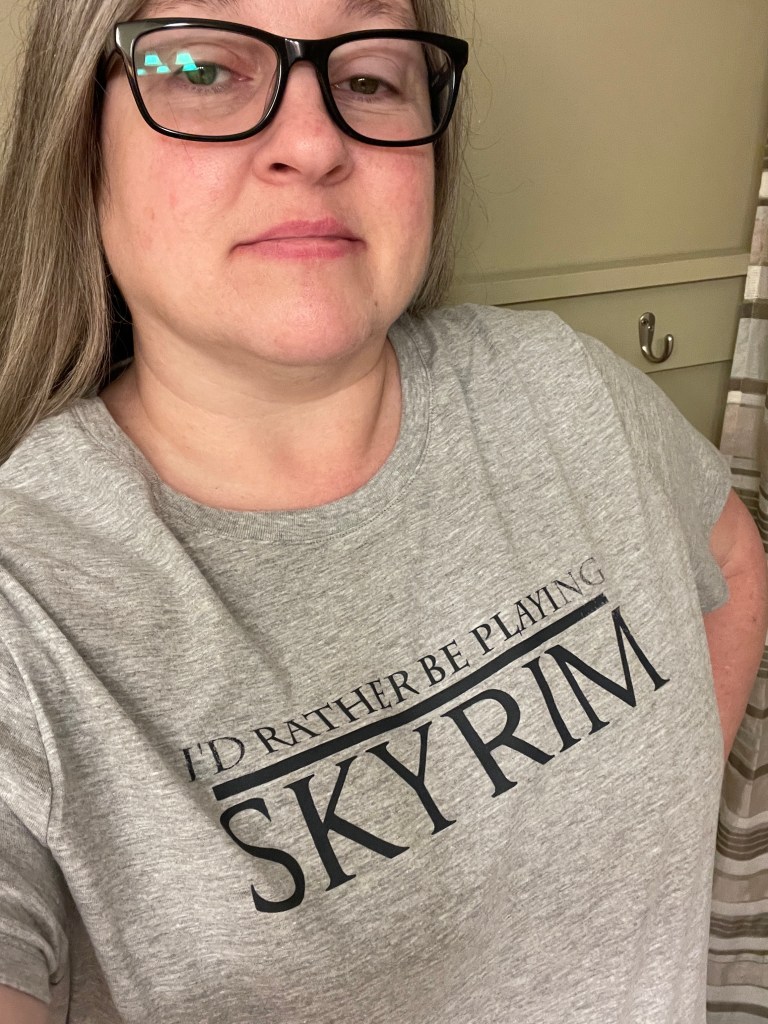
I don’t know about you but I am a jeans and t-shirt girl, well a comfy pant and t-shirt girl most of the time. My oldest is to and we both love a nerdy shirt. That is all he wears. The t-shirt must have something fun on it, gaming, math puns, anything nerdy really! So when you can’t find what you want at the store…In true DIY fashion you make it yourself.
Disclosure: This post may contain affiliate links. Meaning I get a commission if you decide to purchase through my links, through no cost to you.
Supplies
- Cricut or other cutting machine
- Permanent vinyl (I use 651 in any color)
- Screen printing frame with screen (I used this Screen Printing Frame)
- Squeegee
- Screen printing ink for fabrics (I use Speedball inks
- Heat press or iron to set ink (I highly recommend a heat press or add some extra time to the ironing)
- Blow dryer (optional)

I started with making a mock up on my Cricut with Design Space. They have a great tool so you can see what your image would look like on shirts, shoes and a bunch of other templates.

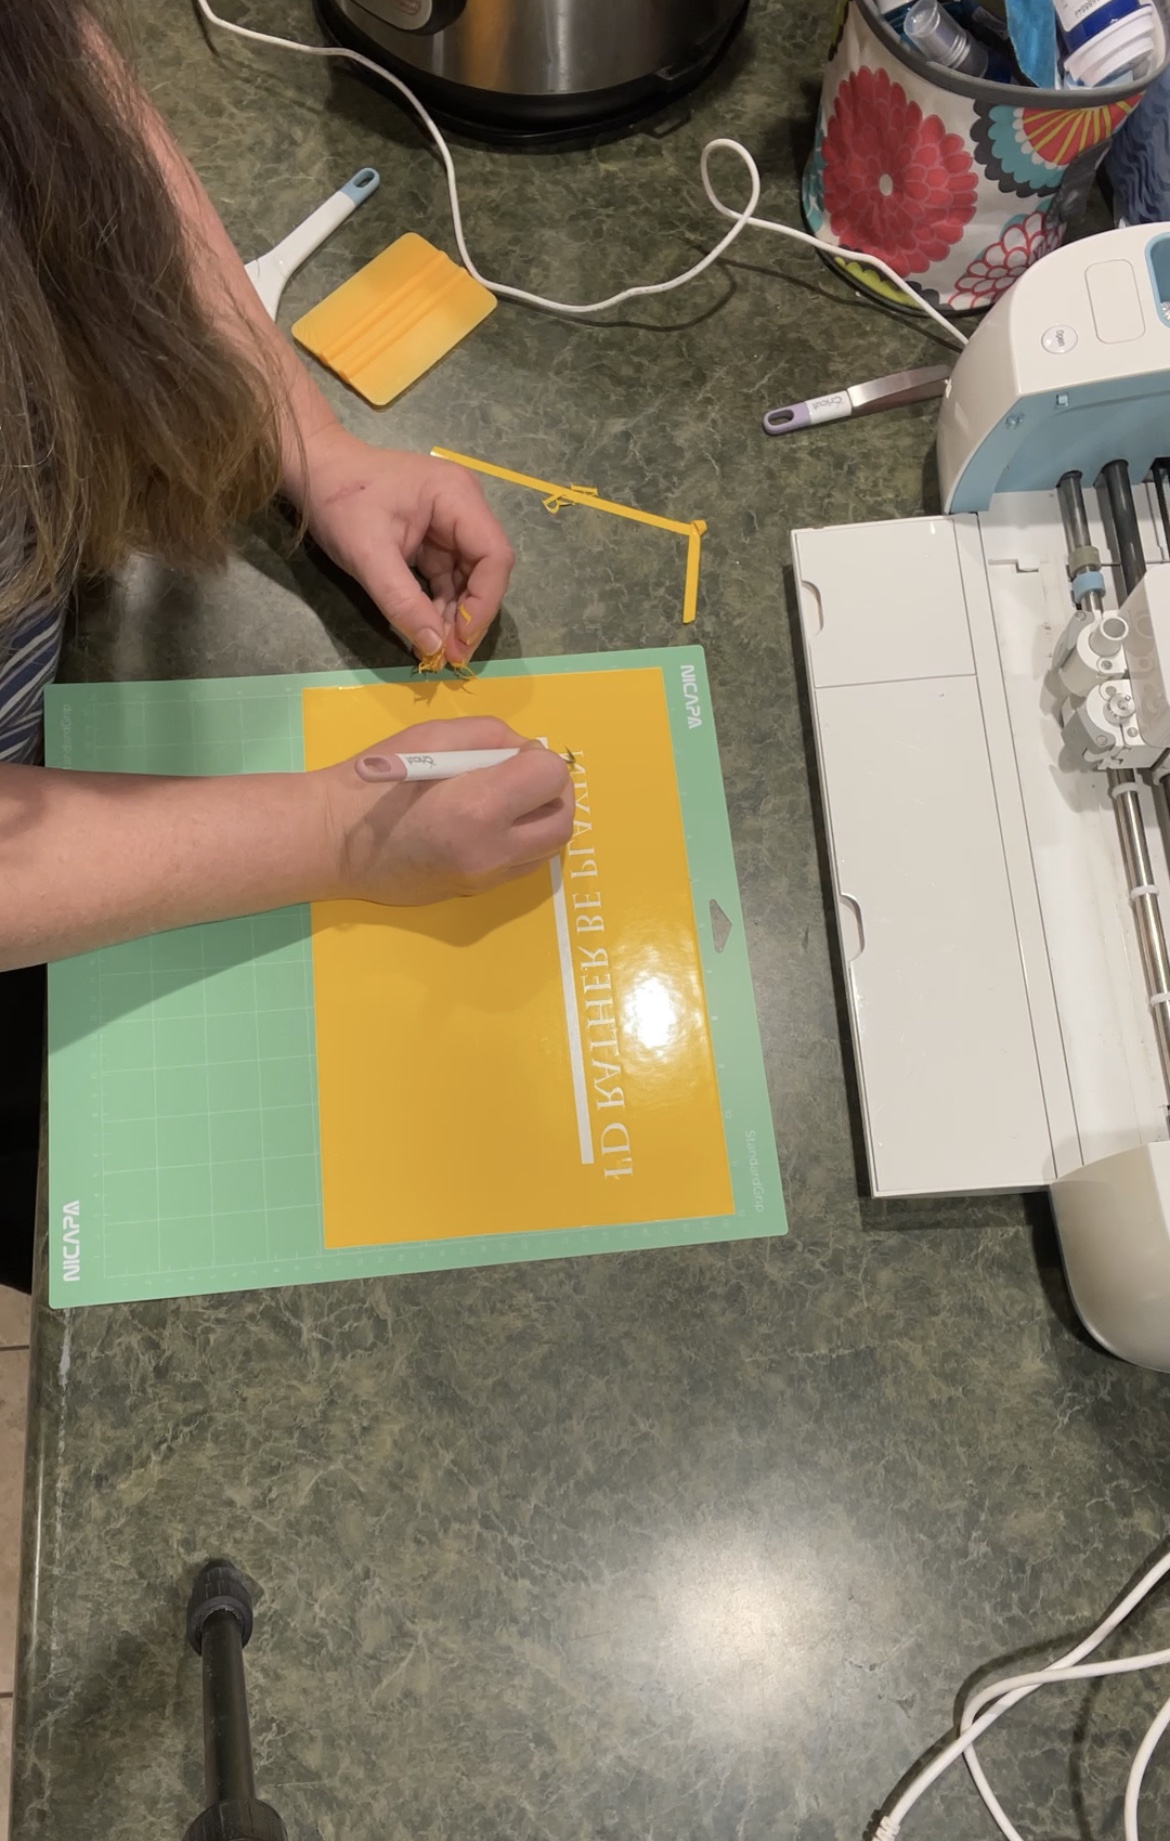
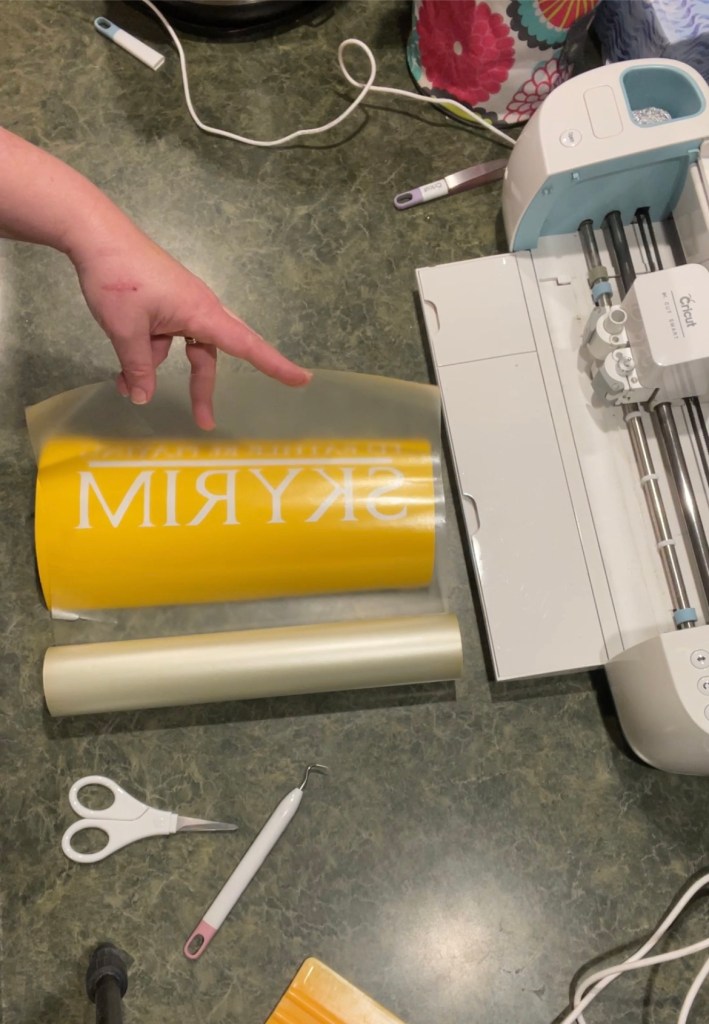
Next is cutting it out, MAKE SURE YOU HAVE ANY DESIGN WITH WORDING SET TO MIRROR IMAGE, and then we can weed the design and get it ready for the screen. I used 651 vinyl but you can use htv if you need a permanent screen for making lots of the same design.
I used light pressure to apply my transfer paper. You don’t need to brandish it to much or anything. You just need the transfer tape to stick to this long enough to transfer it to the screen.


The screen printing frame I use has a removable screen. This comes in handy if you need to change out the screen for any reason. It also comes with lots of extra screen so I ended up making a much larger frame for my next shirt design with some scrap wood and stapled it on like most of the screen printing frames that are available online. This will work great for any one off designs.
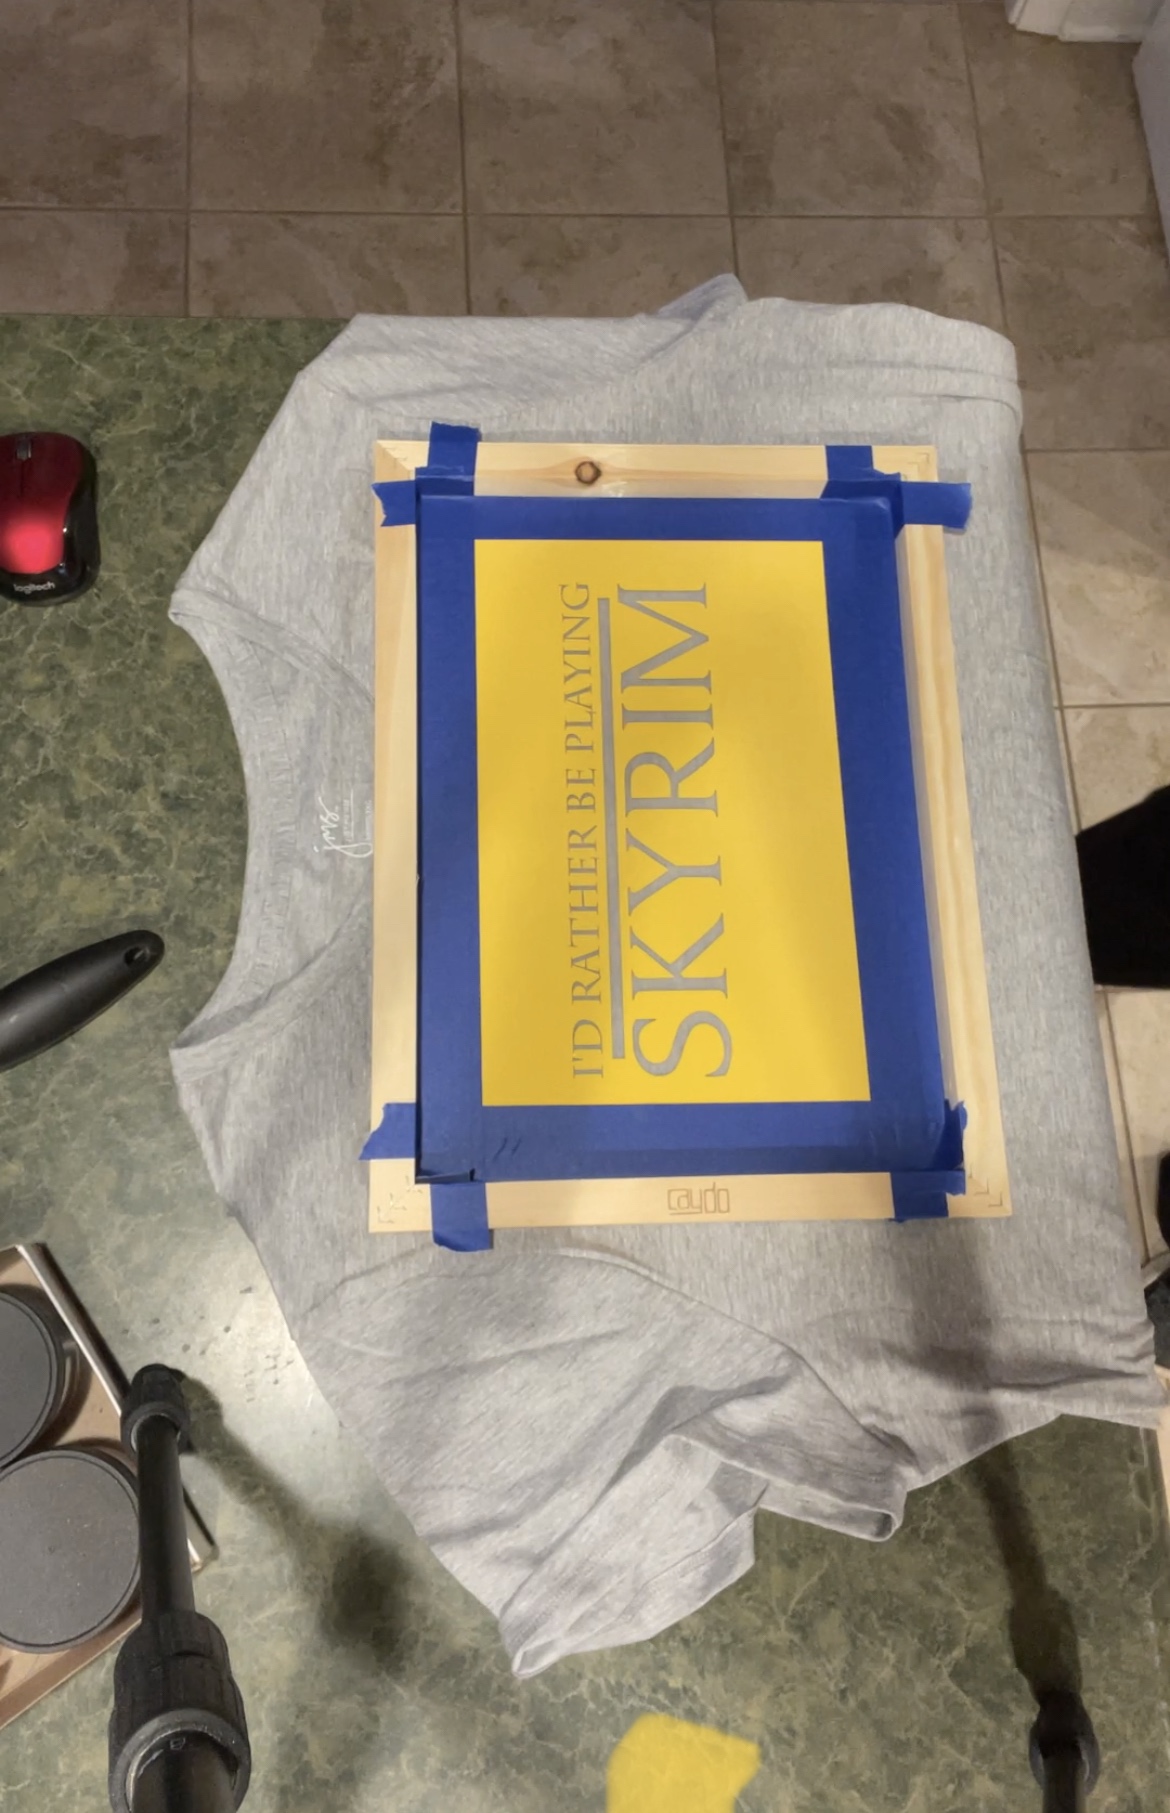
Apply the vinyl to the bottom of the frame. This is why we mirror the image. Having the vinyl on the bottom between the screen and the shirt makes for nice clean lines.
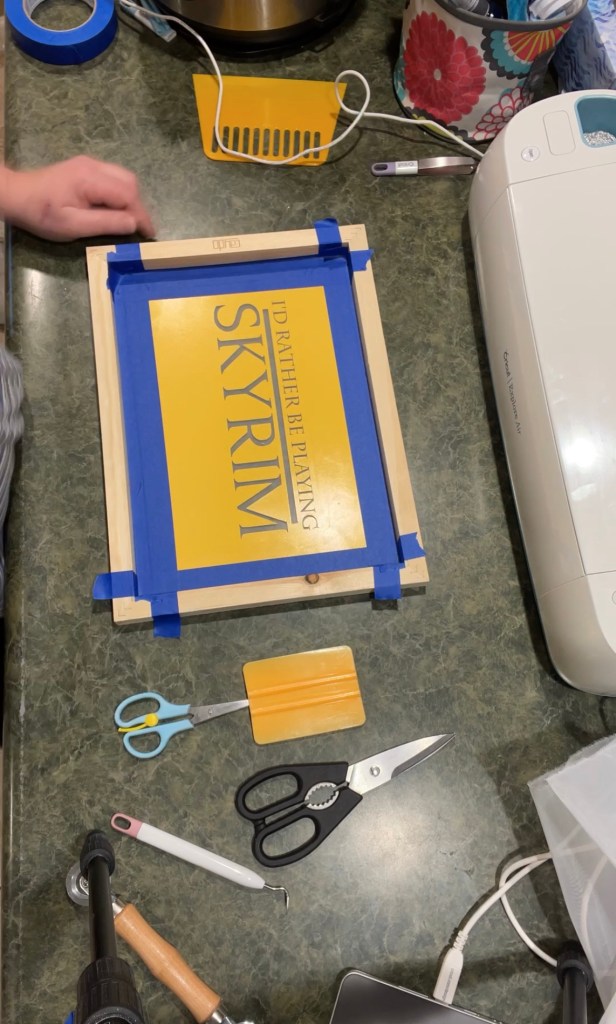
Add some painters tape around the image anywhere that the vinyl isn’t. This keeps the ink from getting on the shirt where you don’t want it. TIP: if you do end up dripping a little Speedball Fabric ink somewhere you don’t want it to be just rinse it out before it is dry or set with heat. Not sure about other brands.

Now it is time to set the screen wear you want it and add the ink. To add the ink I use a plastic spoon and make sure there is plenty of ink across the top of the frame. You want the frame to be pushed down nice and snug so you don’t get any bleed through. I use a clamp on one side and my hand on the other.
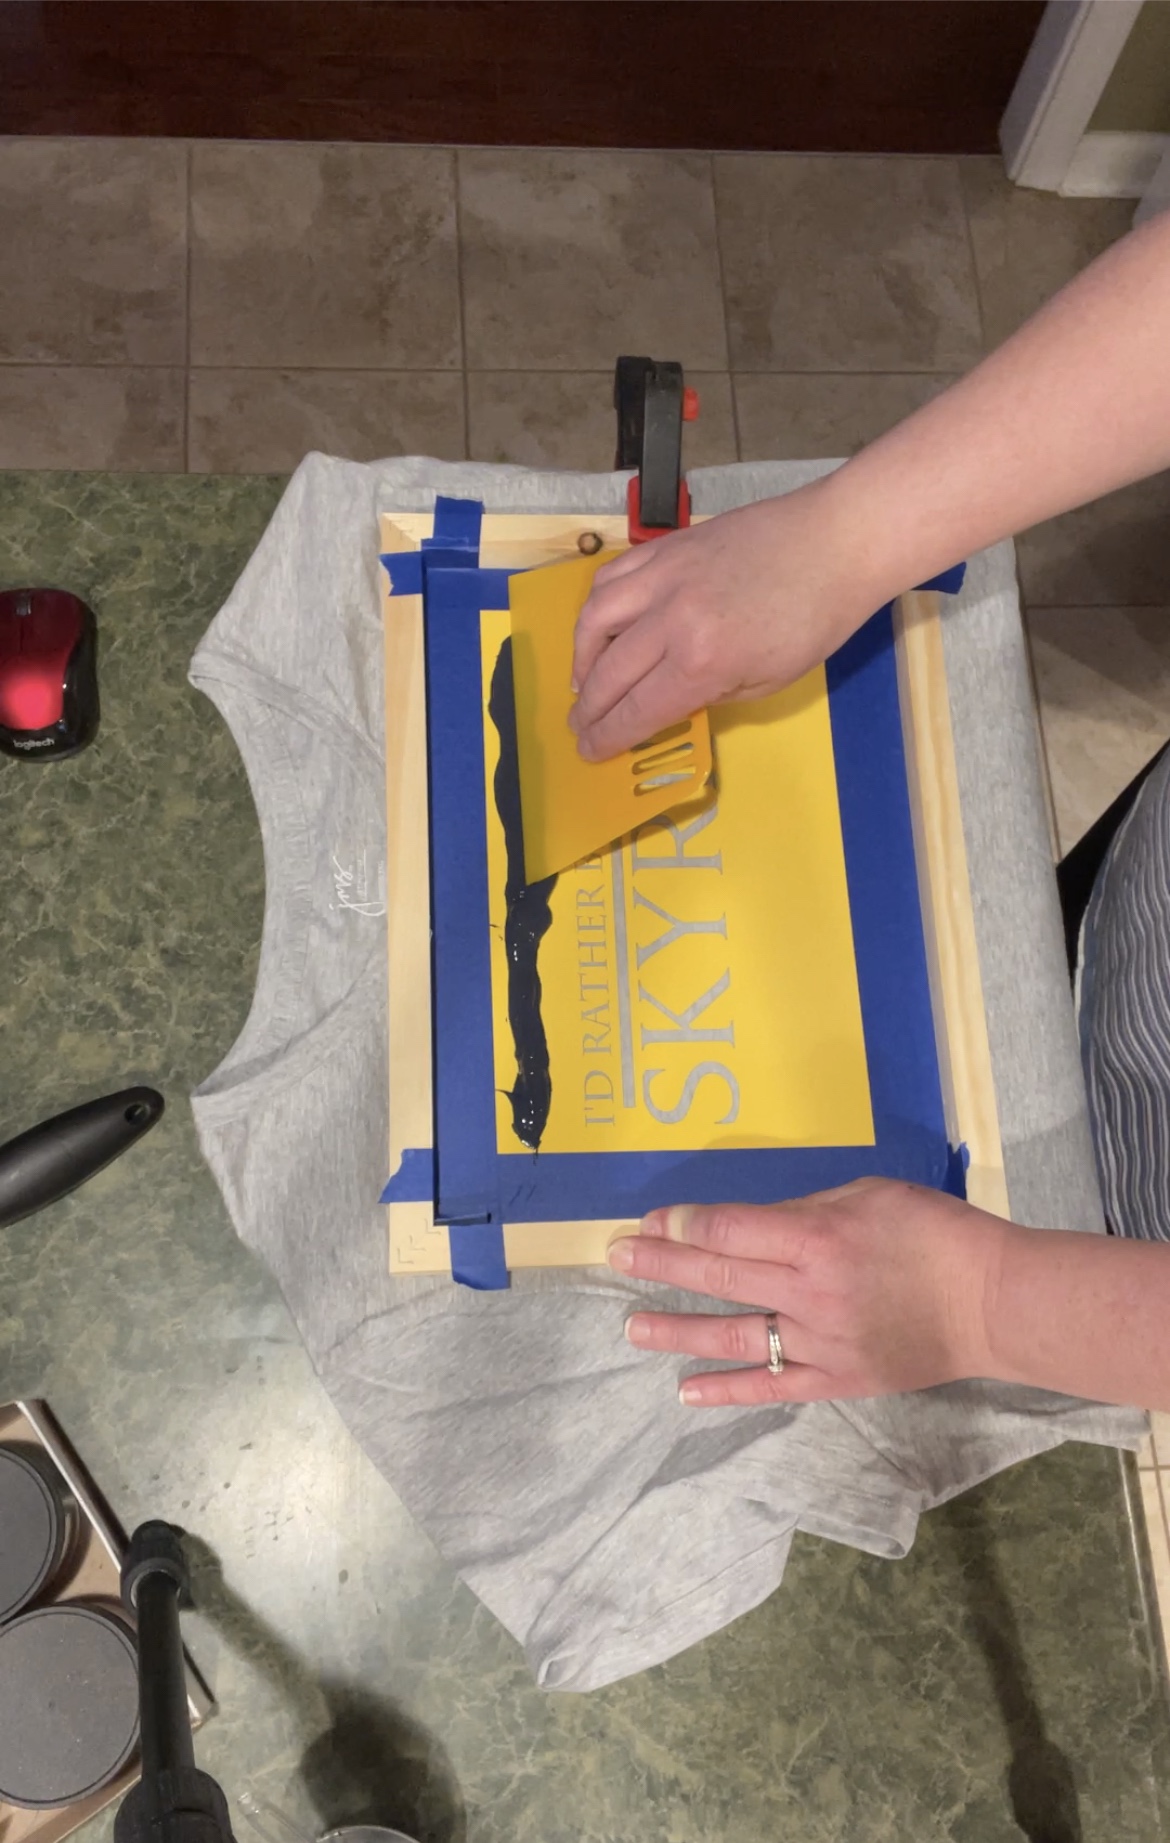

While pressing the frame down use the squeegee to drag the ink across the screen. You want to use a good amount of pressure and go over it a couple times to make sure your ink is filling out all of your design. You can scrape the extra ink back into the jar it came in and reuse it later. Then when you are ready lift the screen like its on a hinge, making sure to lift it off completely. Before setting the ink with the heat press it needs to be dry. I use my blow dryer but you can also leave it out on a flat surface to dry for a few days
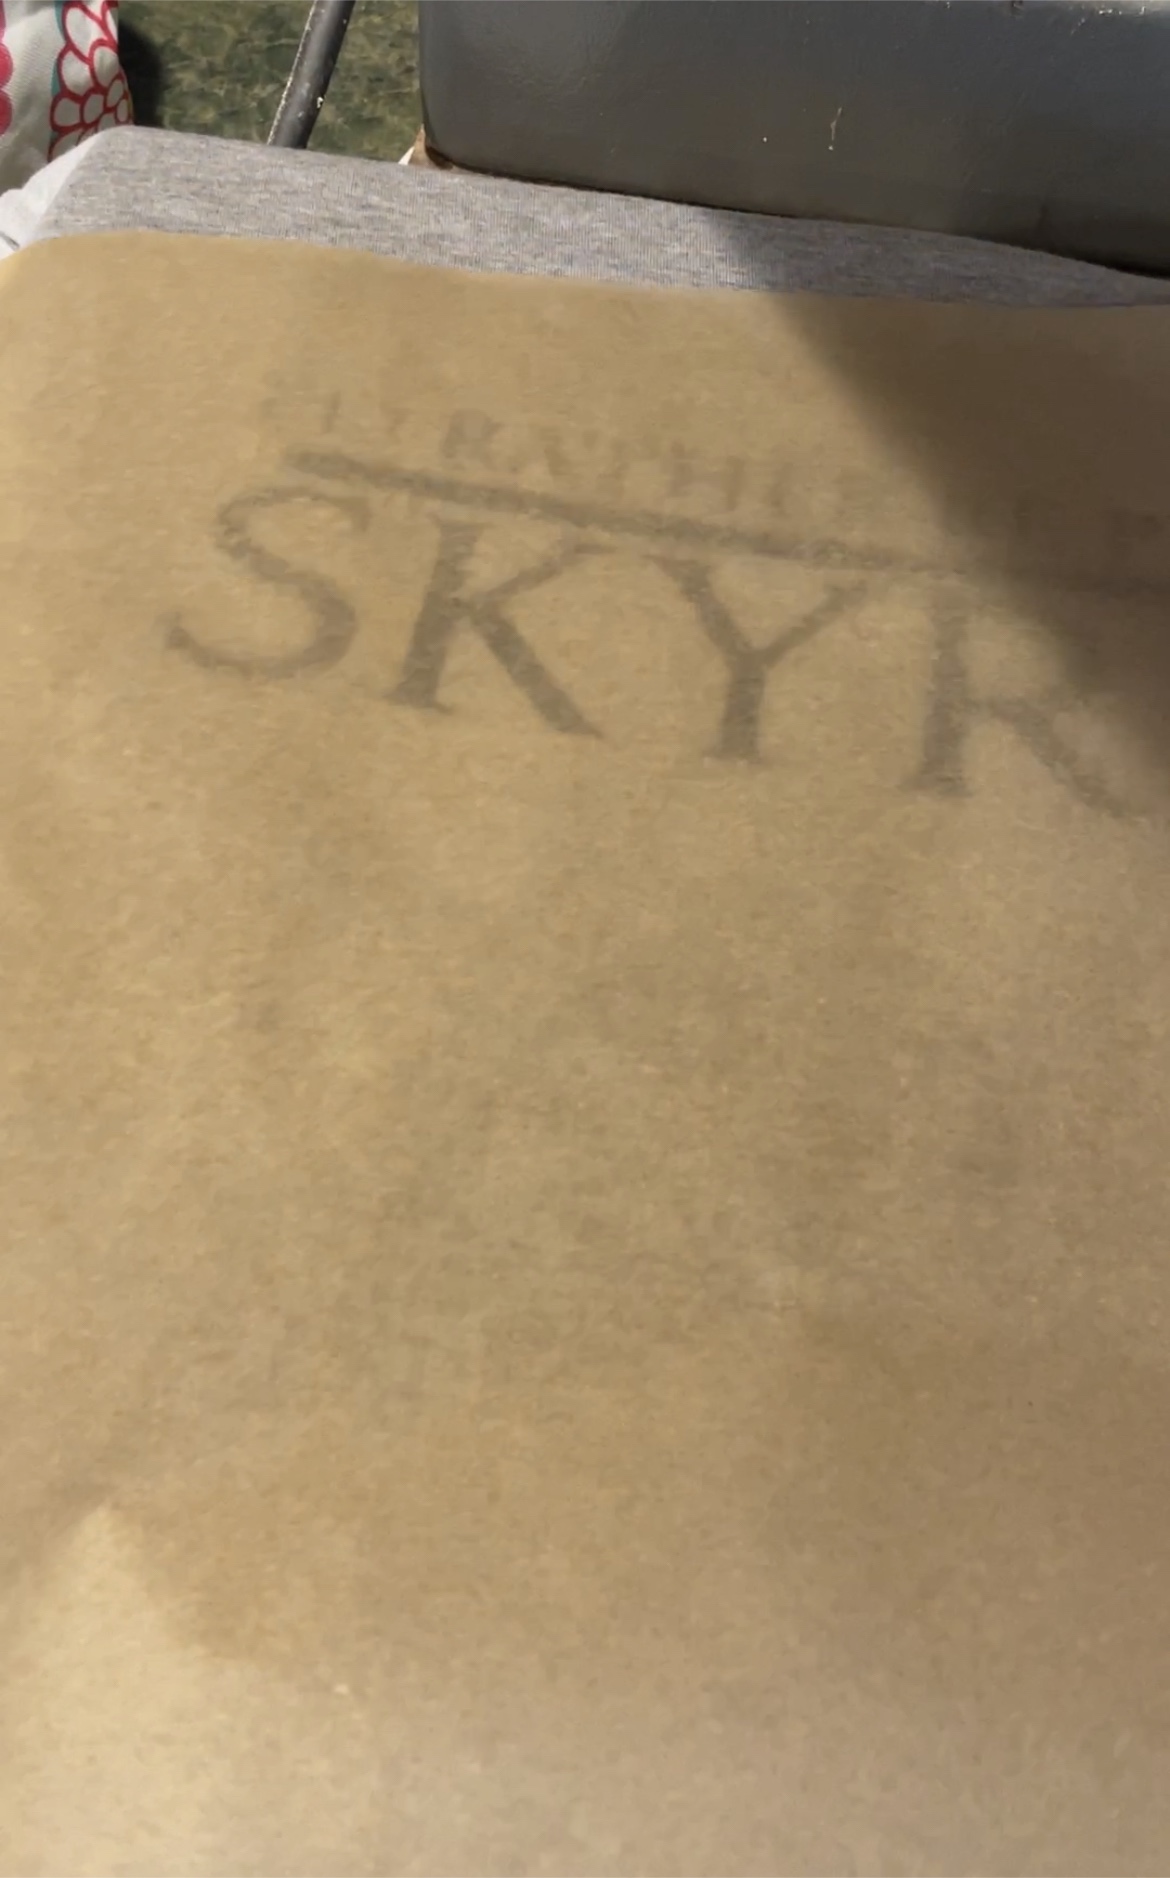

Now its time to set it with heat. You can use an iron on the hottest setting or a heat press at 320*f for 40 seconds. Make sure to cover the image with parchment paper or with a teflon sheet.

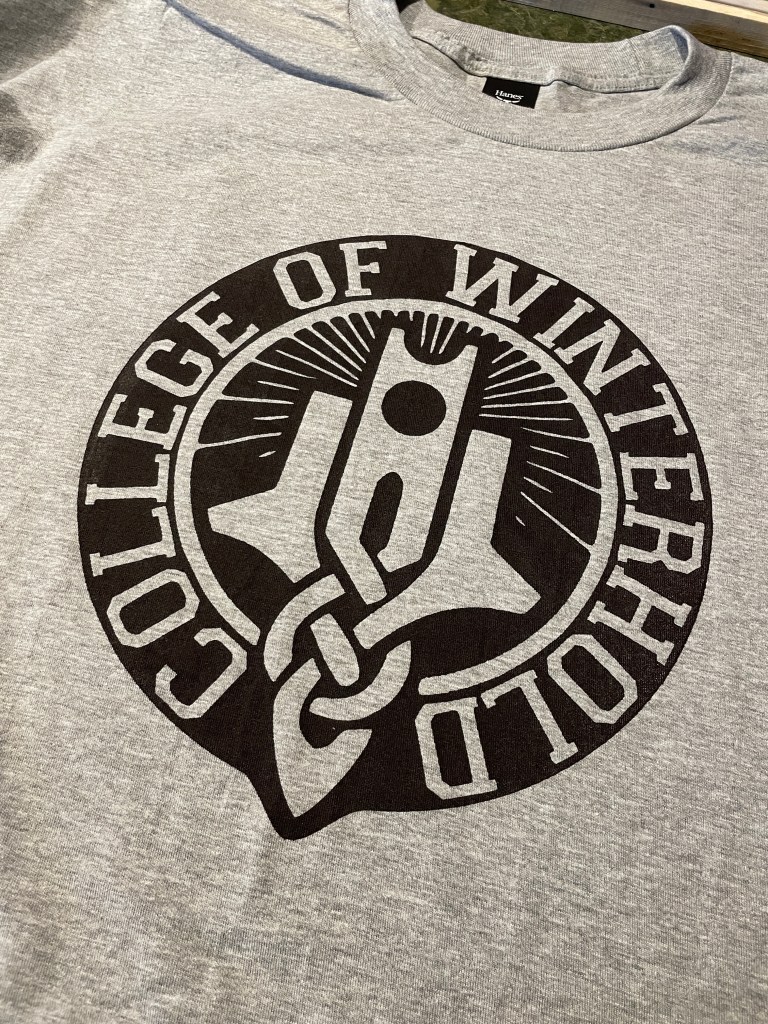
And now both my oldest and I have some new favorite t-shirts and a ton of designs for some more to make us. If you have Instagram come over and check out the highlights full of videos and live recording of this project.
I hope that you like this little diy tutorial and if you feel inspired to do some screen printing for you or someone else please hop over to Instagram and tag me @CraftyRidge so I can see. I love seeing what people make after reading my blog posts.
Check out more of my makes here on http://www.CraftyRidge.com as well as on Instagram and Facebook!

