I was terrified to start this project but I am so happy I did! I mean, check out the before below and the after above! What a difference!?!

Disclosure: This post may contain affiliate links. Meaning that I get a commission if you decide to purchase through my links, through no cost to you
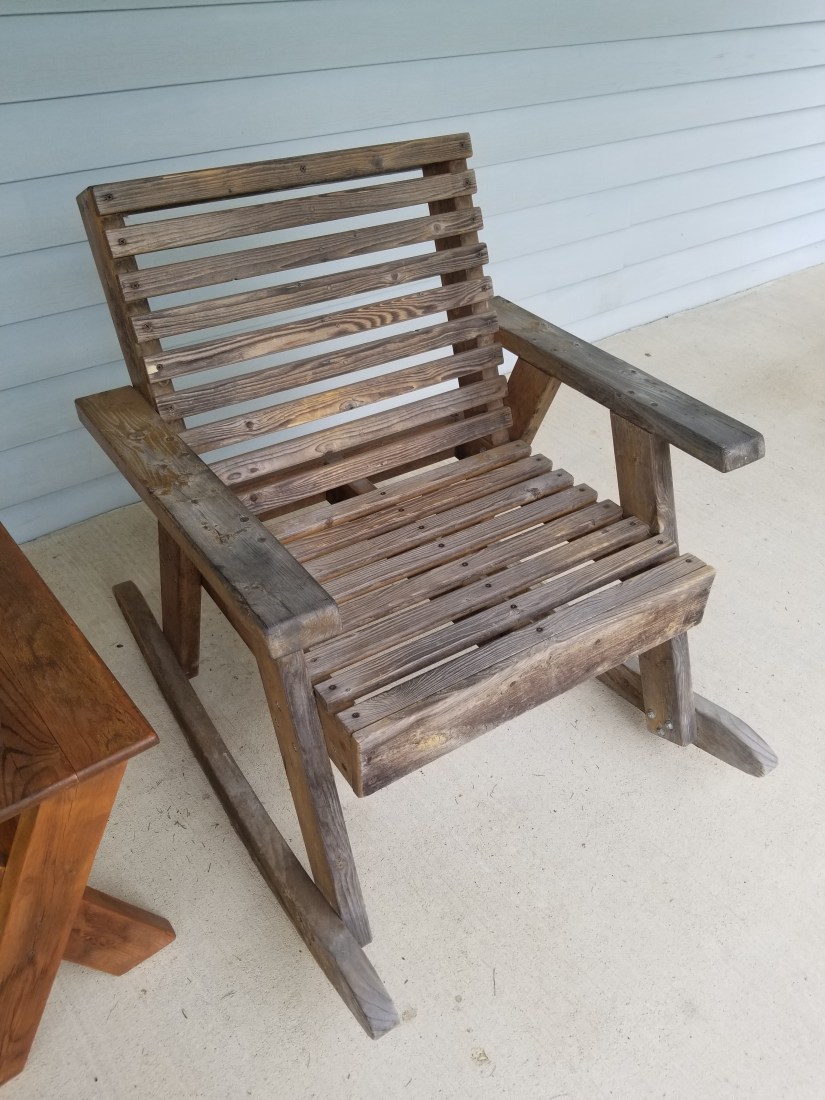
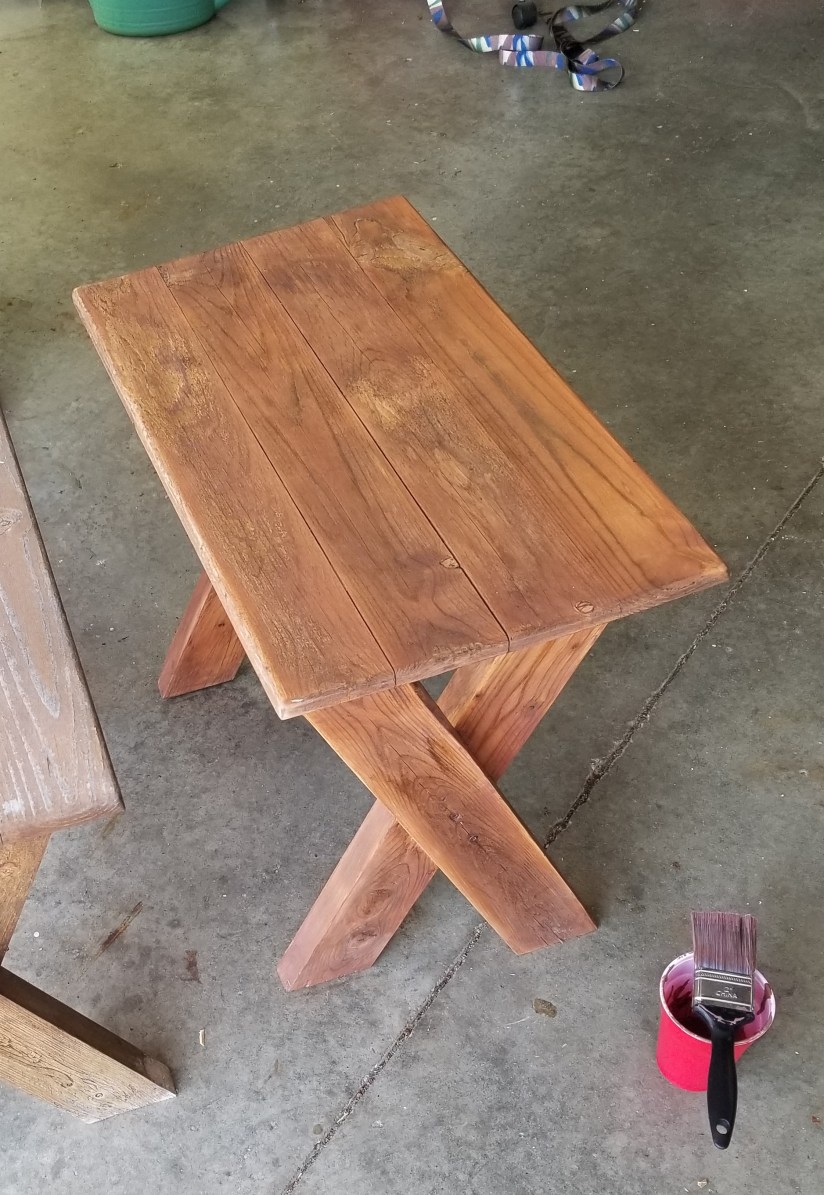
This furniture was made by my dad when I was a teenager and has been used every year since, that’s longer than I care to admit. It has seen rain, sun and even been left out for the cold Indiana winters so it has seen a bit of snow as well. It has lots of dings and even a citronella candle spilled on one of the tables. See the one on the left! I had little faith in that one coming out even remotely like the other. But now you can’t even tell.

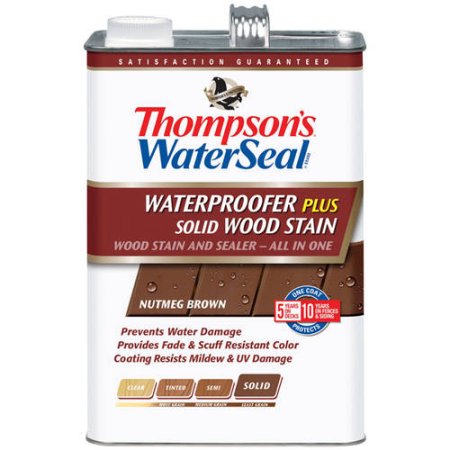
I did a lot of research online and even asked a lot of questions in some Woodworking groups on Facebook. I heard a lot about Spar Urethane and Poly and was also told to replace most of the tables. But, one persons tips really stood out to me. See this furniture had many coats of poly on it from when my father made it and if you have ever worked with poly or even other wood finishes like shellac you know that it not only takes time it takes a lot of work in a dust free area. Sadly I have dust in payloads and absolutely no patience for three or four coats of poly so I took this gentleman’s tips to heart. He said that he had some old outdoor furniture that his dad made as well and what he does to keep his nice each year is to coat it with a good layer of Thompsons WaterSeal!
Now why didn’t I think of that? This is the stuff I use on a yearly basis for the deck and fence and they are still running strong. It is a water sealer and it protects the wood from UV rays as well as Mildew. So I did one more and bought Thompson’s WaterSeal plus Solid Wood Stain in Nutmeg Brown. I though this would help to mask any discoloration.
So I got started sanding away! I broke out my new orbital sander and a new bulk pack of sanding disks (I went through a ton) and went at it. Of course I forgot the mask the first day and my sinuses really paid for it. So tip for anyone sanding anything, WEAR A MASK!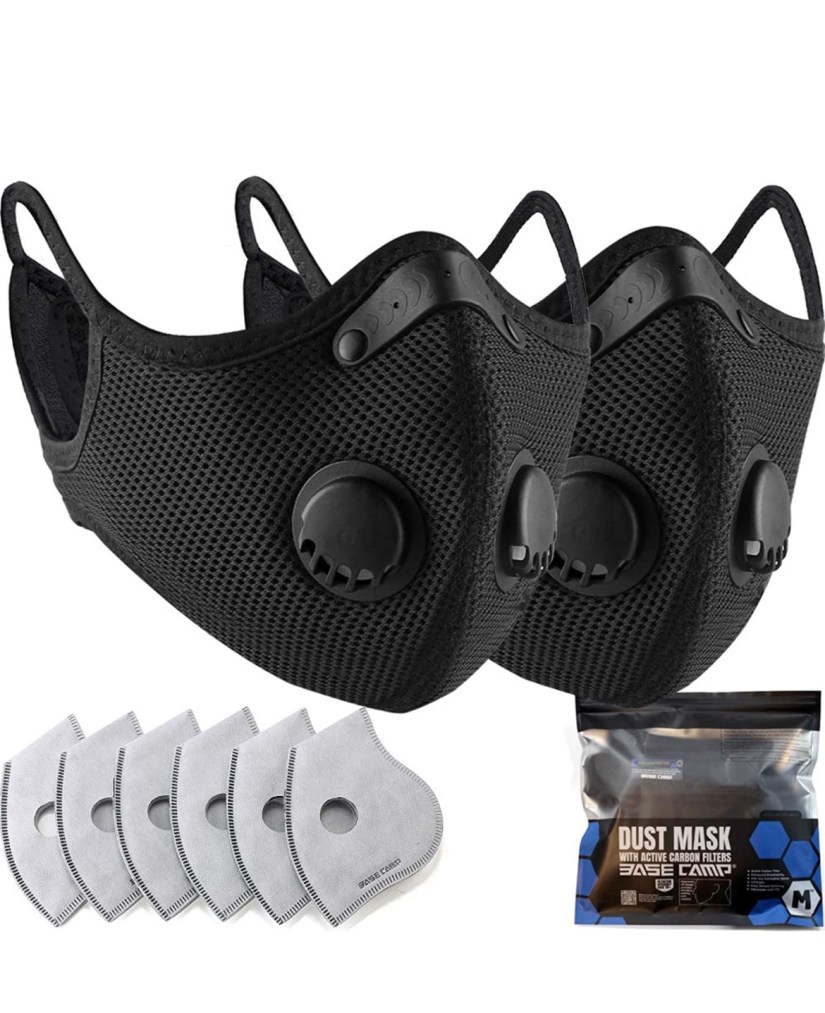
I recommend this Dust Mask from Base Camp on Amazon. It comes with two masks and filters plus you can wear it over your ears or velcro it around your head. It’s worth the extra sweat!
I was super nervous, but even after just a quick sanding this table looks way better than it did.

I wiped it all down and started painting on the Thompson’s but it was really dark and kind of purple, so I would paint on a bit and then wipe it off, just like you would stain. After it was all done I waited 24 hours and poured a bit of water on it and what do you know, it beaded right up!
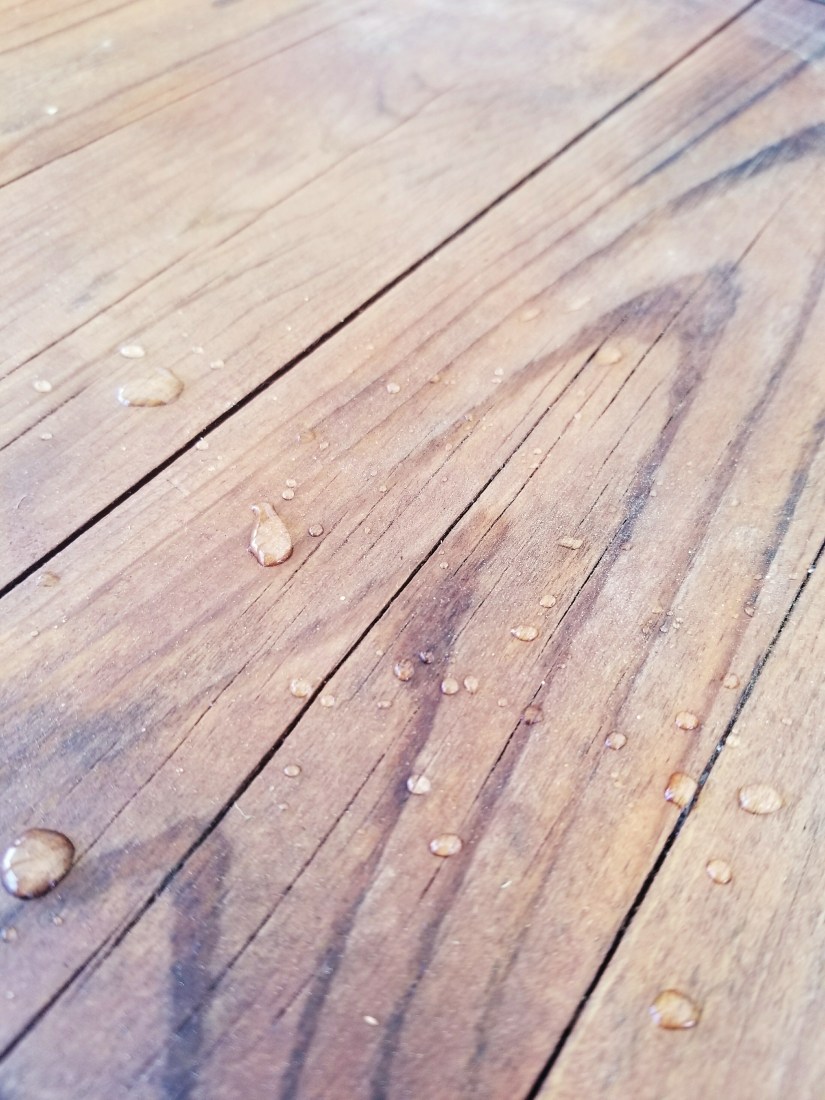
And look at it all finished! This is before the wax and it looks 100% better than it did!
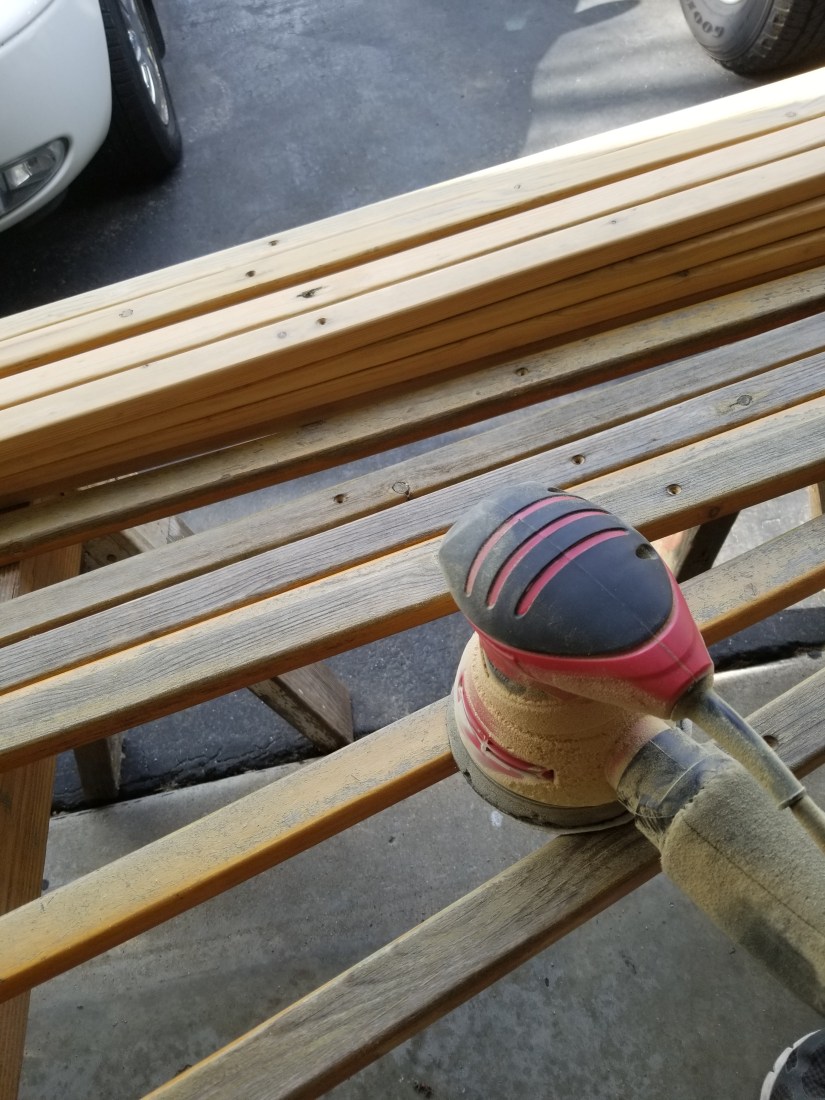
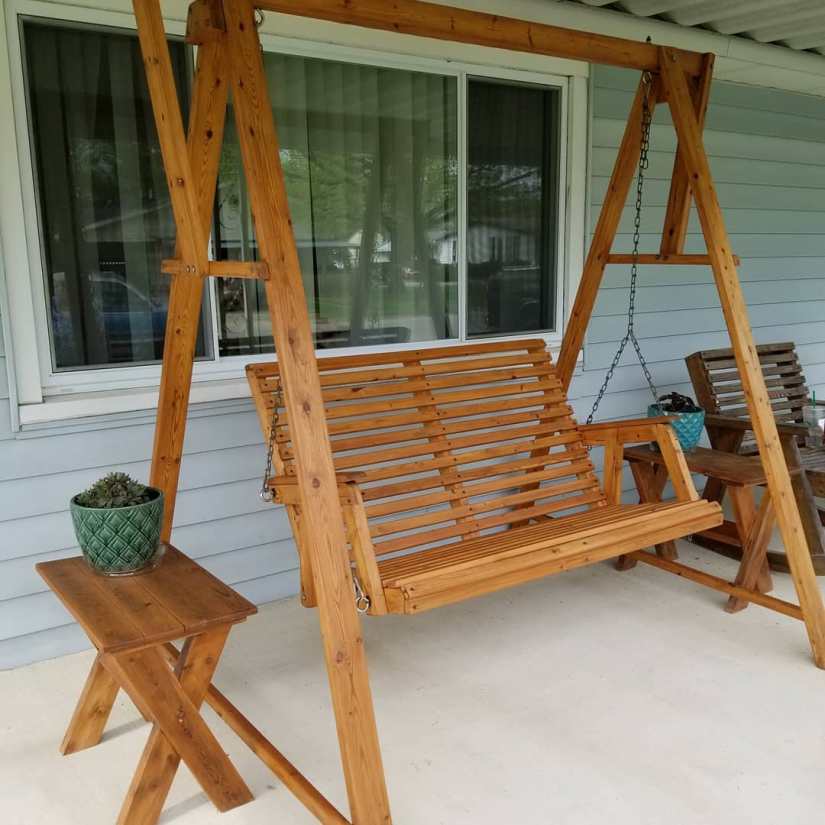
So after both tables were done I took the leap of faith and took the swing apart. I got out a marker and enlisted my mom to help. She was all prepared to number each slat as we went, but of course my dad thought of that already and there were numbers hidden on the bottom where they were kept safe in between the slats and the frame. Thanks DAD!
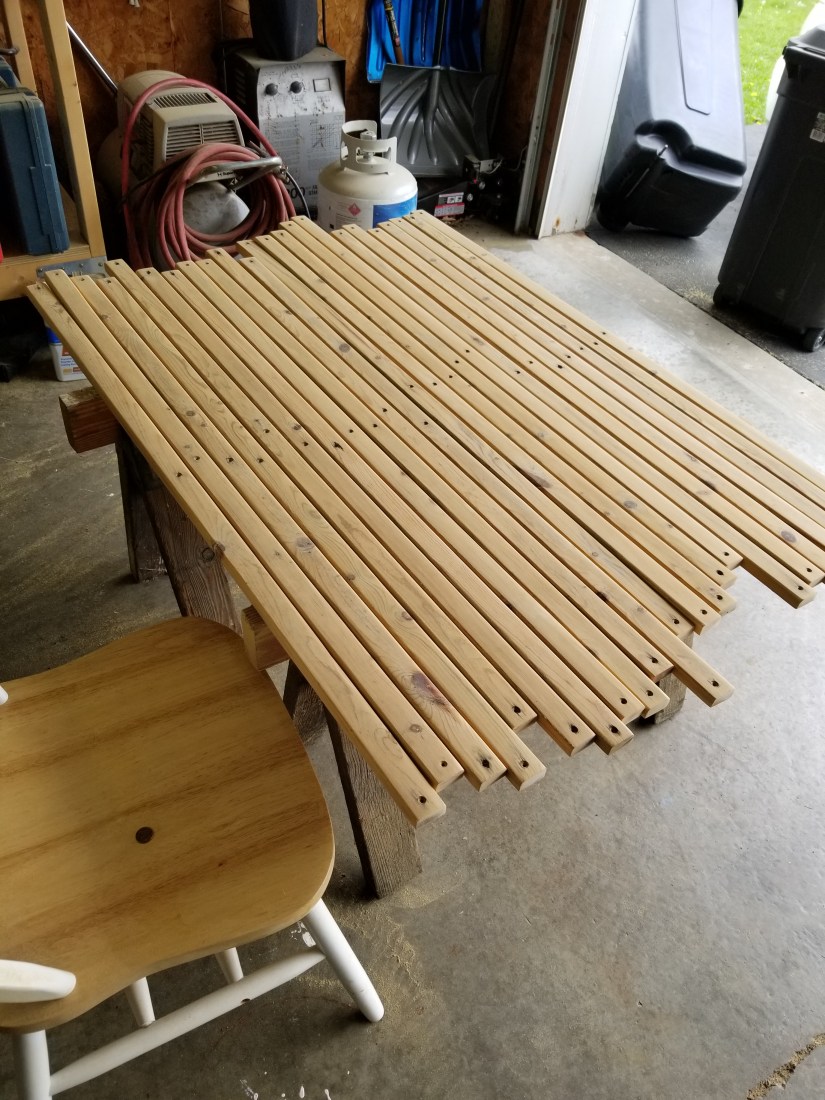
We did a lot of scrubbing with water and Dawn dish soap before I started sanding these. They had some questionable black stuff on the bottom and frankly I didn’t want to take the chance of anyone breathing that in.
I did the same thing to the swing as I did to the table. A good sand with some 80 grit, a wipe down and then some Thompson’s.
I wanted a nice sheen so I wiped all of the finished bits and pieces with some Howard Feed N Wax! This polish has beeswax, Orange oil and a bit of Petroleum in it. I just rubbed it in and then let it sit for about twenty minutes. It seemed a bit oily when it was first applied but it dried up perfect and now the furniture is waterproof, UV protected and has a nice polished look to it. 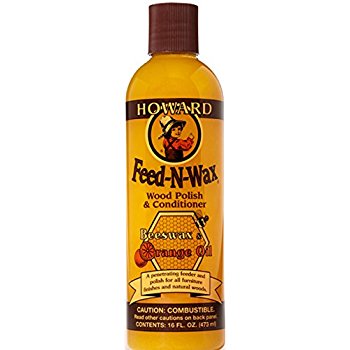
I couldn’t be happier with the finished product! It took a couple years of everyone prodding me to do it, but it was well worth the time.
Now to start the rocking chair….wish me luck!