
After many years of using anything from the edge of a bookshelf to some baskets I finally decided to build myself a nightstand.

Disclosure: This post may contain affiliate links. Meaning I get a commission if you decide to purchase through my links, through no cost to you.
I don’t know why it took so long, maybe it was because I was looking to buy the perfect one and just couldn’t find it, so I finally started looking at diy plans and fell in love with the beautiful Mid Century Modern design by Woodshop Diaries.
I did change up the measurements a bit to fit my space as well as the type of wood. The budget was small for this one and the prices of wood had Birch and Poplar out of my price range so I used 2 pieces of glued edge pine. I know it’s a softer wood and will ding up much easier than some of the harder woods but it won’t see to much abuse next to my bed.
I intended for it to be a lighter color and even used a tan wash (watered down tan paint applied with a brush and then wiped off with a shop rag) on the center of it, but of course it was to light for me so I ended up adding some Varathane stain in Dark Walnut and it turned into a beautiful almost milk chocolate brown stain over the paint.


I decided on a bit more of a retro look for my finished piece after that and wanted to tie in some black but didn’t want to paint it. I ended up wiping the outside down with Black Speedball Ink that I had on hand, which is definitely something I will do again. Just look at how it pulls out the wood grain.

The assembly was super easy with the help of Woodshop Diaries blog and her YouTube Videos.
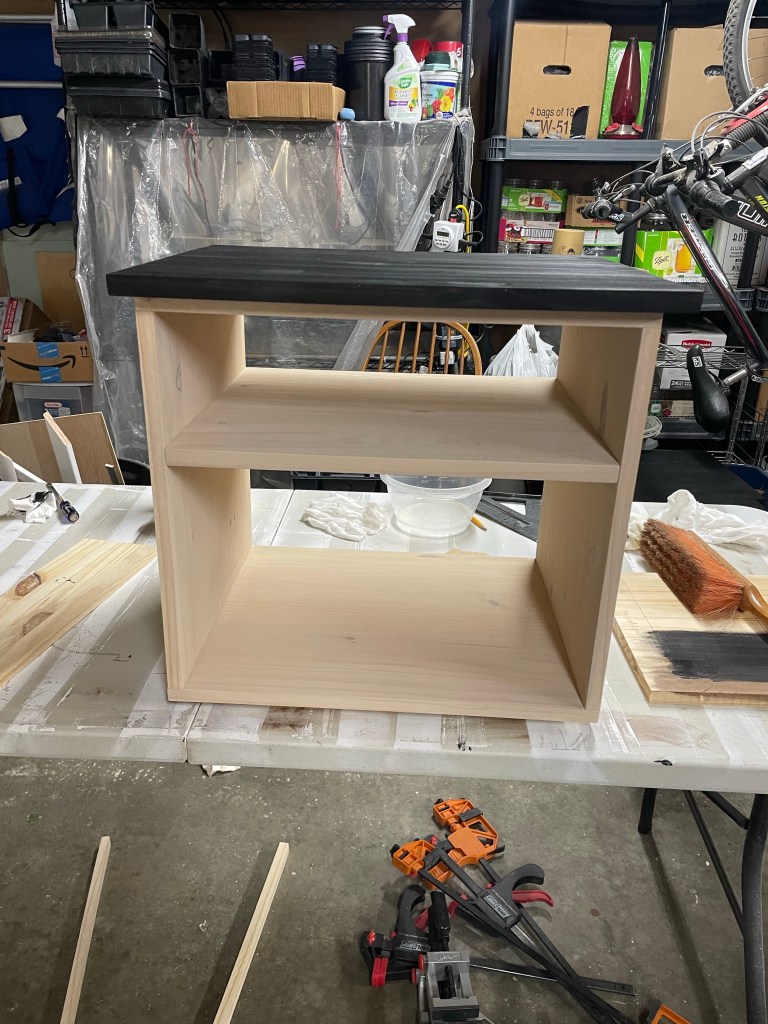
I assembled the center box with pocket holes and then glued the outer box to that with some Gorilla Brand Wood Glue, sides first and then top and bottom. Then I added some metal legs that I grabbed on Amazon.

Then it was time to try my hand at the drawer slides. Let’s just say that next time I will not build the box until after I add the slides so I can get the perfect measurements.
Add a few coats of Minwax Wipe On Poly in satin for that extra protection and SHINE!

Add the drawer pull to the drawer front and then I attached the drawer front with some glue and a few short brad nails from the inside! (Thankfully there isn’t a back so you can slide your hand inside the back after you have it perfectly in place) Painters tape comes in handy when you need more hands.

And it’s done and I am in love with it!!!
If I can do it then so can you. Grab some plans and start building. Now to find the right headboard.

Disclosure: This post may contain affiliate links. Meaning I get a commission if you decide to purchase through my links, through no cost to you

