

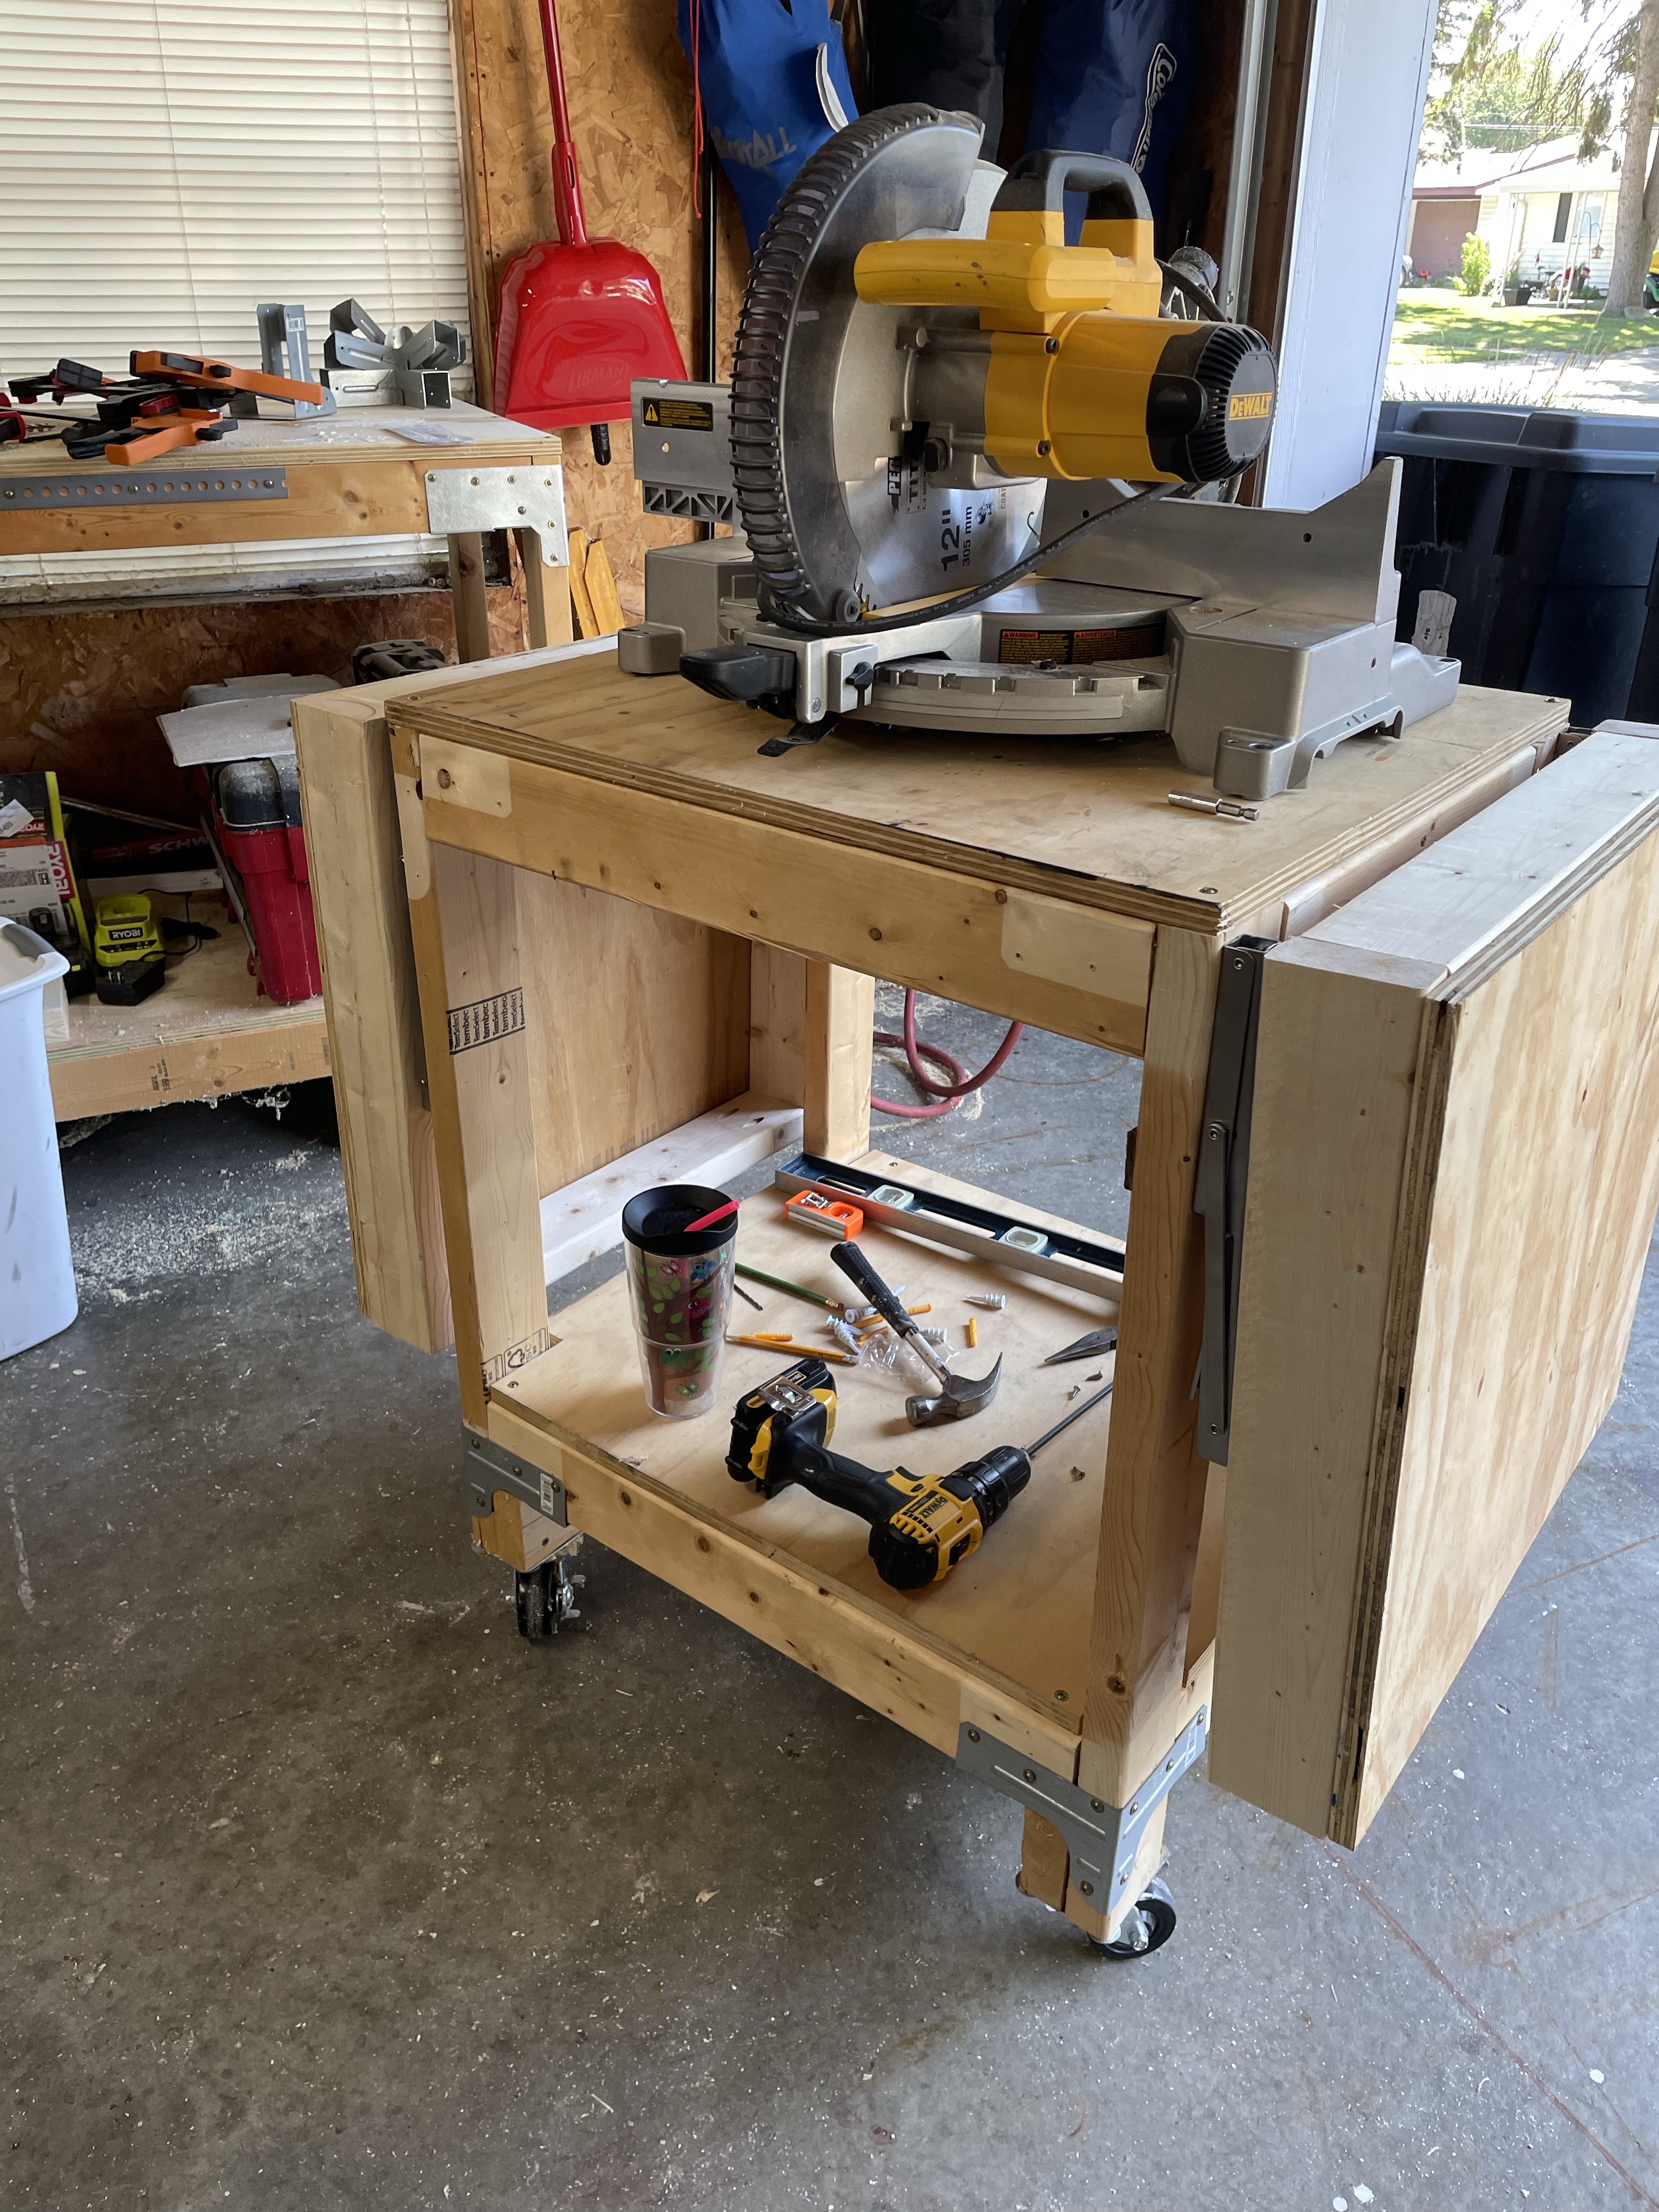
Who hasn’t seen the multitude of diyers adding these collapsible sides to their miter stands? Honestly when working most of the time by yourself in a small area you have to maximize your space and safety so this really is a perfect idea. So, I added some to the table I made years ago to match my work bench and I am in love.
Disclosure: This post may contain affiliate links. Meaning I get a commission if you decide to purchase through my links, through no cost to you.
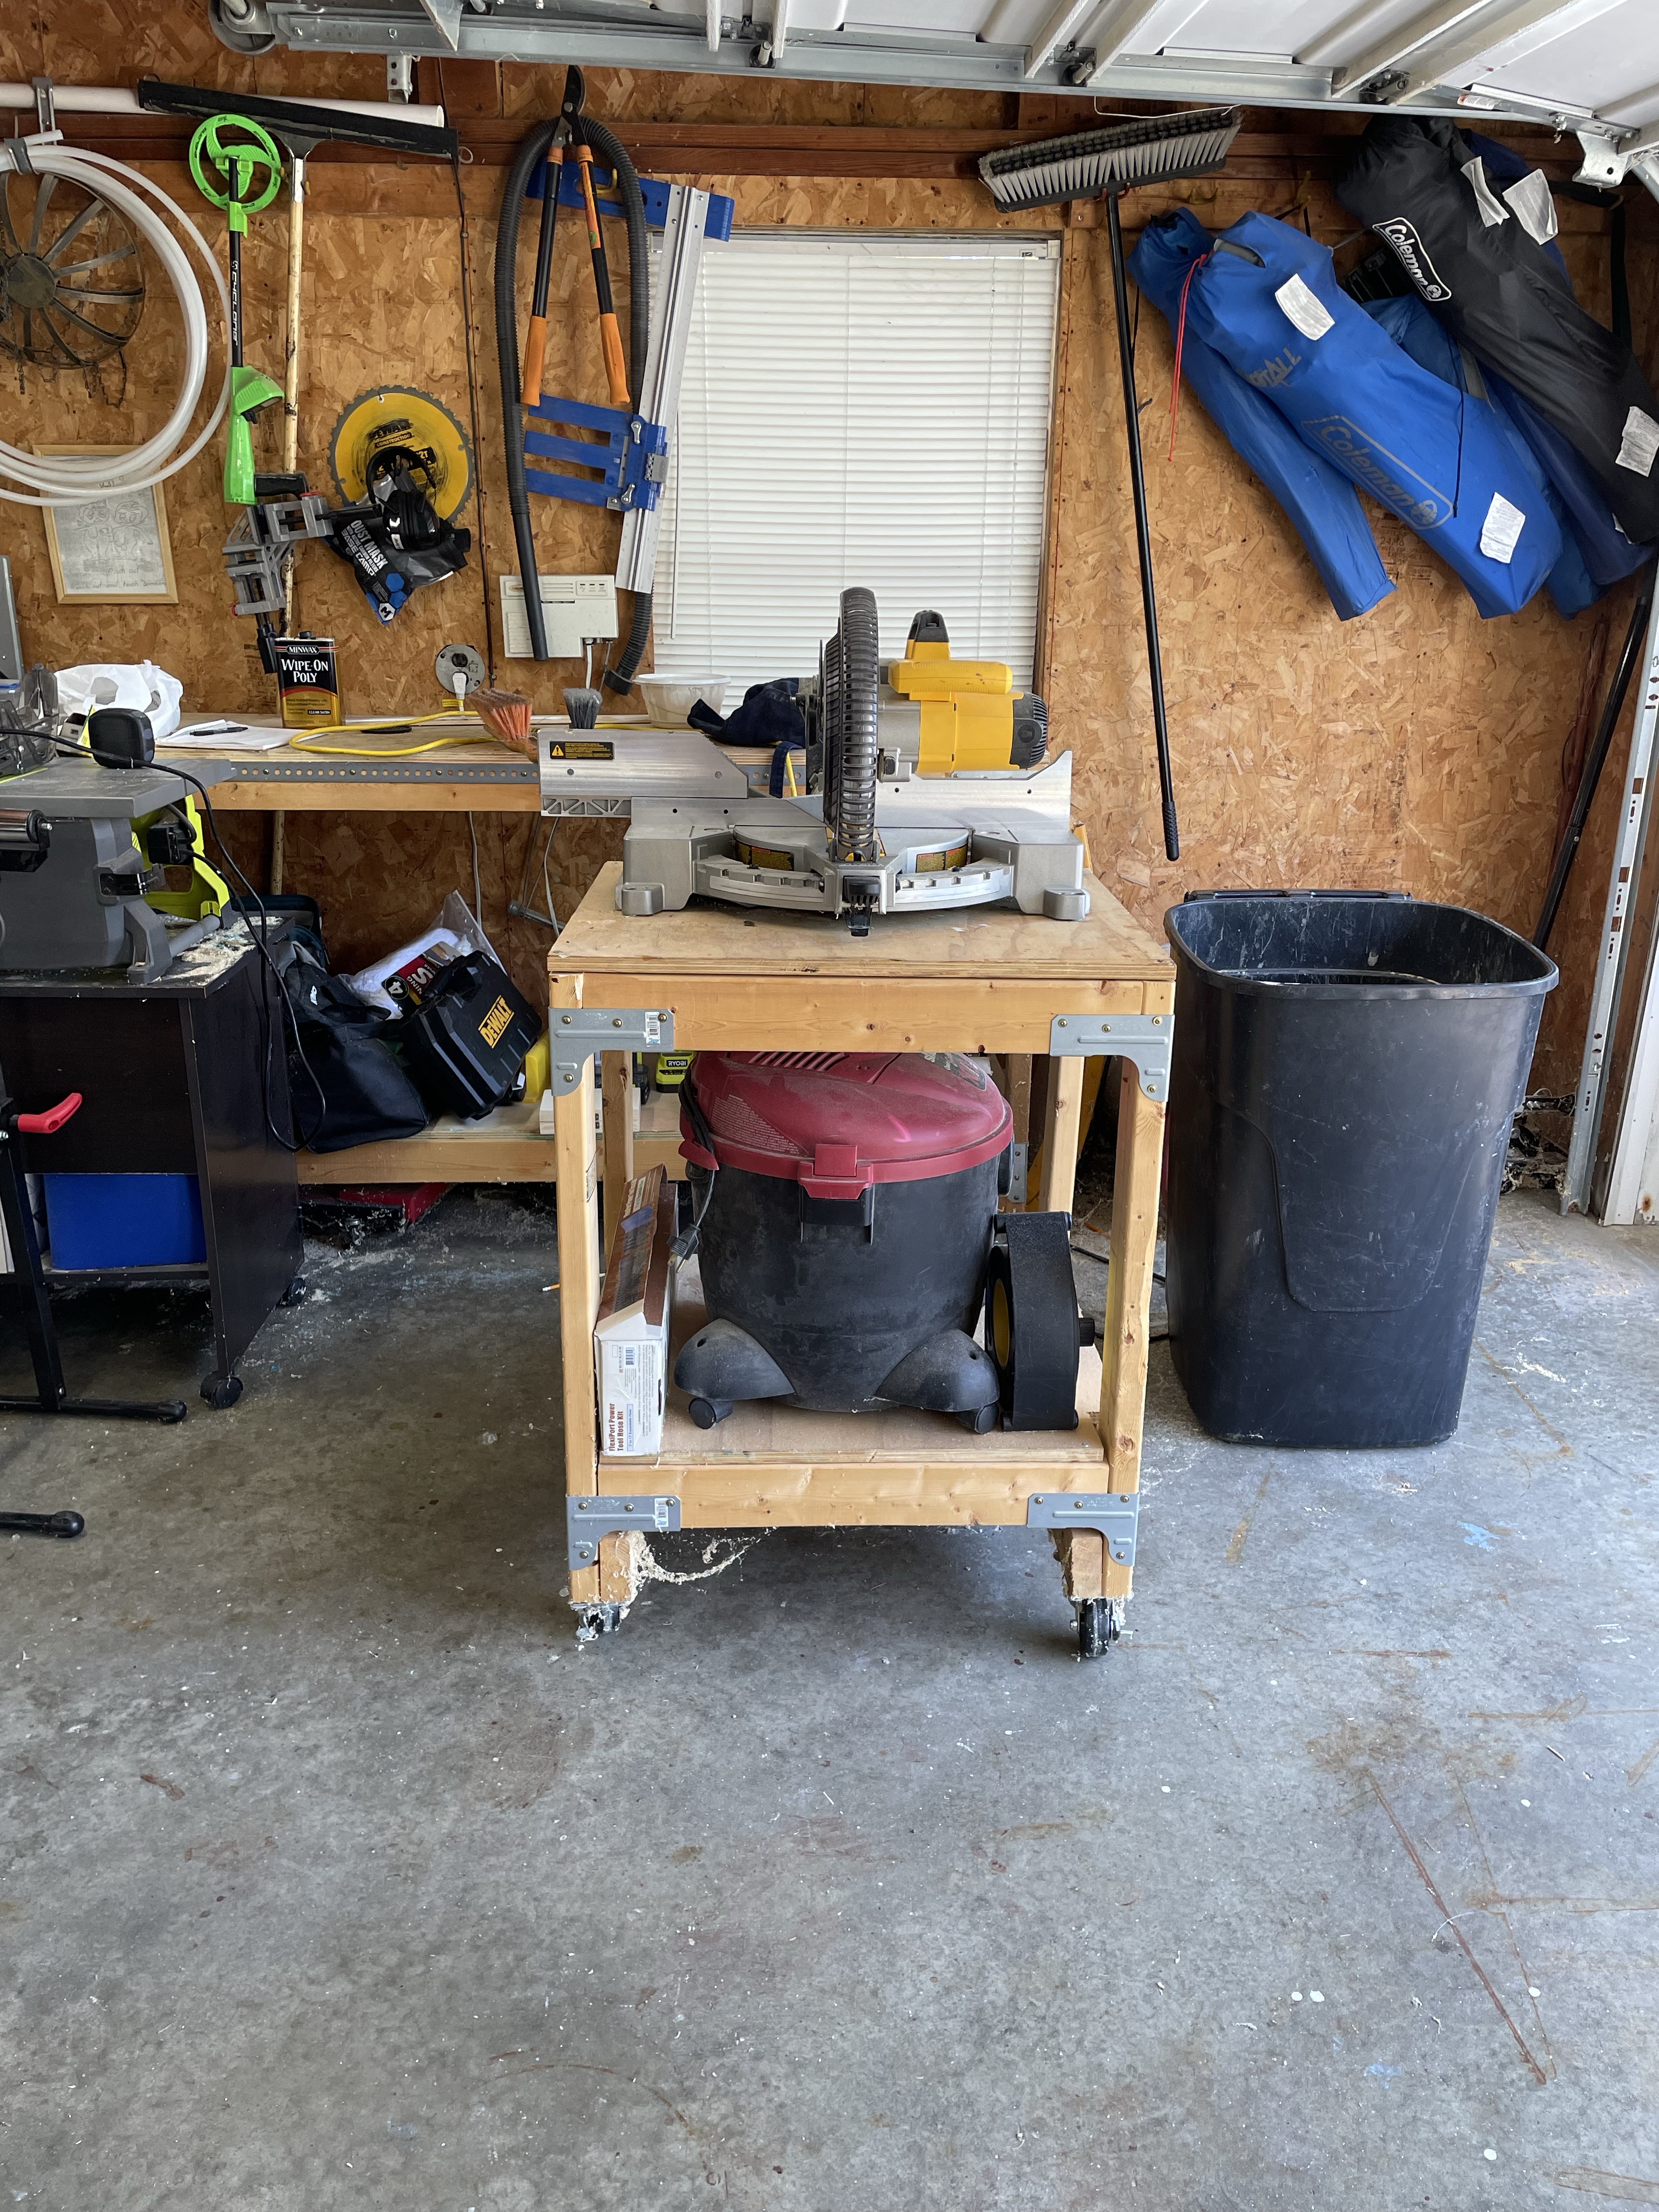
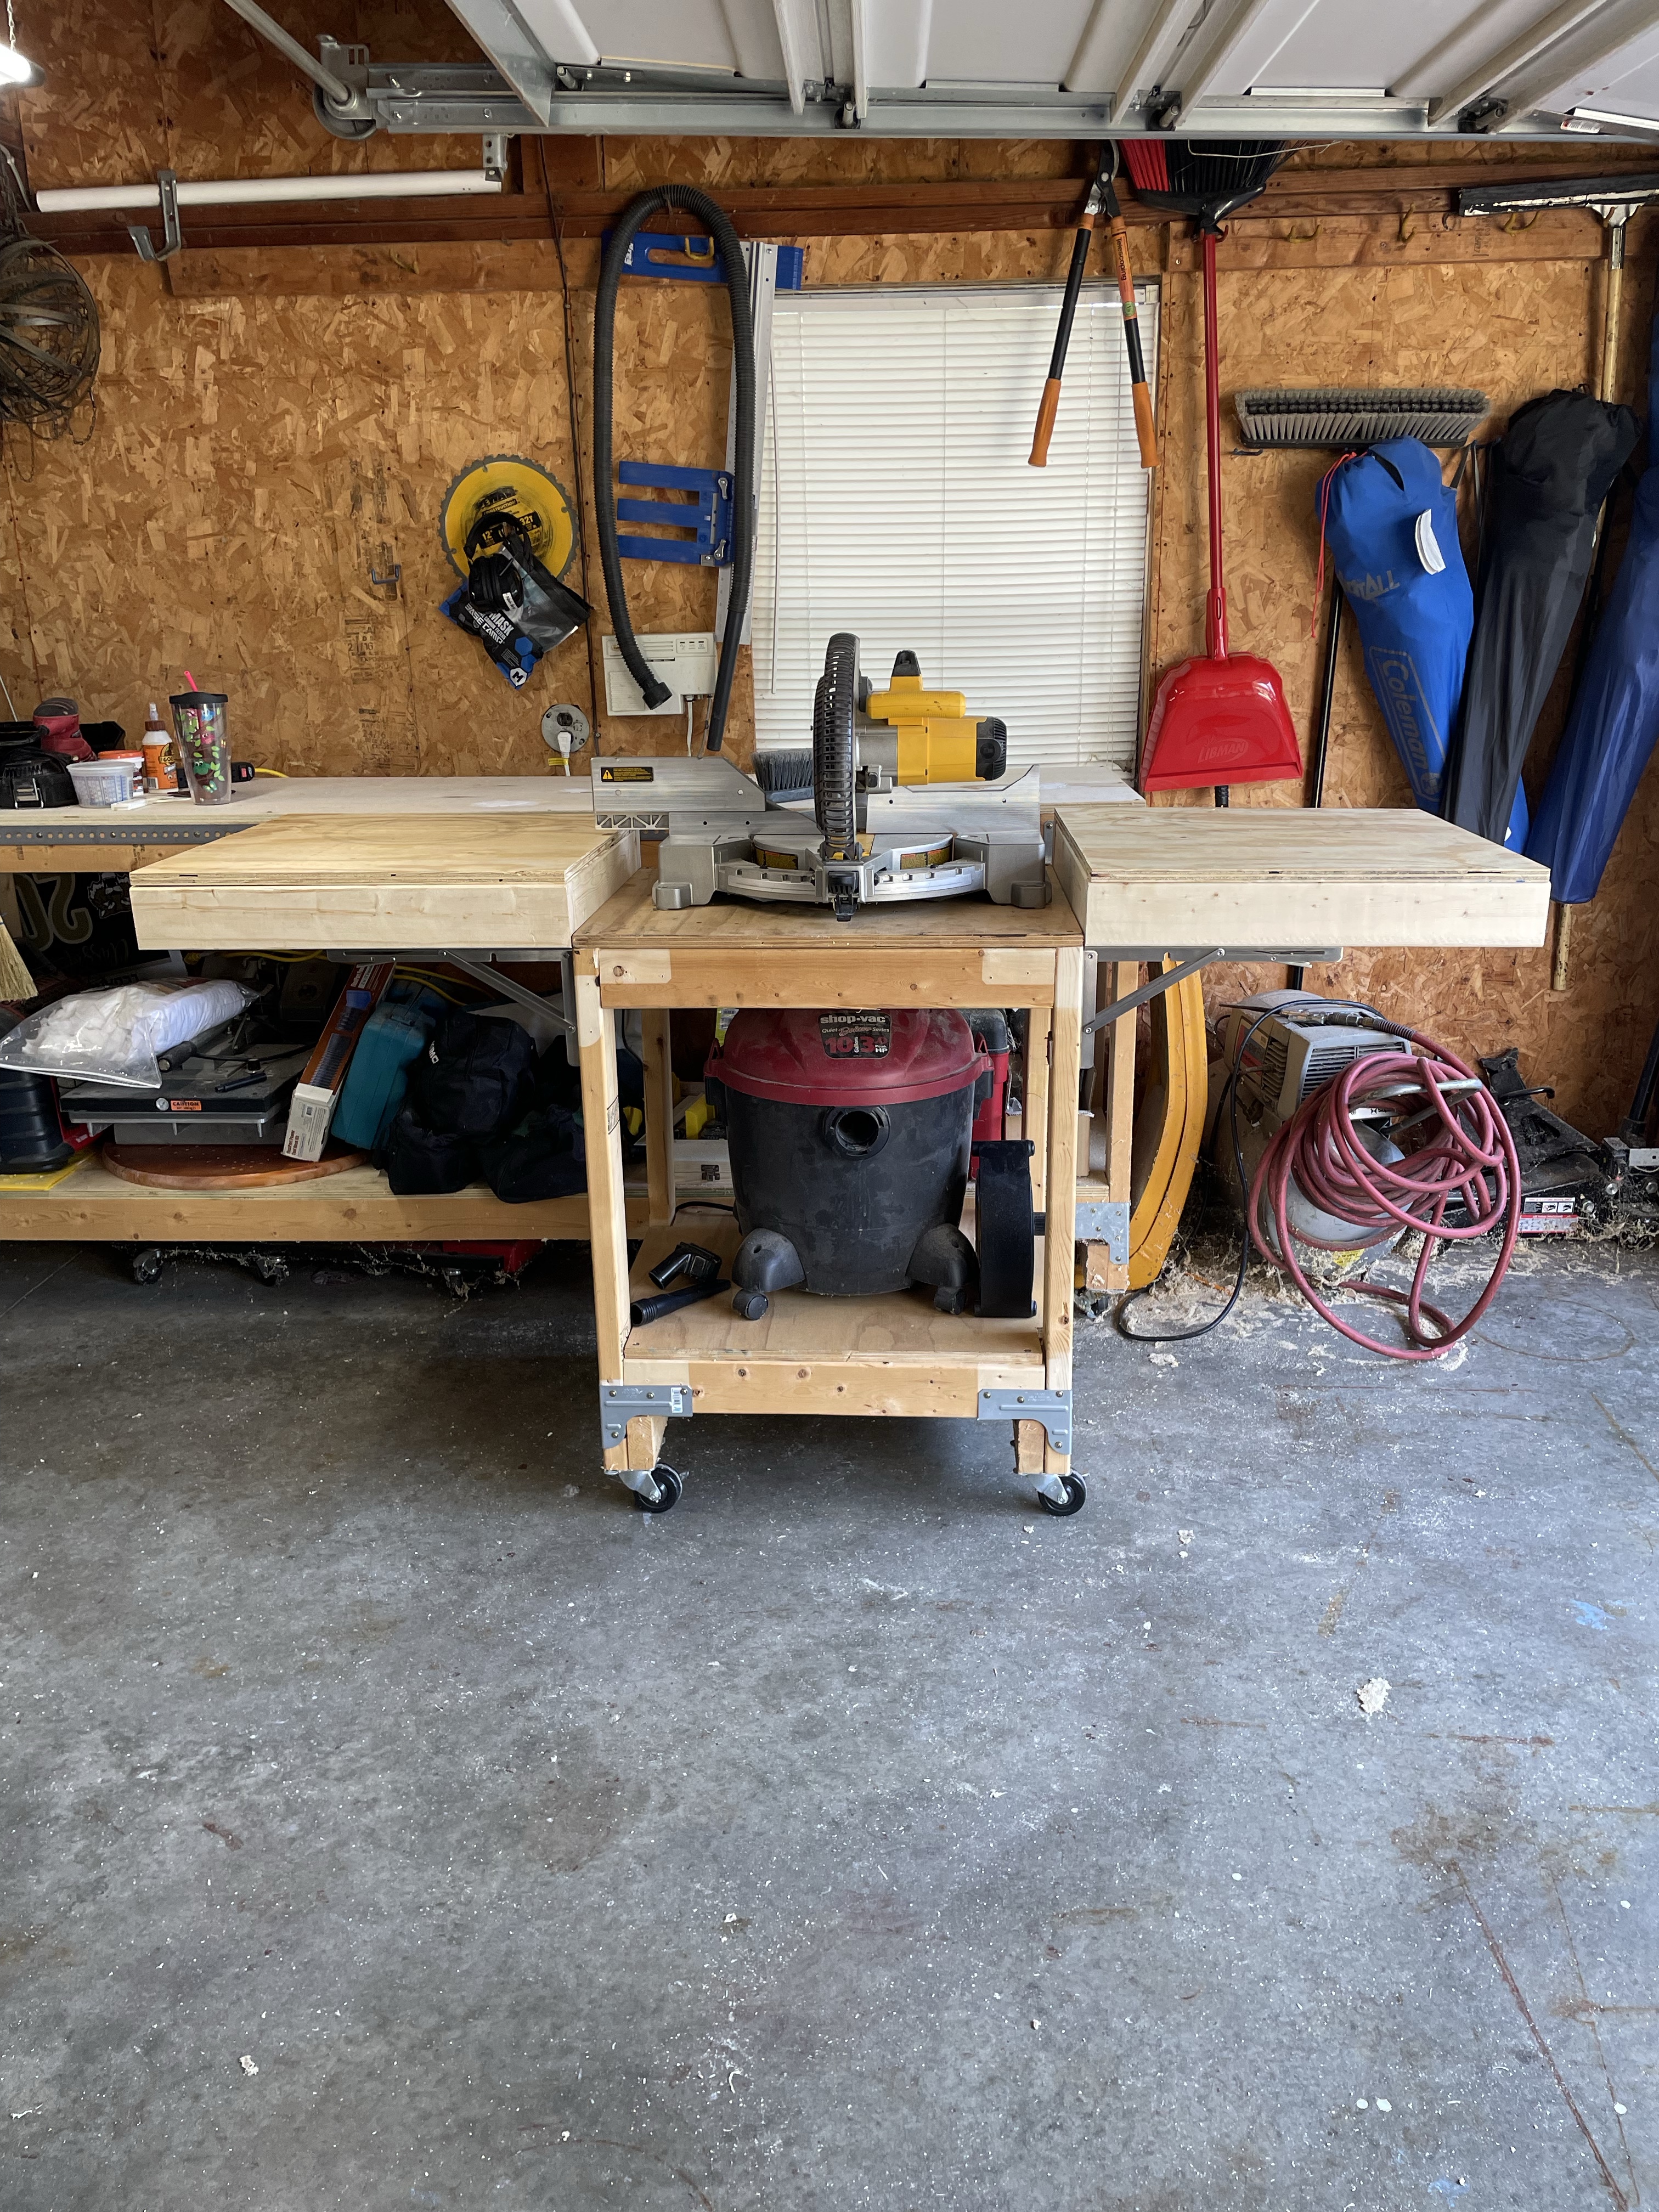
Check out the before and after! My kids are happy that I don’t have to drag them away from their video games to help when I am cutting long pieces anymore

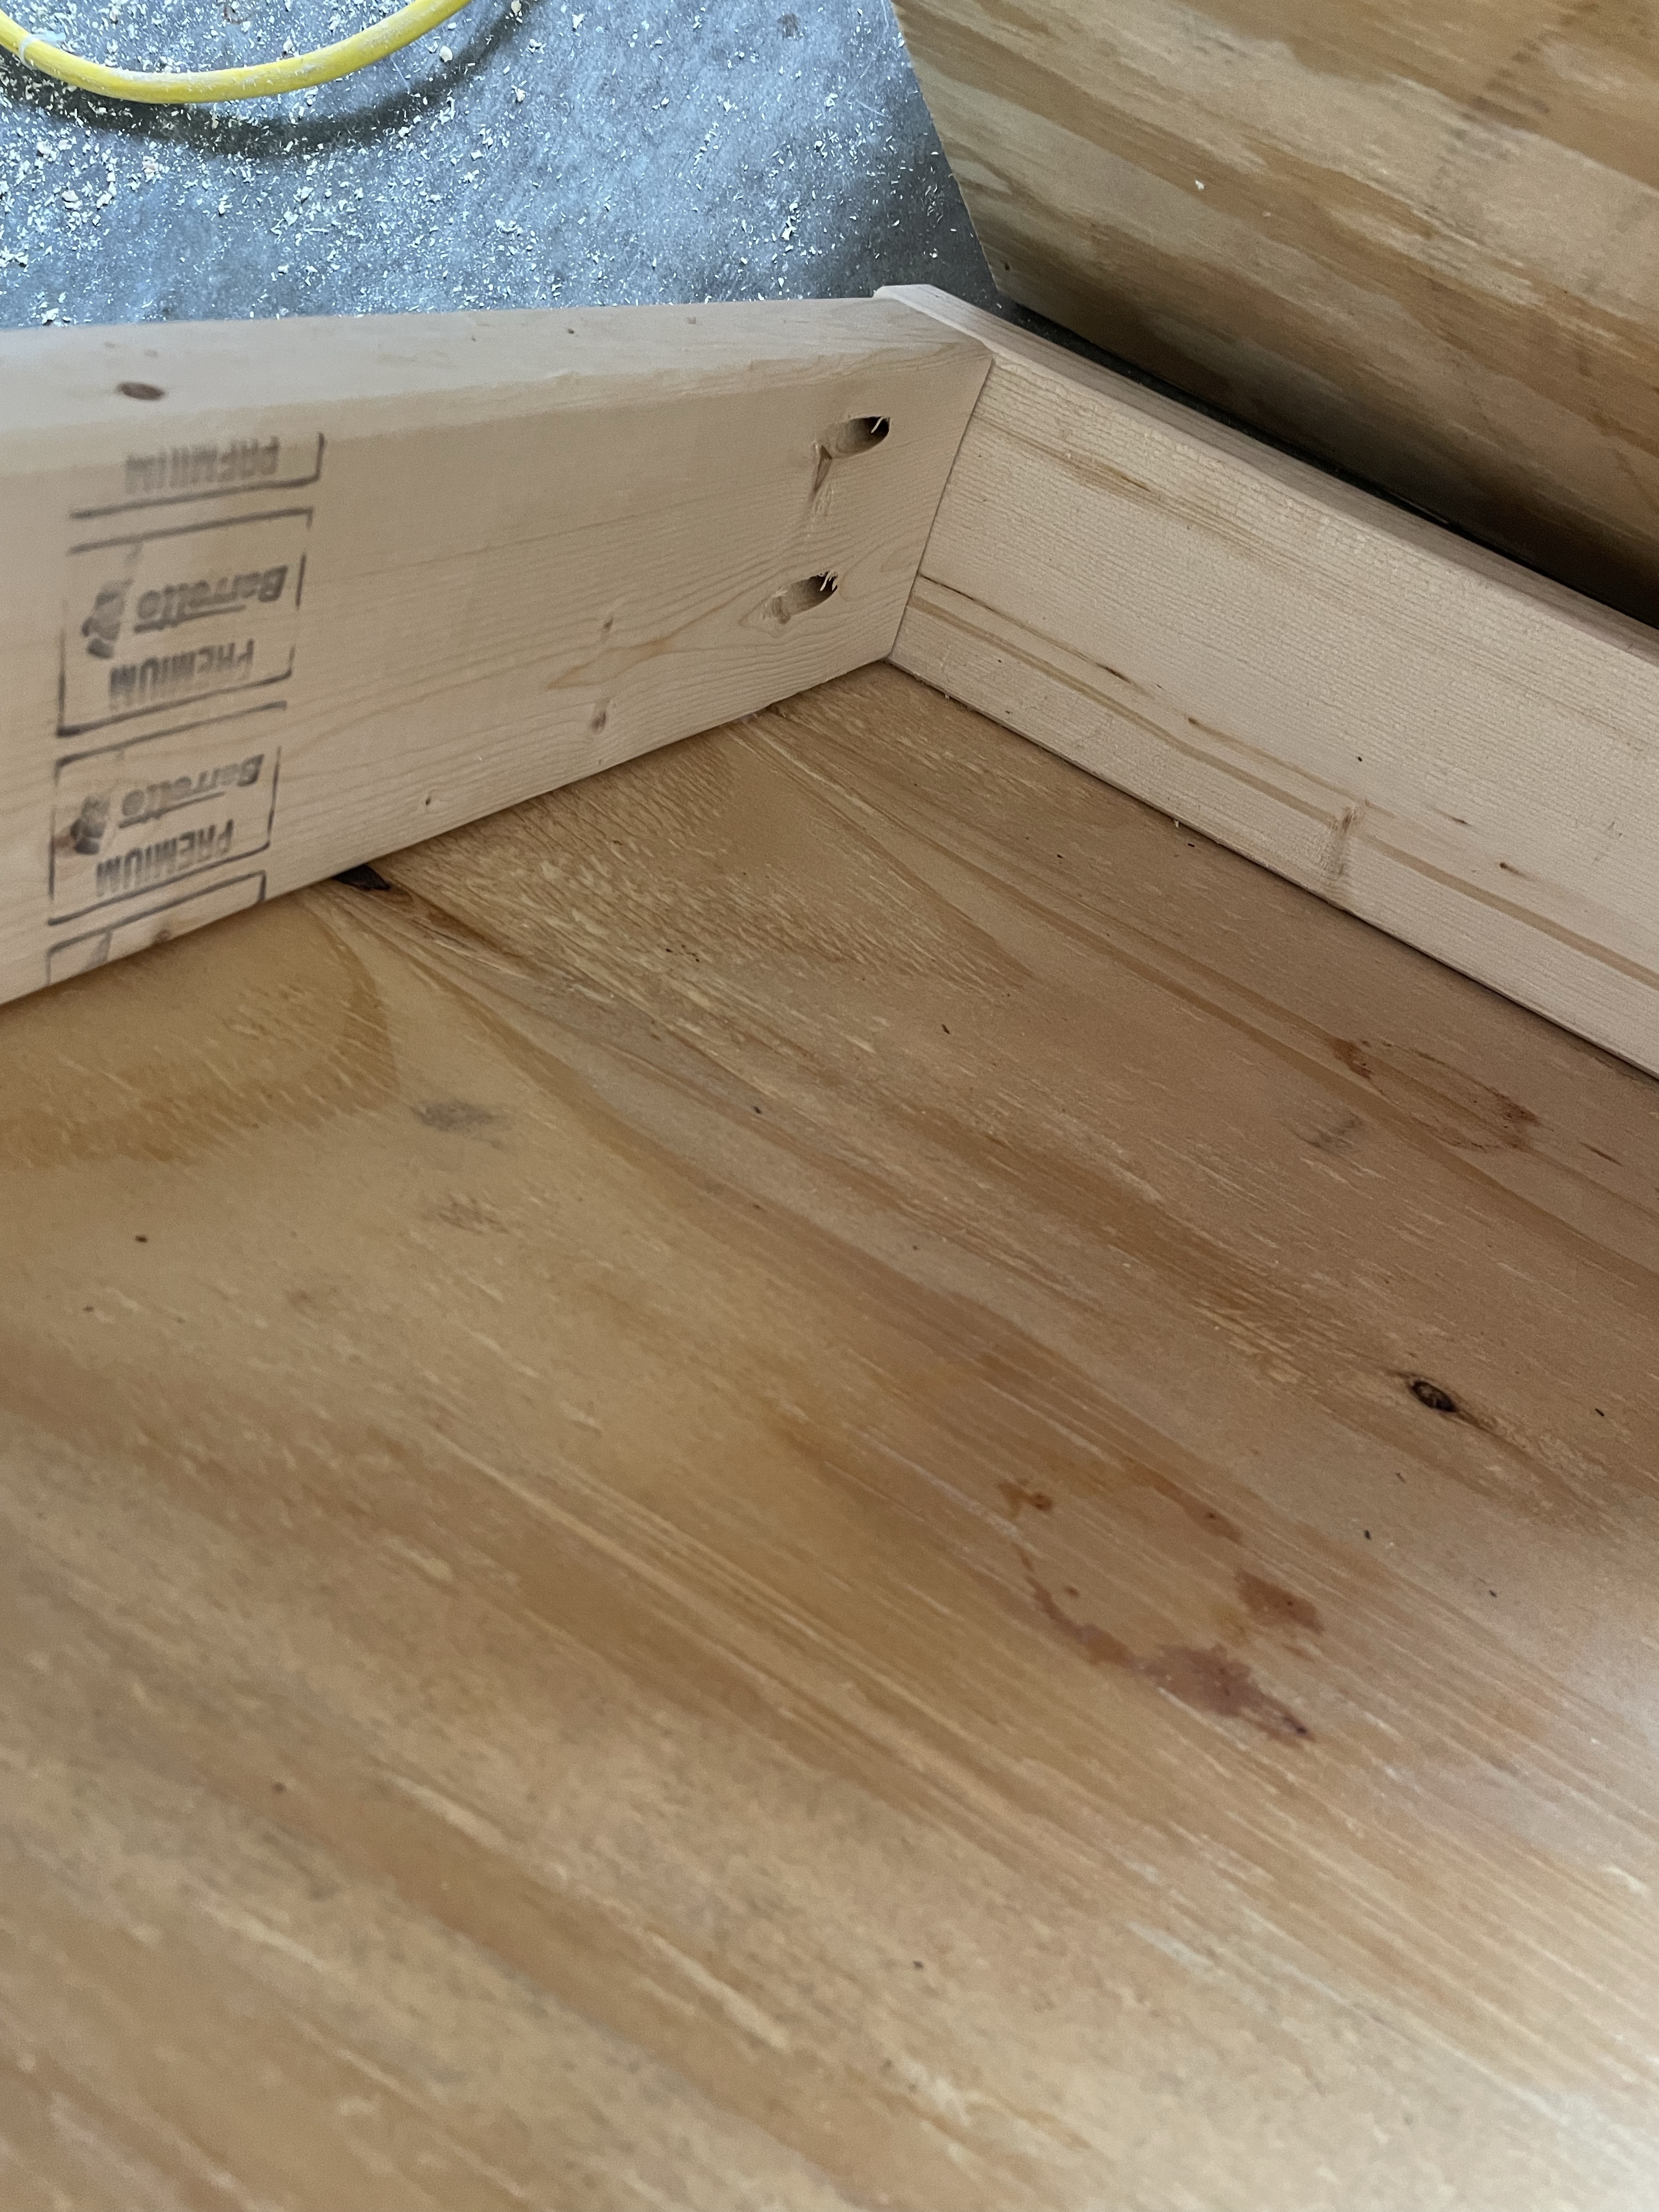
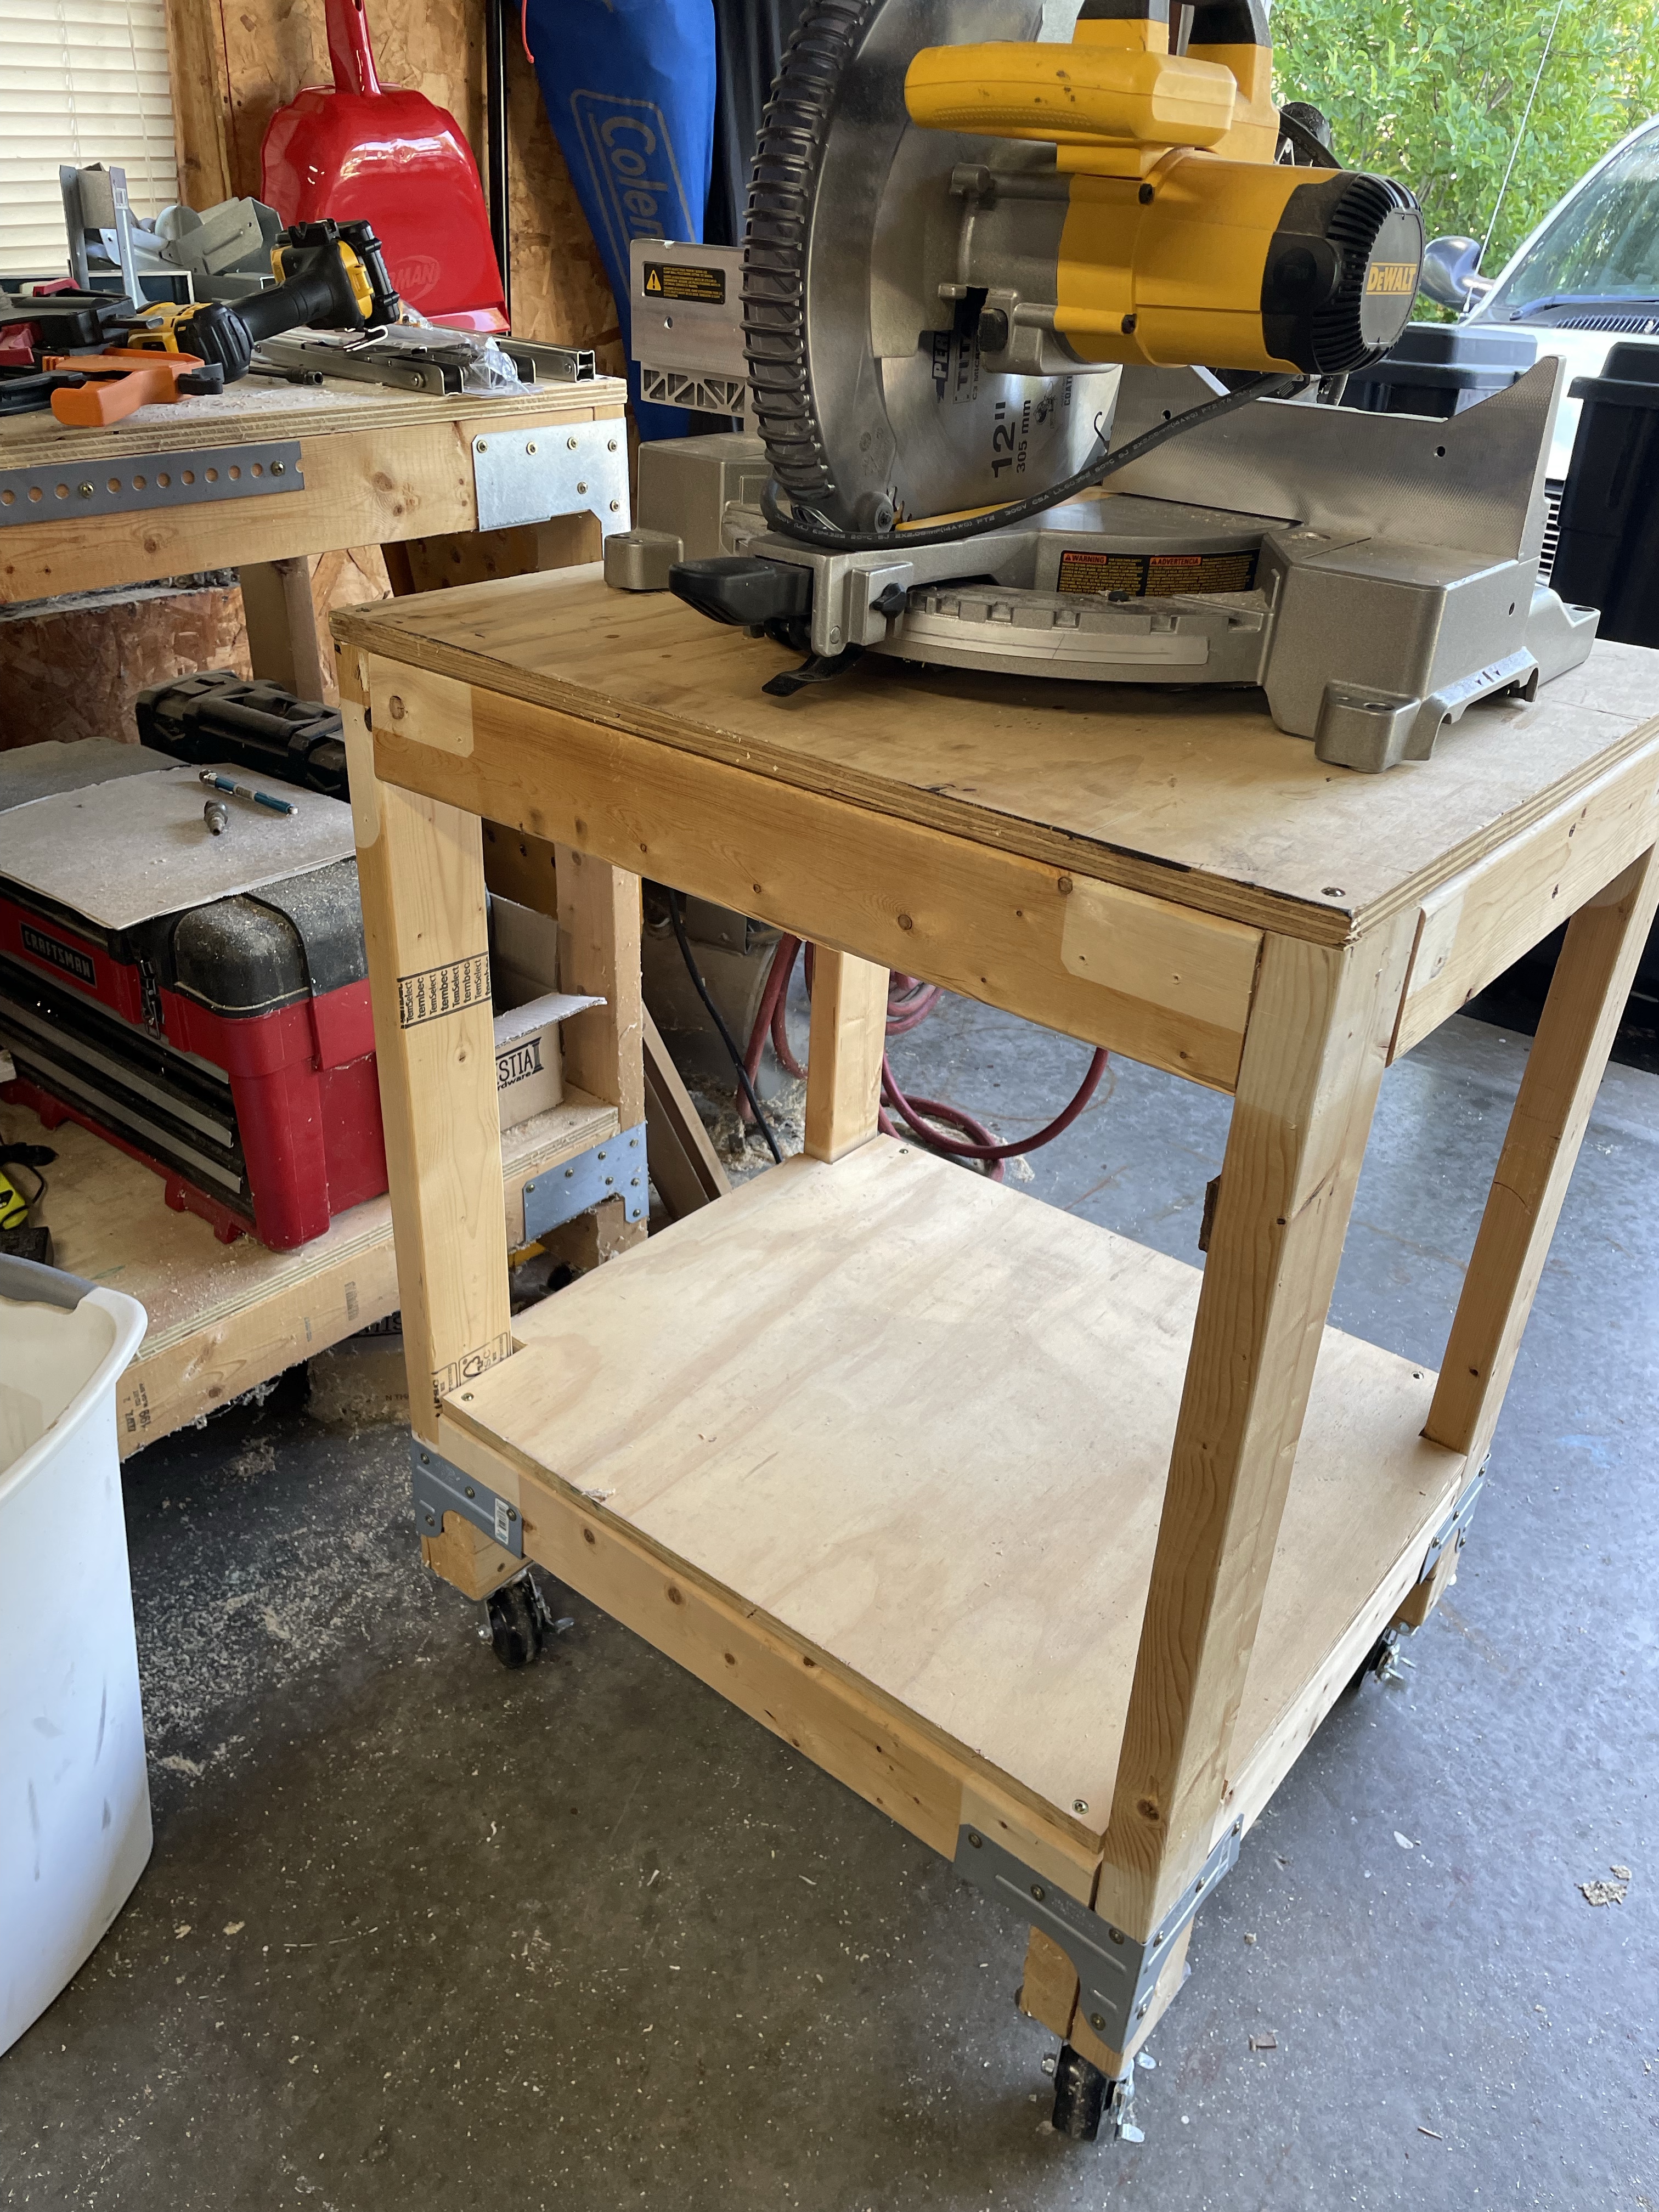
I built two frames for the collapsible shelves with 2x4s, plywood and pocket screws. I measured the depth of my table and then used that measurement to make them square.
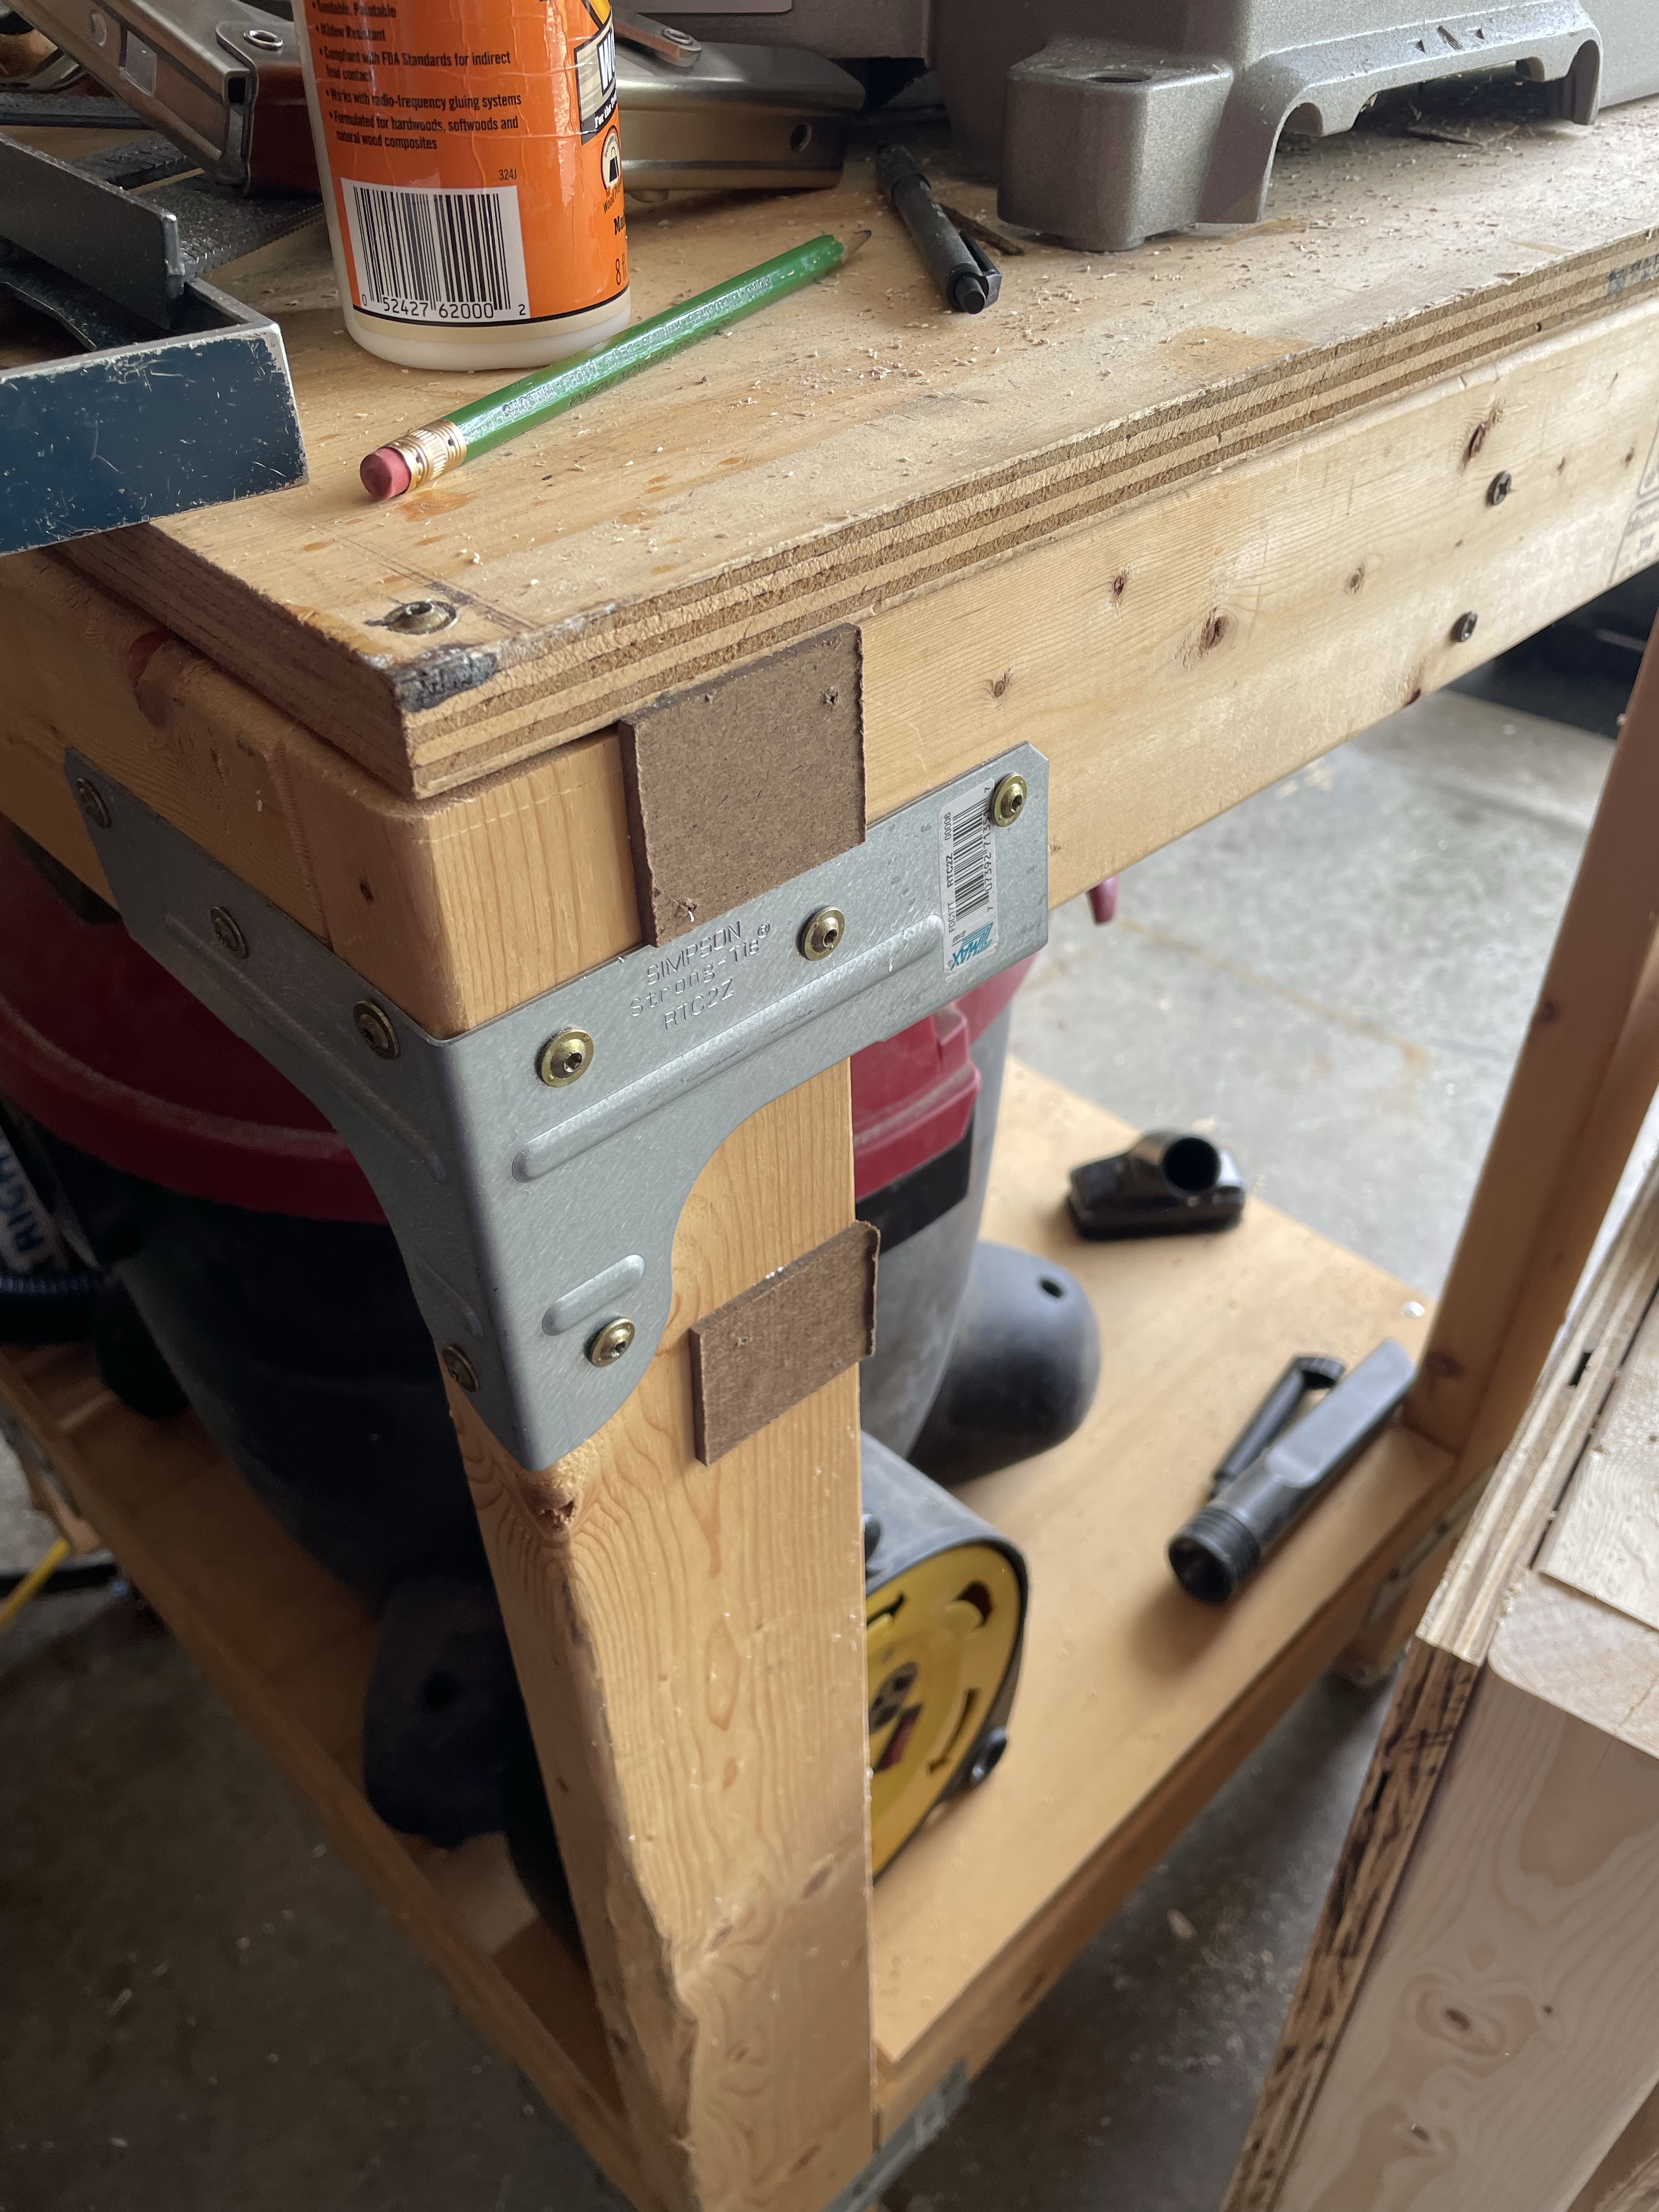
My original table had these brackets so the Folding Shelf Brackets I bought didn’t sit as level as I liked. So I tried shimming them and that didn’t work very well either. I ended up scraping that idea and removing the top and the brackets and then using pocket holes to reassemble the top.

That was a huge help however it was not without its headaches. They still kept getting stuck and not wanting to fold completely flat, which was a bit heart breaking after redoing everything.
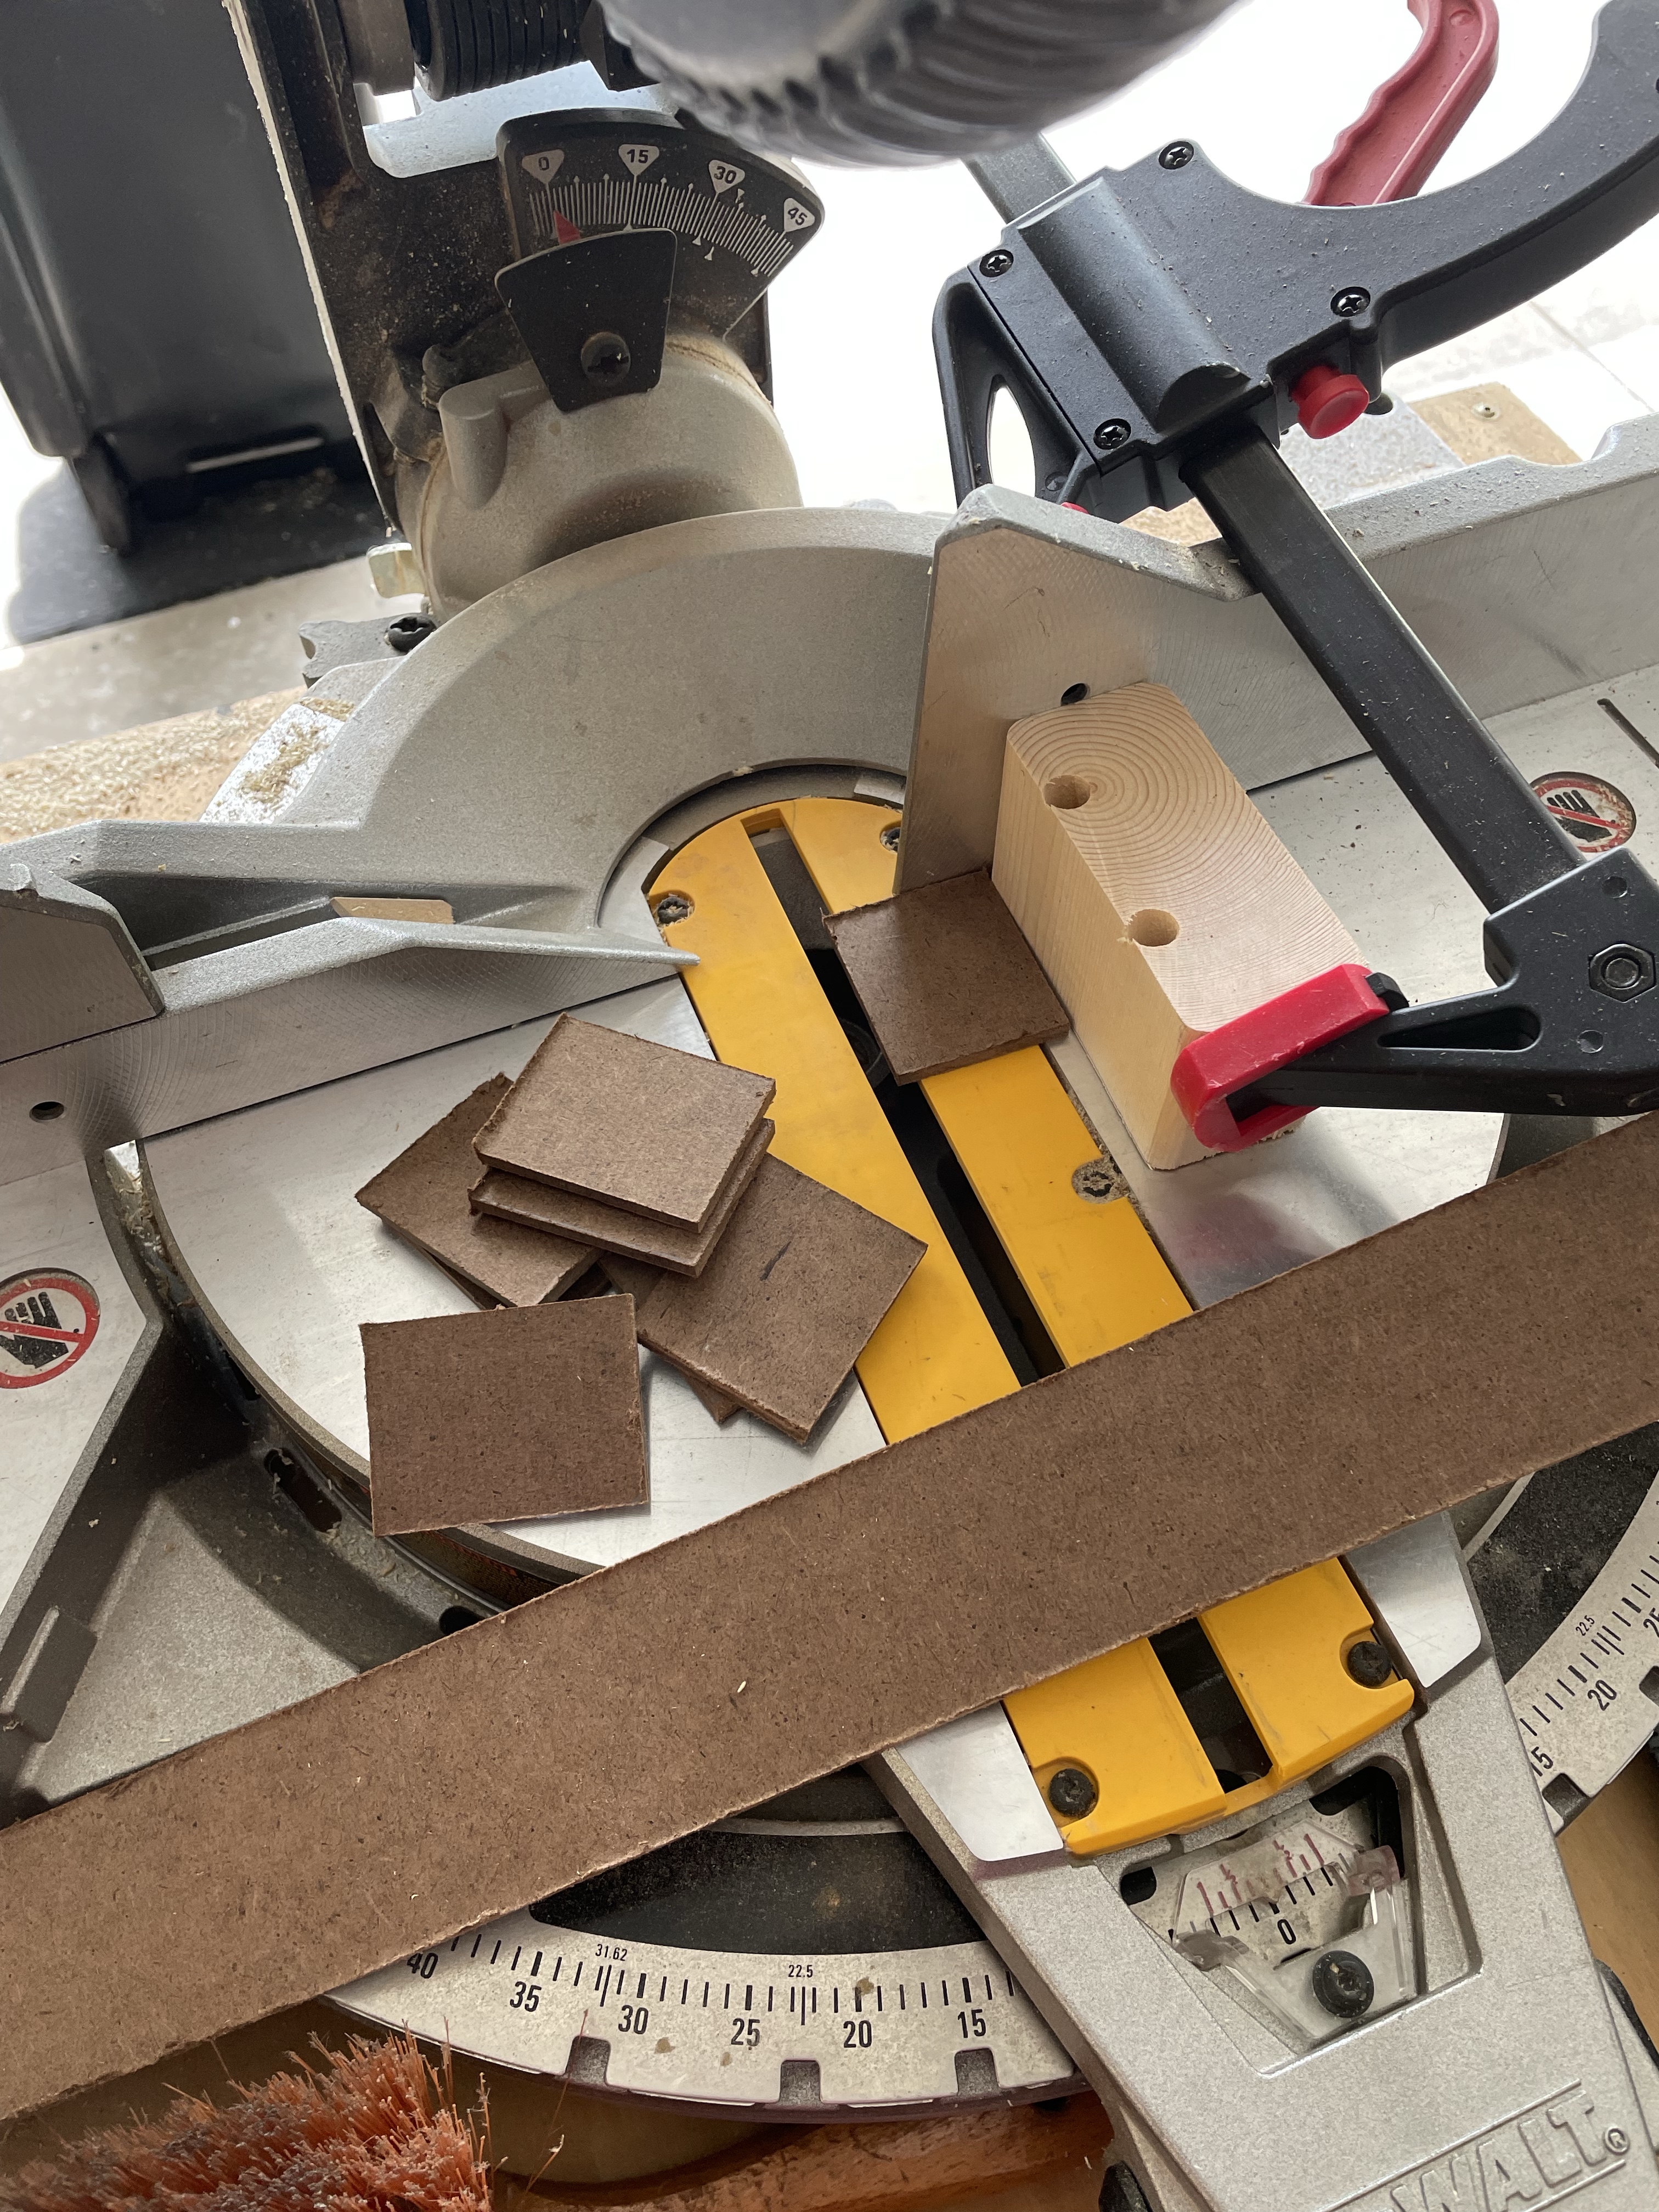
Thankfully, completely by accident, I found that if they snag just a bit it is best to let gravity help. I lifted the shelves to the upright position, then squeezed the buttons to release them and let it fall. The weight of the wood helped to close them perfectly and now there isn’t any issues at all. I’m sure this isn’t in the assembly instructions for a reason so do this at your own risk.
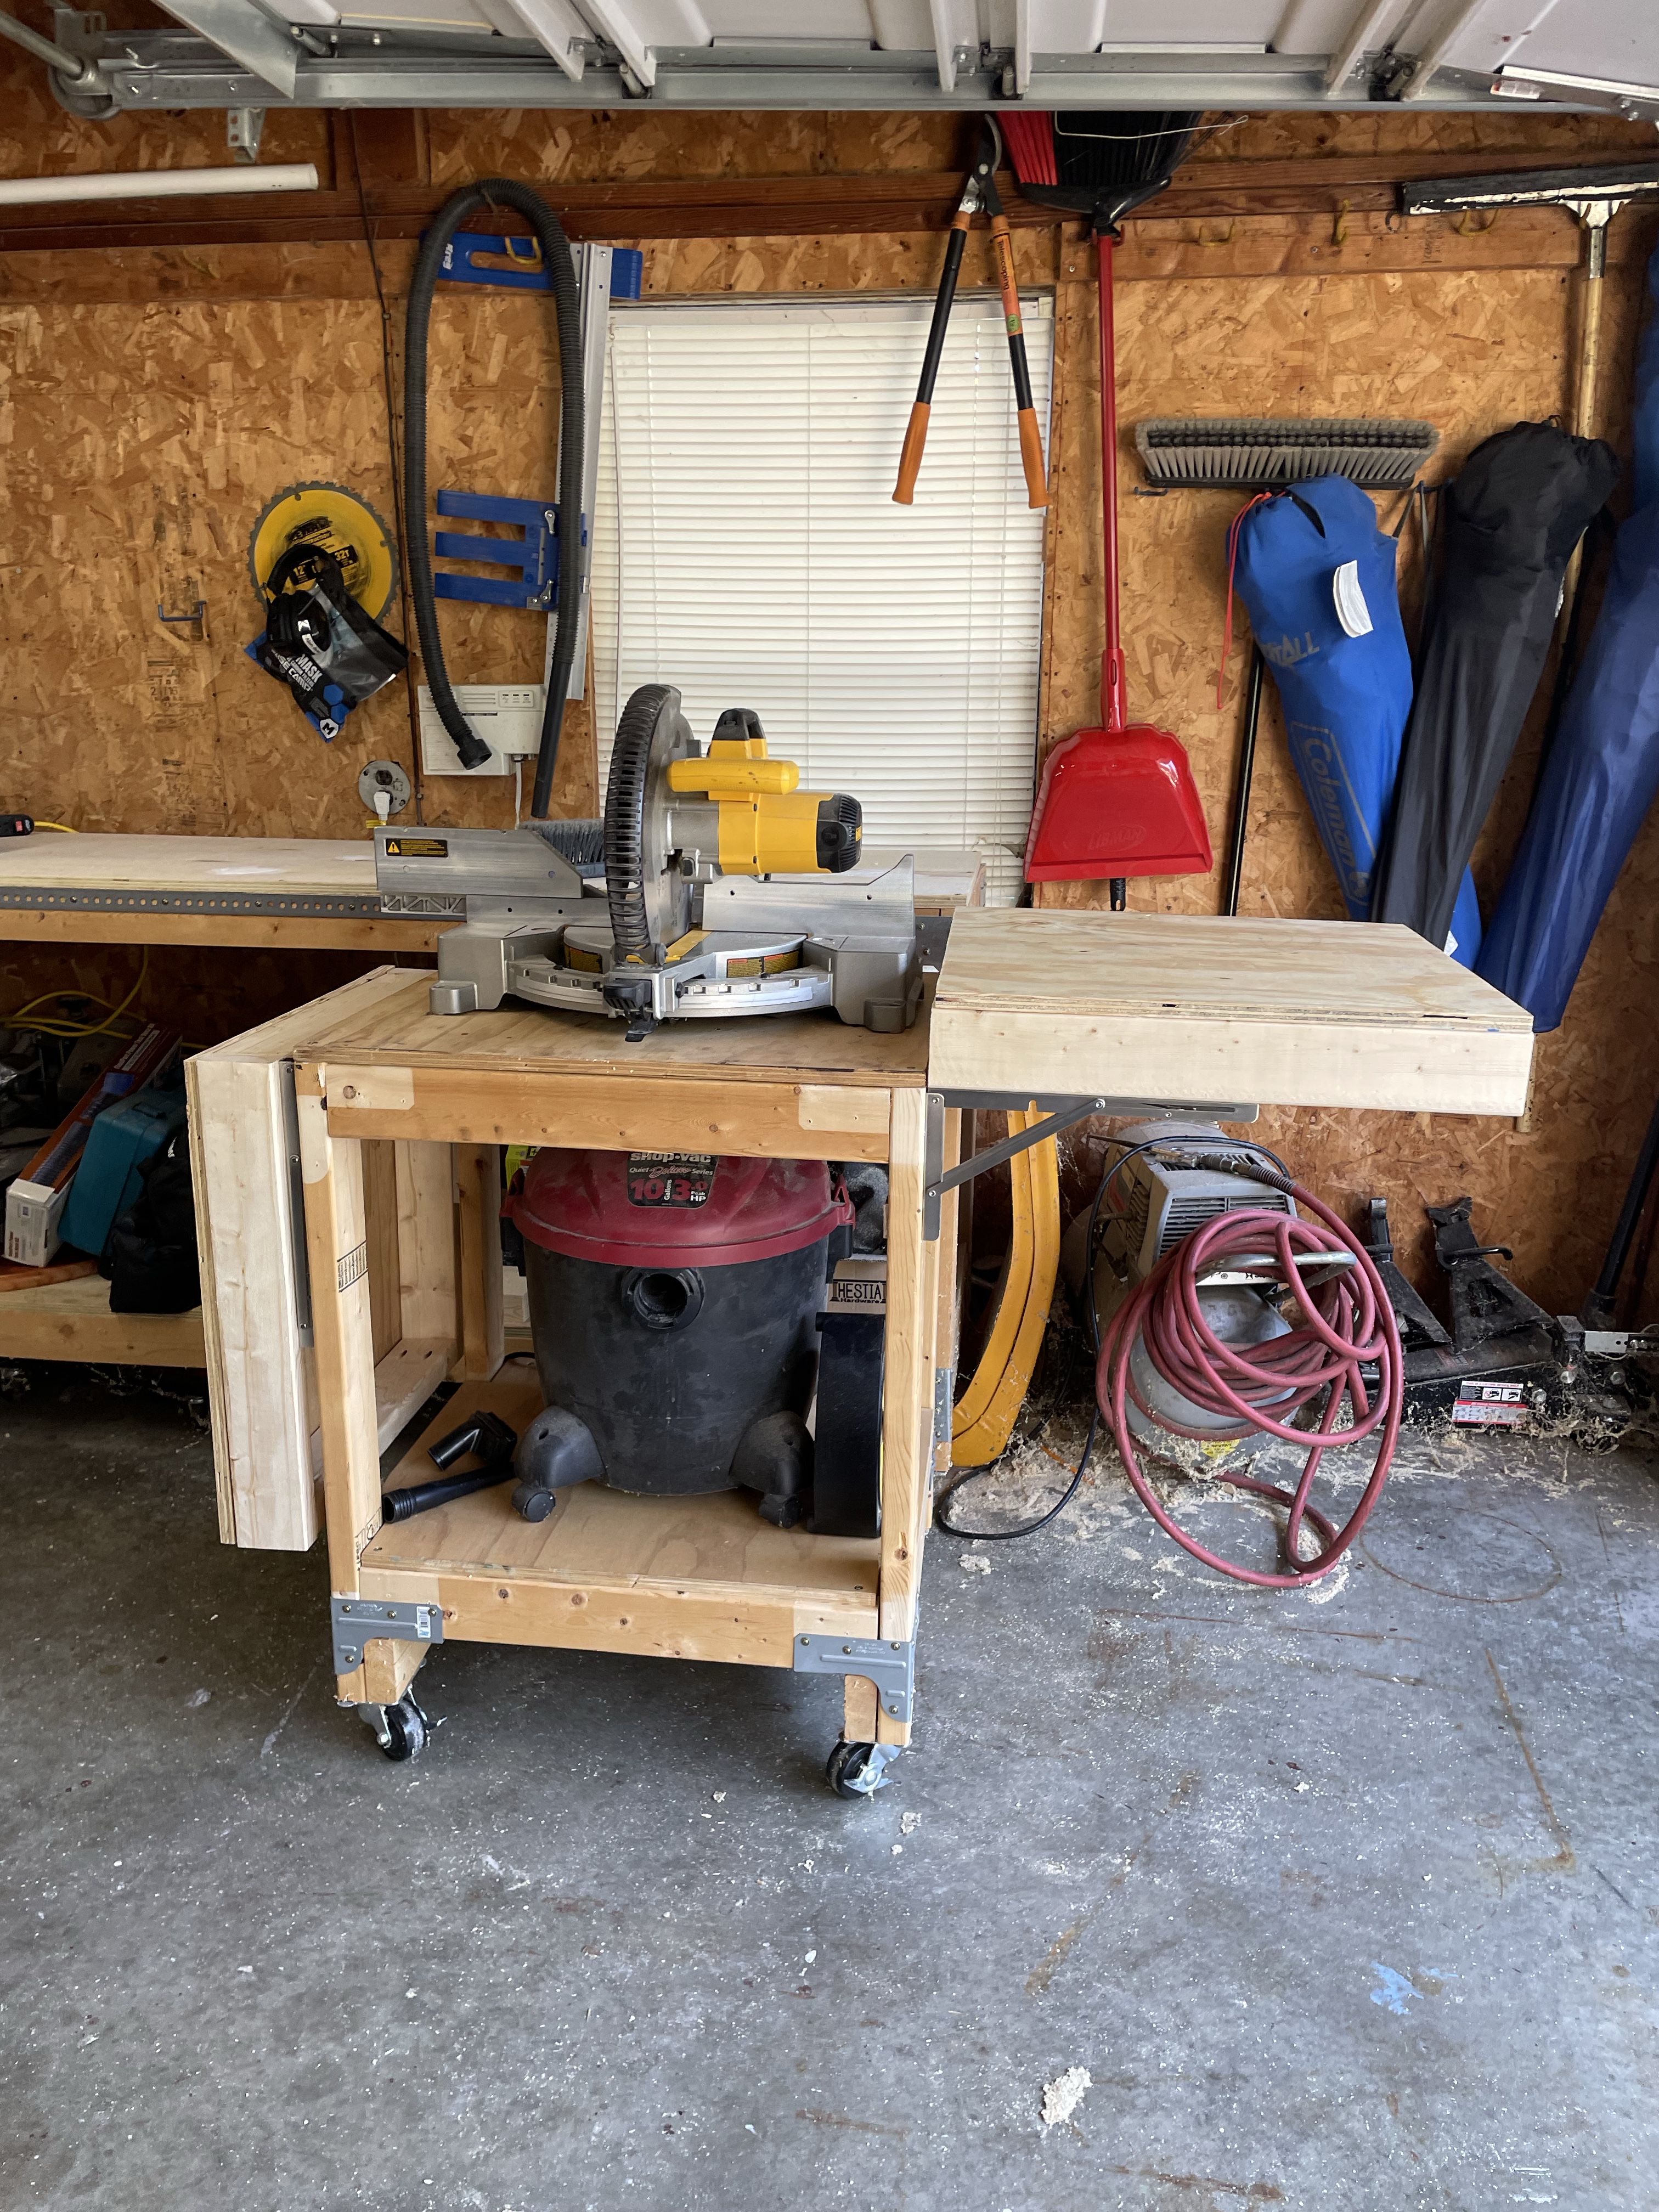
This thing is a beast and is perfect for my garage. I put it straight to use adding a shelf in the garage and on my next project. If you like this project stay tuned for the next one. Also stop by my Instagram and say Hello, stay up to date on my upcoming projects and share your work too!

