

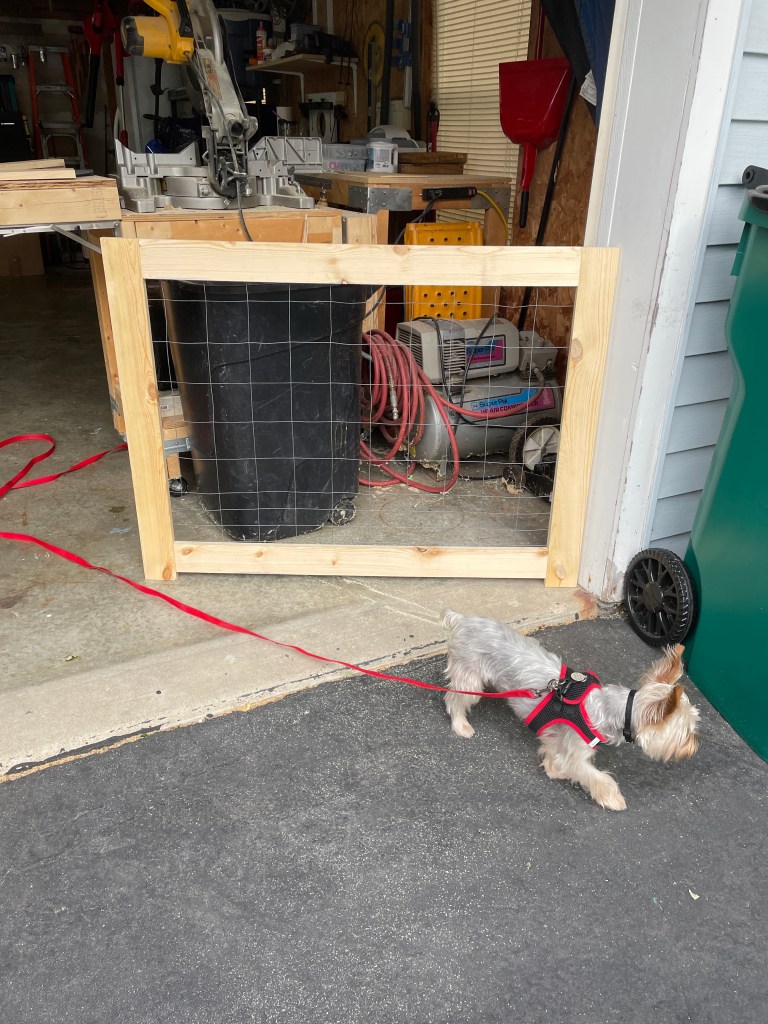
My dogs love being in the garage with me but having them on a lead is not only dangerous if a stray dog comes along but that lead is a major tripping hazard. So I definitely needed to work something out.
Disclosure: This post may contain affiliate links. Meaning I get a commission if you decide to purchase through my links, through no cost to you.

I decided to build a gate. It needed to be at least 30” high and 16 feet across to span the garage door. It needed to be foldable so I can take it down and fold it away when not in use and it needed to look nice since it’s on the front of the house.
I looked for plans online but between the cost of lumber and the maneuverability I just didn’t see what I could do and not be broke at the end.
For this project I started out thinking that some wire fencing that we had on hand would be ok for the inside of my gate frames but that was not what I was looking for. It’s just not as nice and secure as I wanted.
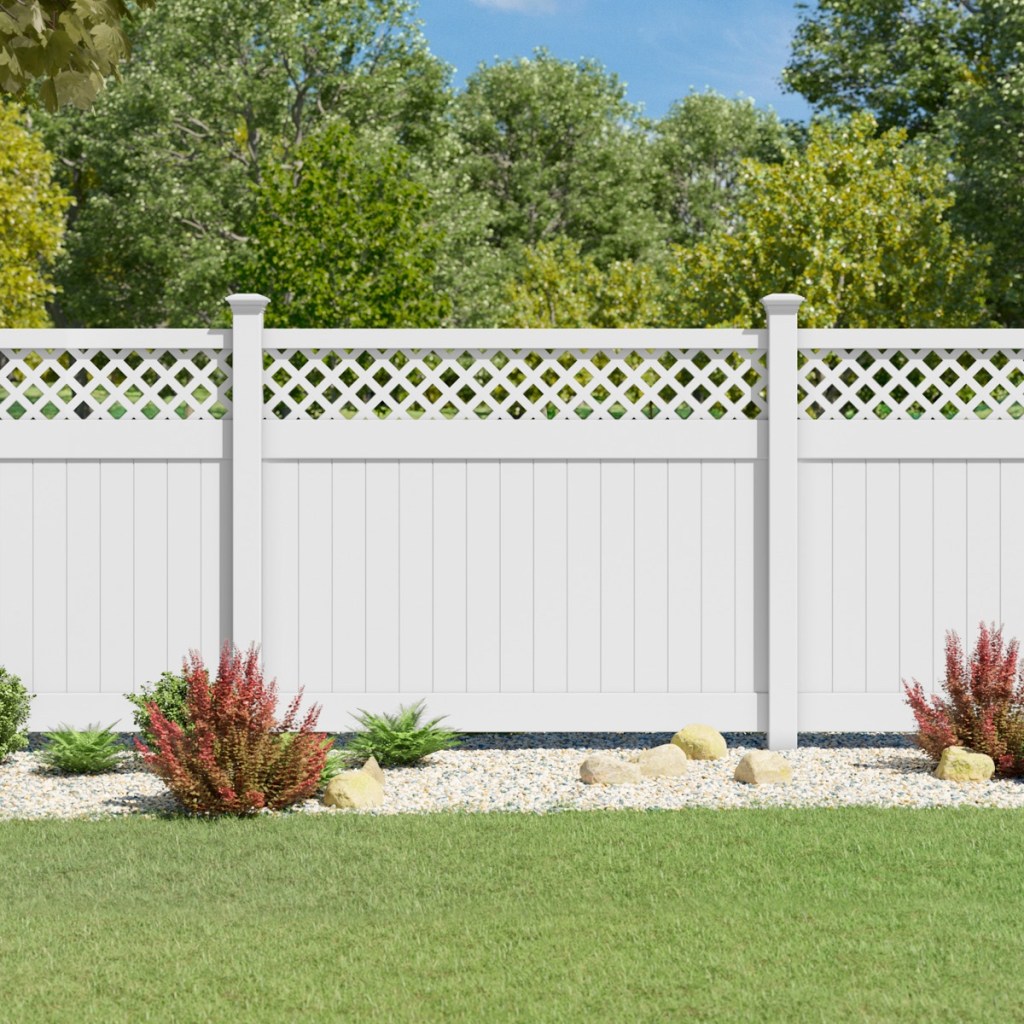
I decided that I really liked the look of the vinyl fencing Ive seen around. The cute white fence with the frames in lattice on the top. So I decided to use lattice for my gates.
Here is a list of the supplies and tools that I used for this project
Supplies
- 7-1x4x8 I used standard pine for my 16 foot door
- 6-2” hinges. I bought these online and have used them for other projects as well
- 8 lag eye screws
- 4 caribiners or s hooks
- Exterior paint in white with a satin finish.
- 1-4’ x 8 ‘ sheet of vinyl lattice
- 1 1/4” pocket hole screws
- 3/4” staples
Tools
- Miter Saw- I used my miter saw to cut the wood but this could easily be done with a handsaw.
- Circular saw- I used this for the lattice
- Drill or driver
- Drill and driver bit to match the size of your hinge screws and your eyelets
- Screw driver or other long instrument to help screw in the lag eye screws.
- Pocket hole jig. Here is my favorite one!
- Clamps
- Stapler
Cut list for my gate measuring 30” tall and 16’ plus long finished. I used an app called Sheet Cut Optimizer to make sure I used the least amount of boards and created the least amount of waste.
- 8 boards at 30”
- 8 boards at 41”

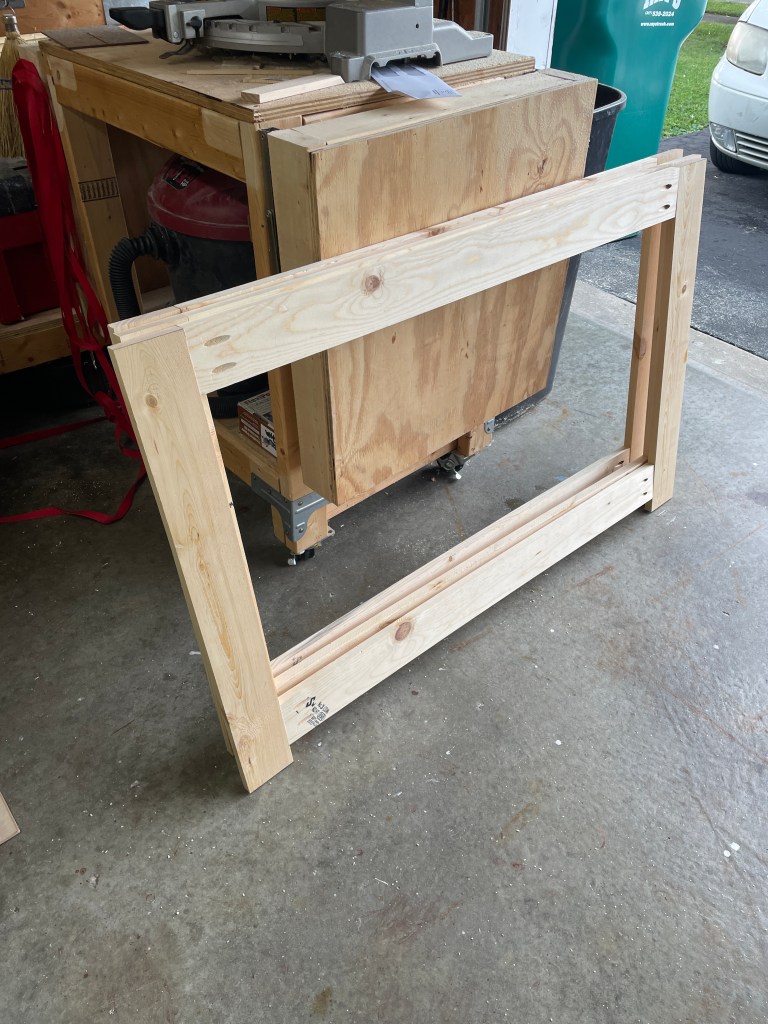
After cutting all of my boards I added 2 pocket holes at both ends of each of the 41” boards using my favorite Kreg Jig. Then I attached one across the top of two of my 30” boards. When I added the bottom brace I measured 1.5” from the bottom for placement so it didn’t sit right on the ground.

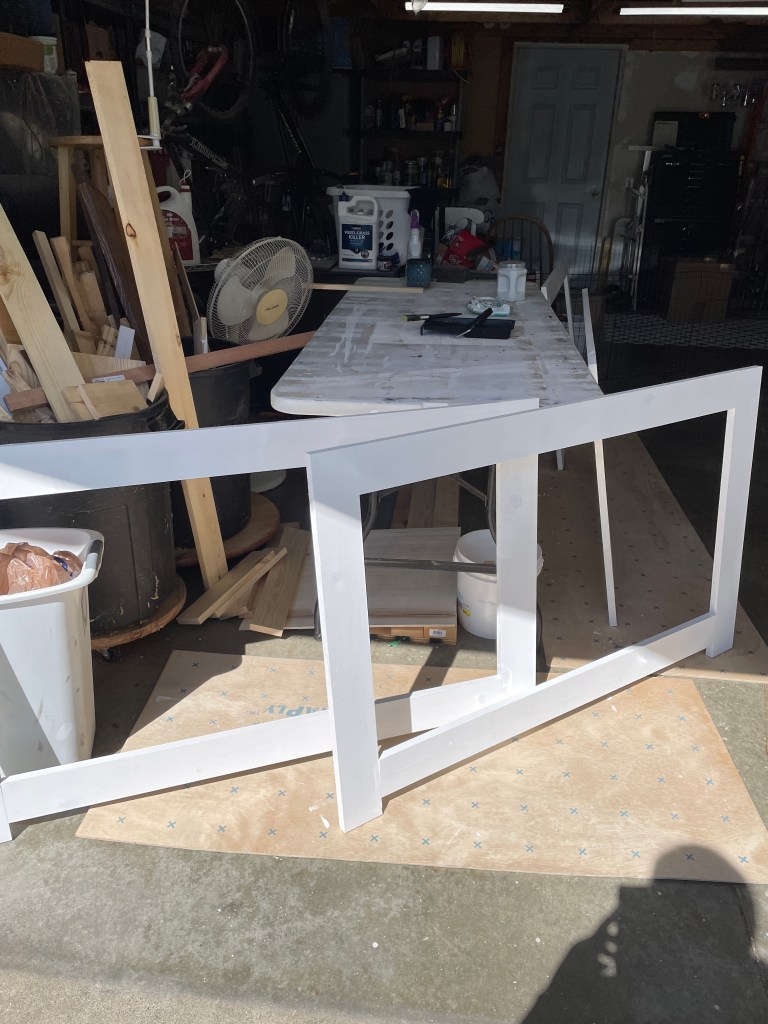
After I got all four of the frames built I gave them two coats of exterior white paint. This won’t be in the elements since it will be at the edge of my garage and folded up when not in use but I definitely wanted an exterior paint on them.
I then cut my lattice piece into 4 rectangles measuring 4’ x 2’ with my circular saw. With the bottom board of the frame being lifted that 1 1/2” the lattice fits perfectly.

I added the lattice with staples using my hand held stapler and that made for a really secure attachment. I don’t want the dogs to be able to open it in any way.

Next I added the hinges. Making sure to set them up so that the frames will fold properly. I placed the top one 3” from the top and the bottom 5 1/2” from the bottom.

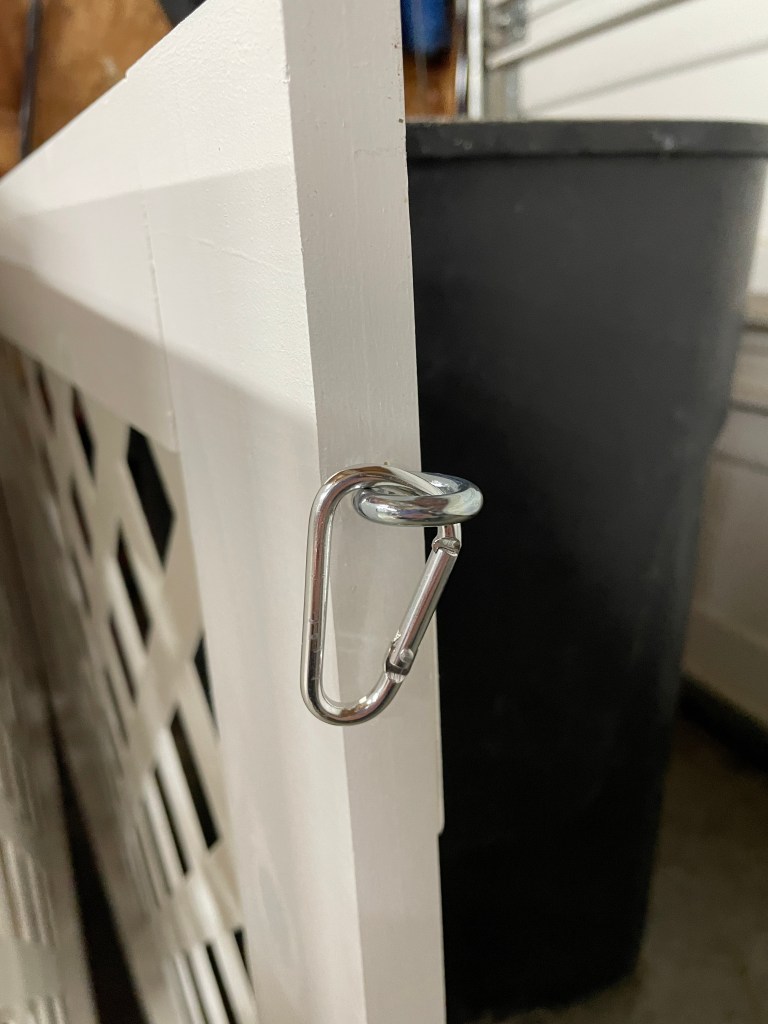
I then added some lag eye screws at the same measurements as the hinges on the two outer edges. I also added them to the frame of the door so I can use caribiners or locking s hooks to hold it securely to the frame and easily remove it as needed.
I am super happy with the end result and it works like a charm. The dogs love it and I’m sure my husband appreciates it too, since they will be out with me and not bothering him while he’s sleeping.

I hope that you like this little diy tutorial and if you feel inspired to make a dog gate for your garage, workshop or even for inside your home please hop over to Instagram and tag me so I can see. I love seeing what people make after reading my posts.
Check out more of my makes here on http://www.CraftyRidge.com as well as on Instagram and Facebook!

