
I found this post in my drafts from 2016. How I forgot to hit Publish, I don’t know but I hope you all enjoy it. Better late than never right?!

I think I found a new favorite craft!
Freezer Paper Shirts! My oldest is obsessed with nerdy t-shirts and wears one every day. After purchasing a Cricut Explore, I realized that those nerdy shirts are now at my fingertips.
Disclosure: This post may contain affiliate links. Meaning that I get a commission if you decide to purchase through my links, through no cost to you.
All you need is
- a cutting machine like a Cricut Explore or Maker or a craft knife if you have a really steady hand
- a design to cut from your freezer paper, I used an image of Cthulhu from one of my sons favorite necklaces but there are tons of places online to buy svgs or get them for free.
- some freezer paper, I used the Reynolds brand Freezer Paper.
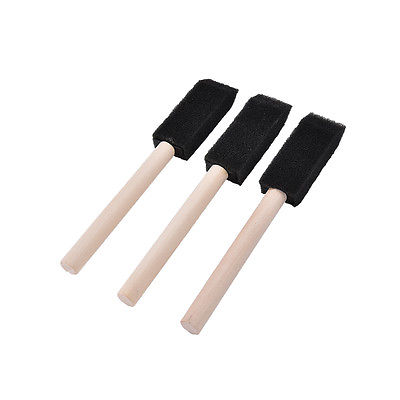
- some foam craft brushes
- Speedball Fabric Screenprinting Ink (you can also use fabric paint, just follow the directions on the package to see how to set it)
- an iron or heat press to set the ink
- a t-shirt or whatever item you are adding your image to


First step is to figure out what design you want and cut it out of your freezer paper. I cut mine with my Cricut shiny side up on the Washi Tape setting to cut all of the intricate bits without tearing the paper. You will want to make sure to reverse your image if you have any writing because the shiny side is what will go down on your shirt. You do not want any tears because your ink will seep through them and mess up your image.
After cutting the image weed it from the mat, this means you will remove all of the negative pieces making sure to leave the edges nice and clean. If there are any bits that do not cut cleanly you can use a craft knife to clean up the edges and make them smooth.
After I have my image cut out I put it aside and prep my t-shirt. I turn it inside out and iron another piece of freezer paper to the inside, shiny side down, to create a barrier that will stop the ink from soaking through to the back of the shirt. You can use a piece of cardboard to prevent any ink or paint from seeping through instead.

Next you will place your freezer paper down on your fabric, shiny side down, making sure to place it exactly like you want it on your t-shirt. This is the time to move it around. Once it is ironed down you really can’t move it because you lose all of the sticky stuff that seals those edges.
Using a craft sponge dab the ink onto the design. I dab it around the edges and then fill in the center and try to make sure the ink is as even as possible.


I tried to go back in and add some ink in spots where I missed it on this Audrey II shirt and as you can see the ink dried a bit of a lighter color. That’s ok though, my oldest wears it around the house now, so it’s not a total loss and I learned from the experience.


